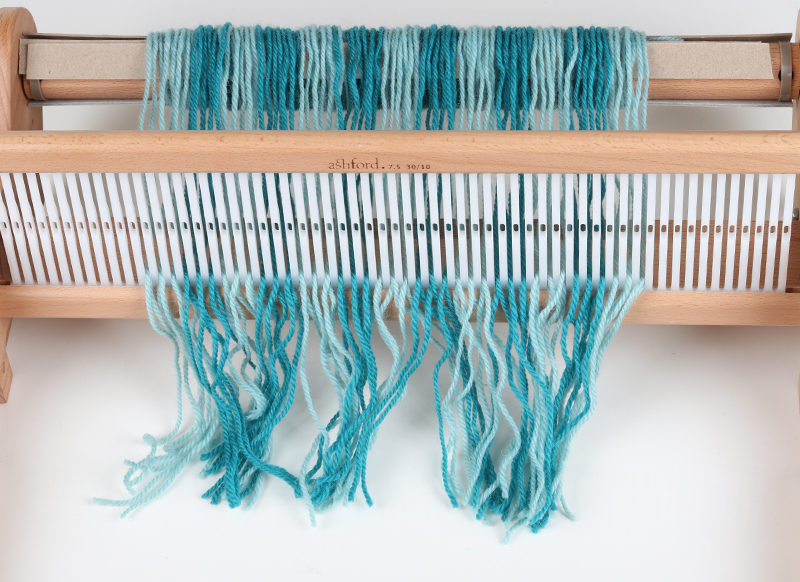
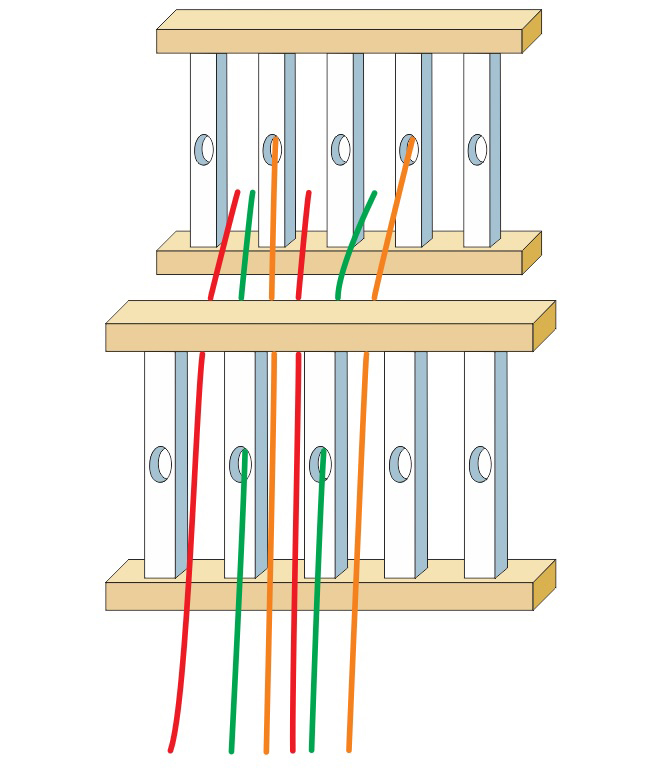
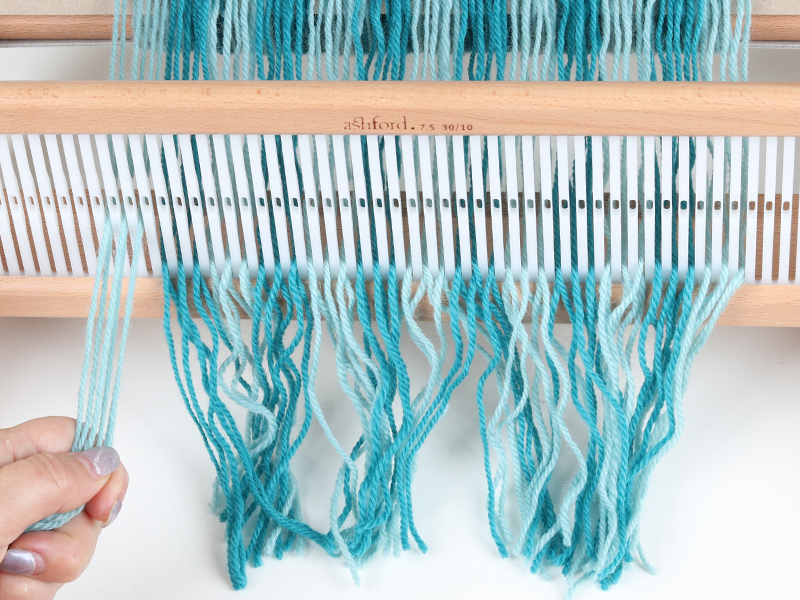
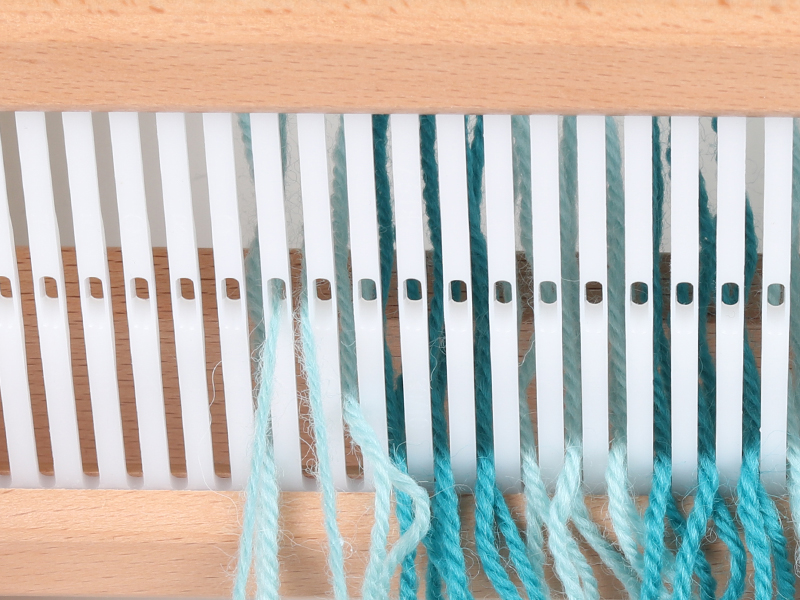
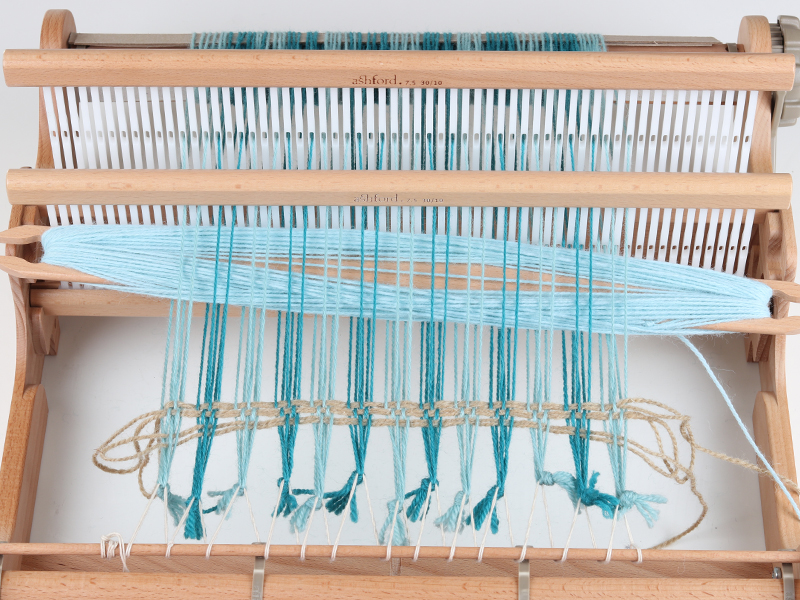
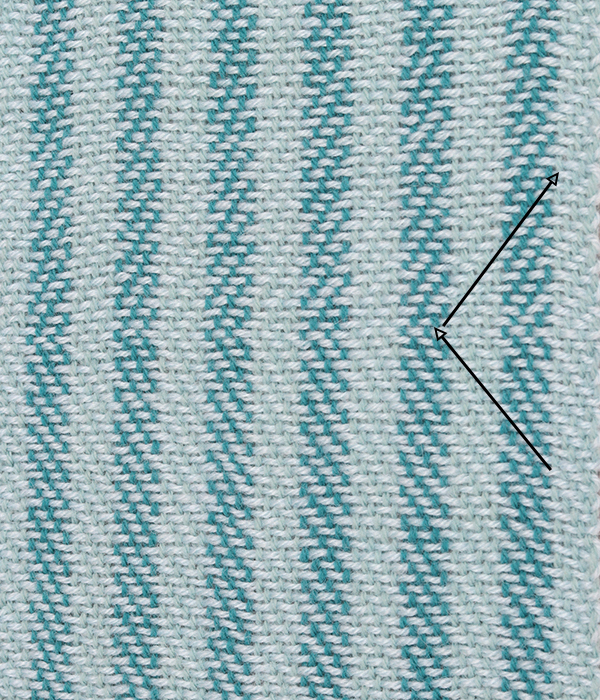
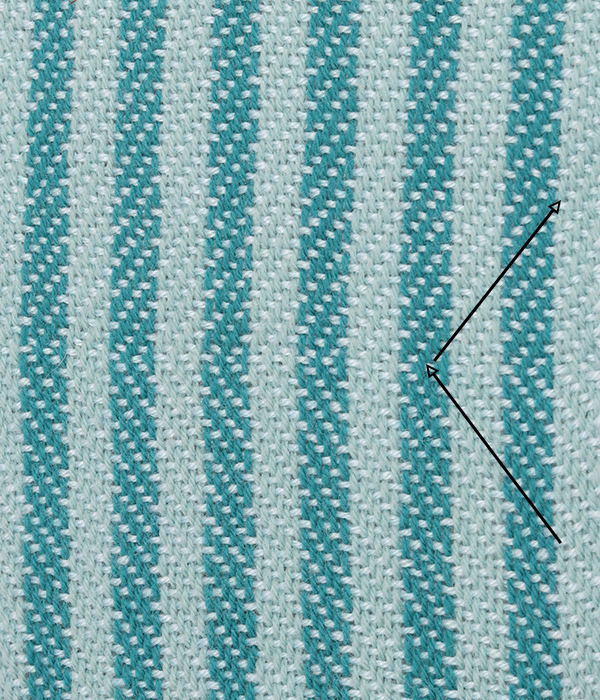
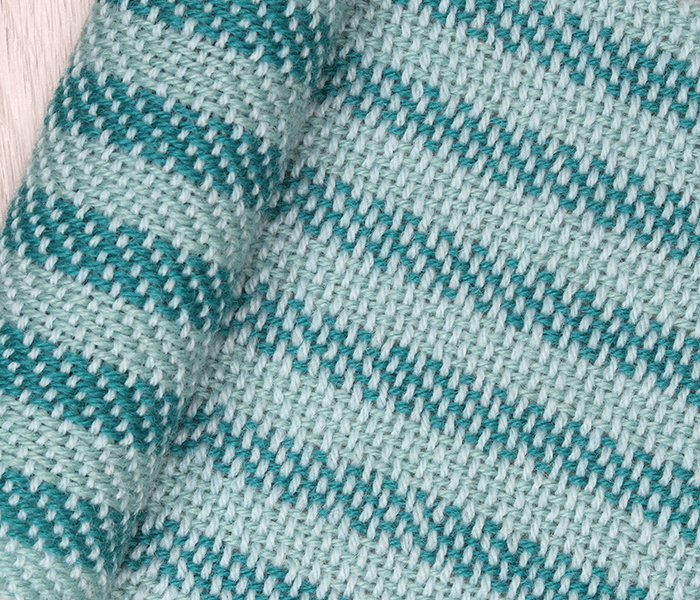
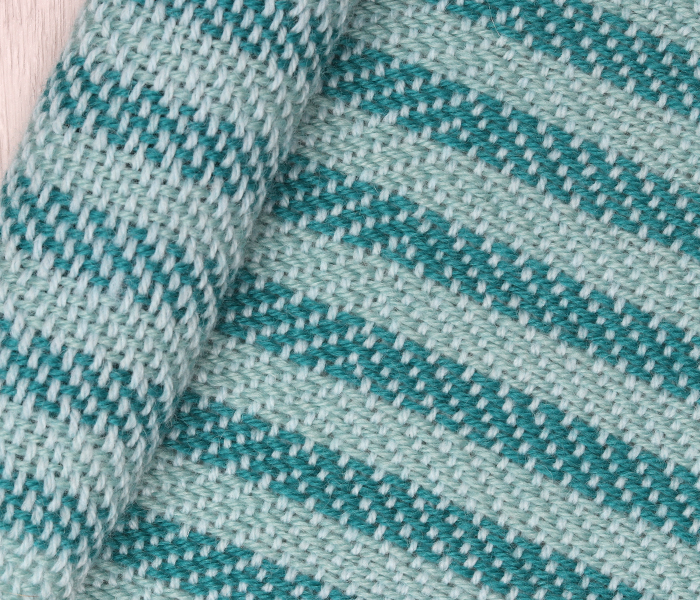
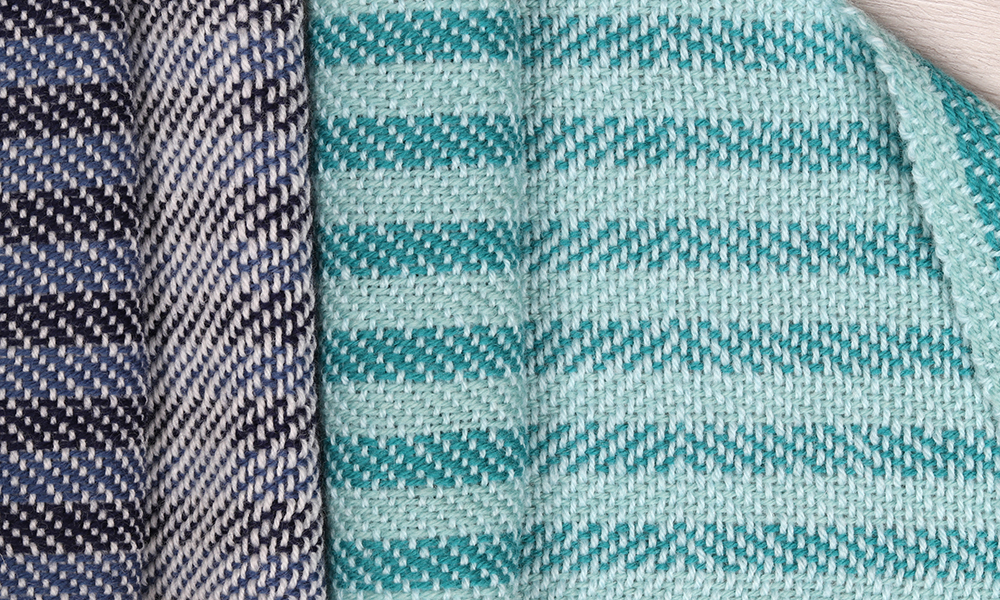
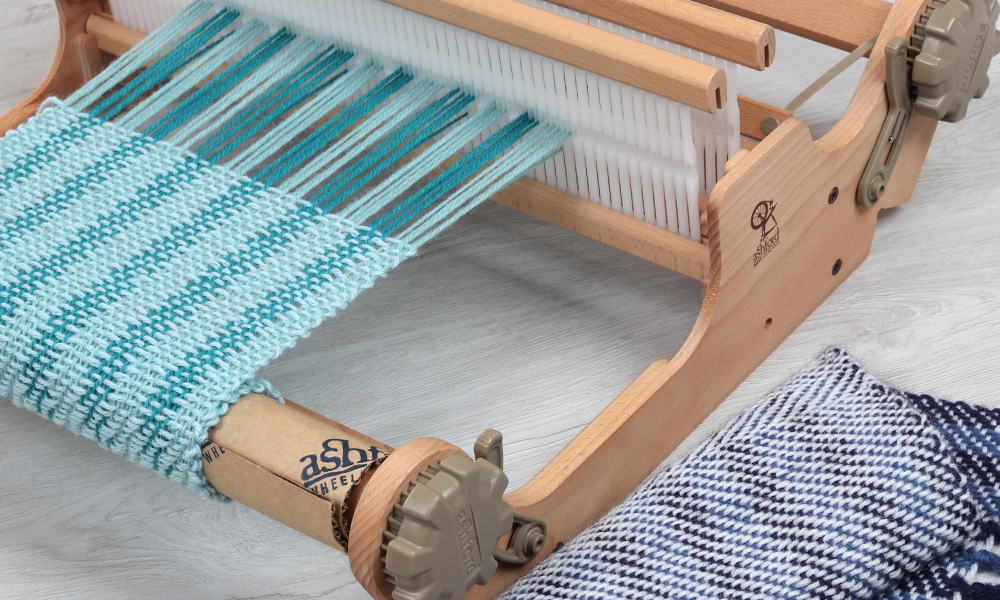
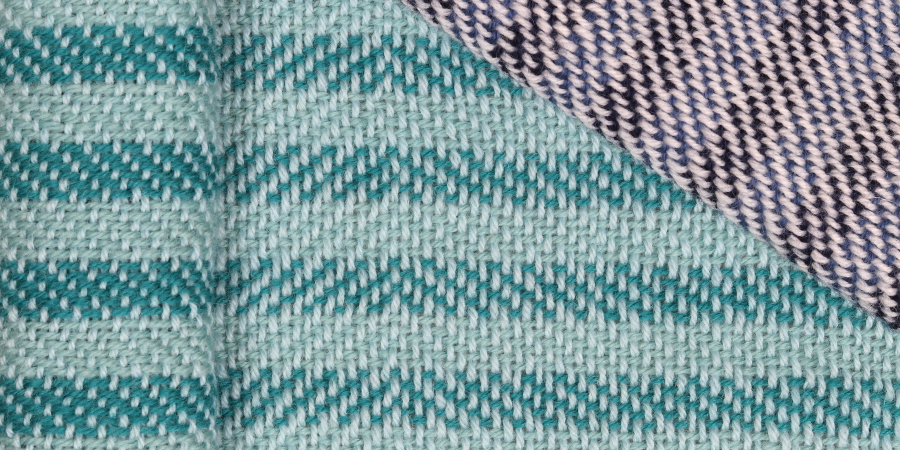
Twill on a rigid heddle loom – no pickup sticks required!

Have you ever admired the consistent perfect patterns of twill and wished you could weave it on your rigid heddle loom? Well, you can. Here are the instructions to weave a twill pattern on your rigid heddle loom without having to use pickup sticks. 

Happy weaving,

I suggest the first time you try this; you do a narrow, short warp with some inexpensive yarn. Just so you can get a feel for it and understand the threading.
I like to work in groups of 6 threads (3 slots when you warp the first reed), this makes it easier to see where you are going.
Set your loom up ready to direct warp as normal. You will need two reeds of the same dpi.
I am using DK weight yarn and 2 x 7.5dpi reeds.
Calculate the width of your project and round to the nearest multiple of 6.
For example, I want to weave a sample 25cm (10”) wide and on a 7.5dpi reed, that would be 75 threads – so I could round down to 72 threads or round up to 78 threads.
For ease of understanding I have used two colours in my warp, alternating every 6 threads (3 slots when warping) so you can see the groups when they are threaded.
With the back reed in position warp 3 slots Duck Egg, 3 slots Spearmint etc. for the width of your sample.
Wind onto the back roller as normal.

Click images to see full size
The first group of 6 threads threaded

Starting on the left, each group of 6 threads (3 slots) will be threaded exactly the same:
Ignore the first pair, take one thread of the second pair and thread in the hole to the left then take one thread from the third pair and thread it through the hole to the right.
Your group of 6 threads will now be two in a slot, one in a hole, one in a slot, an empty hole, one in a slot, one in a hole.

The full width threaded in the back reed

Now place your second reed in front and thread as follows:
Starting on the left, each group of 6 threads will be threaded exactly the same:
Take one of the first pair and thread it through the slot directly in line with it, take the other thread from the pair through the hole to the right. Take the next two threads (from the hole and slot at the rear) through the slot in front. Take the next thread (from the slot on the rear) through the next hole and the final thread (from the hole on the rear) through the slot. You will then leave one hole empty, then start the next group.

leashed on
warp spread with scrap yarn

Tie in groups and leash on to the front stick as normal.
Ready to weave!

Row 1 - Back reed up
Row 2 - Front reed up
Row 3 - Both reeds down

The sequence is made up of three rows repeated.
Row 1 – Back reed up
Row 2 – Front reed up
Row 3 – Both reeds down

Place both reeds in the rest position before beating each row into place. 

Don’t beat too hard – the weft floats on the rows should go up on a 45 degree angle.

Beat gently
45 degree angle

If you wish to change the direction of your pattern reverse the weaving sequence above. So, for example weave rows 1, 2, 3, 1, 2, 3, 1, 2, 3, then when you want to reverse the angle of the twill reverse the weaving order of the rows after row 3 weave row 2, then row 1, then 3, 2, 1…..

Direction change - front side facing (top side of weaving)
Direction change - wrong side facing (under side)

Twill weave structure plays a crucial role in the formation of denim fabric. In twill weaving, the weft thread passes over and under multiple warp threads, creating a distinctive diagonal pattern on the surface. This structure not only provides denim with its signature durability but also contributes to its flexibility and comfort. The diagonal weave allows for more substantial weight and texture, which makes denim resistant to wear and tear, while also giving it the iconic blue shade that fades beautifully over time. This unique weave is key to denim’s longevity and timeless appeal.
Kurt Payne @manknitea did a wonderful article using this technique on a rigid heddle loom – weaving denim, with handspun yarn in issue 29 of The Wheel magazine.

Kurt and his "denim" scarf
Double denim!