3D Weaving On A Rigid Heddle Loom
Rigid heddle looms are so versatile. Weaving on a rigid heddle loom is easy to learn and very accessible. The options are almost limitless and there are so many wonderful techniques you can try – you are certainly not limited to “just plain weave”. One such technique is creating a three-dimensional weave. We featured this technique in The Wheel Magazine Issue 31 where Esther Rodgers @jazzturtle showed us how she uses her beautiful art yarns in her three-dimensional weaving to give texture as well as shape.
I recently posted some photos on our instragram @ashford_wheels_looms and due to so much interest in this technique I made a super speedy video which I have added below.
This really is a fun technique and I hope you give it a try.
Happy weaving!

Kate


-

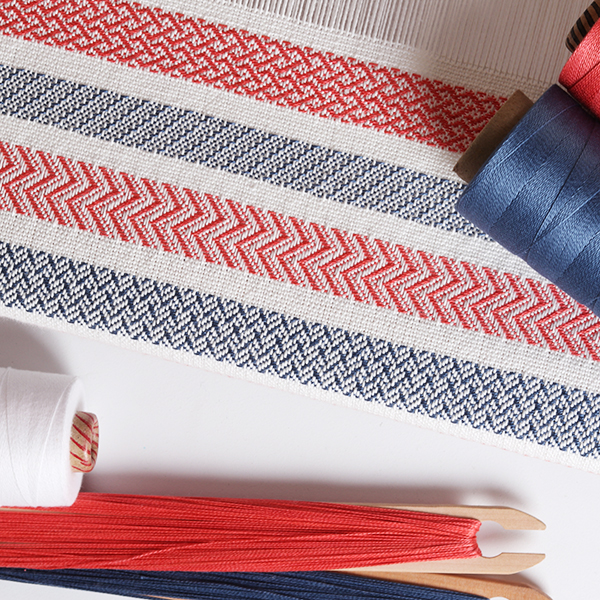
- Warping
-
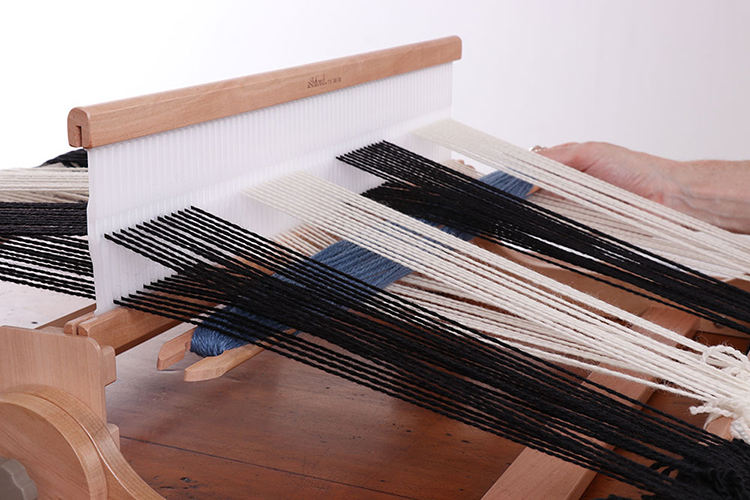
- Taking shuttle through one shed and under other
-

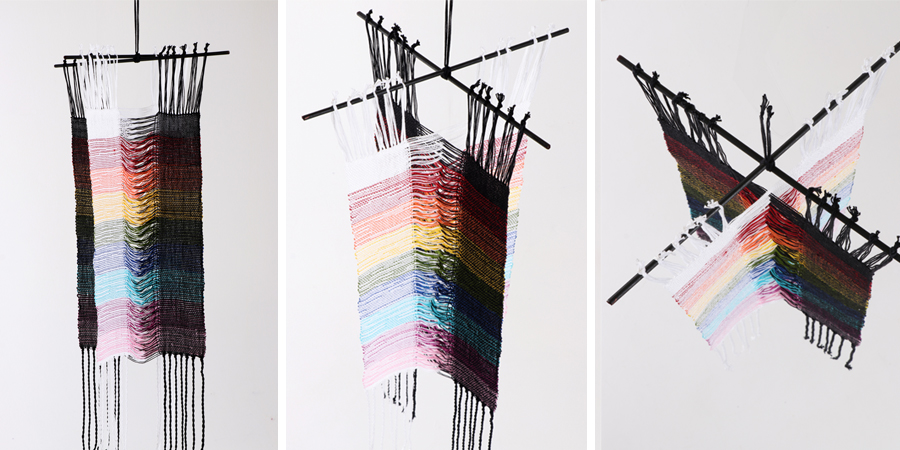
- Weave a section on one side then the other
-
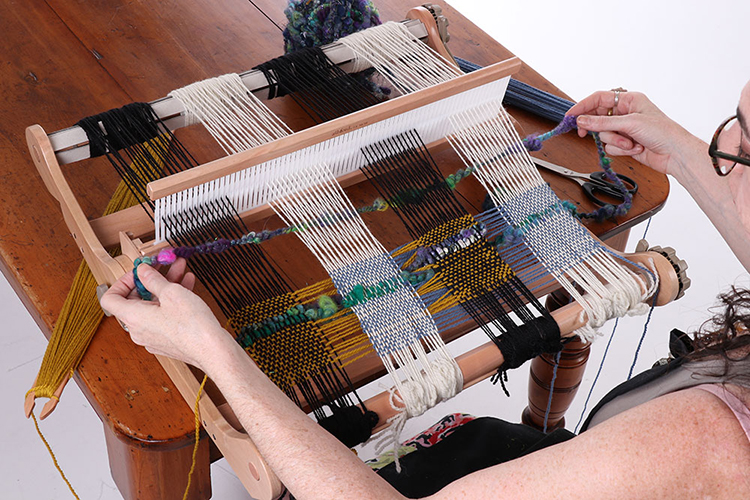
- Add some fun art yarn
-
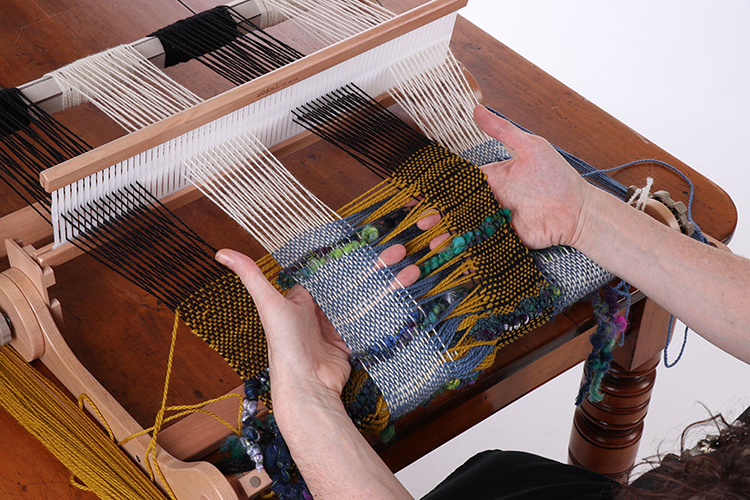
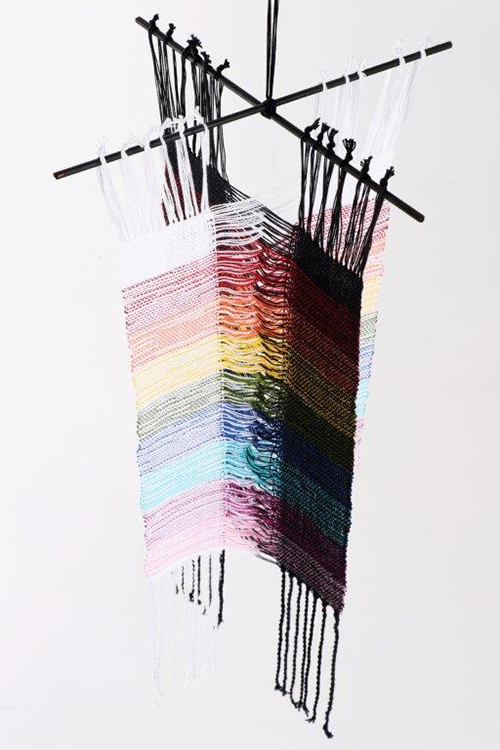
- Check your layers are separate
-

- Tie knots in the end to hang from