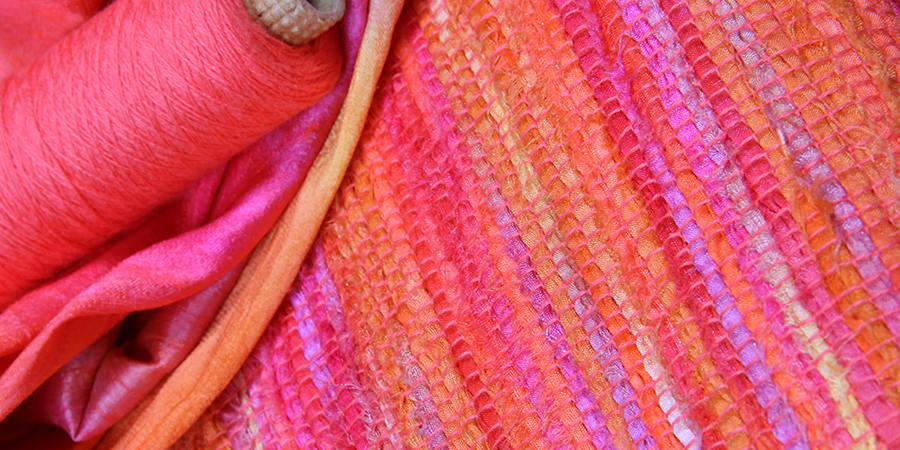
Now more than ever, we need to upcycle, recycle and repurpose our fabrics. Young women in 18th century Japan were counselled to “Never abandon fabric if it can wrap three small red beans,” Fabric, a rare and expensive commodity, was to be recycled and reused. Worn-out or damaged kimonos were torn into strips and used as weft with a new cotton or bast fibre warp. Traditionally the
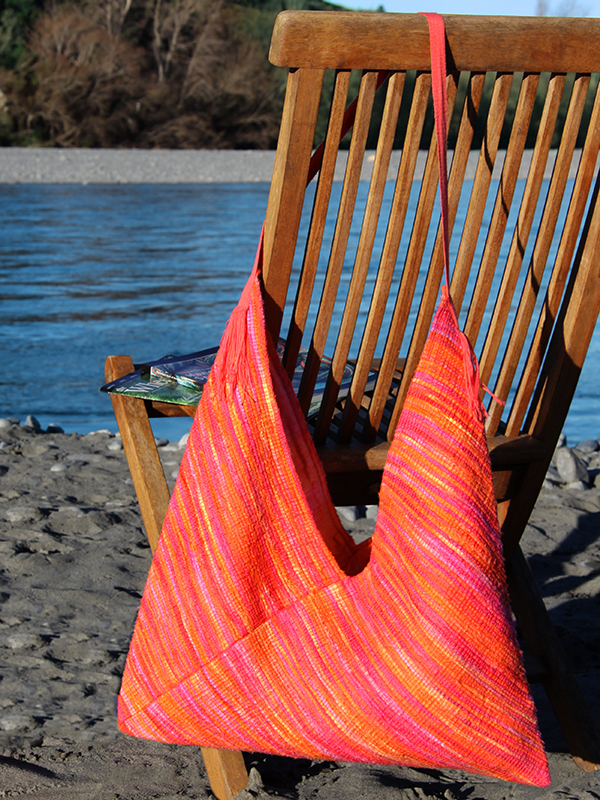
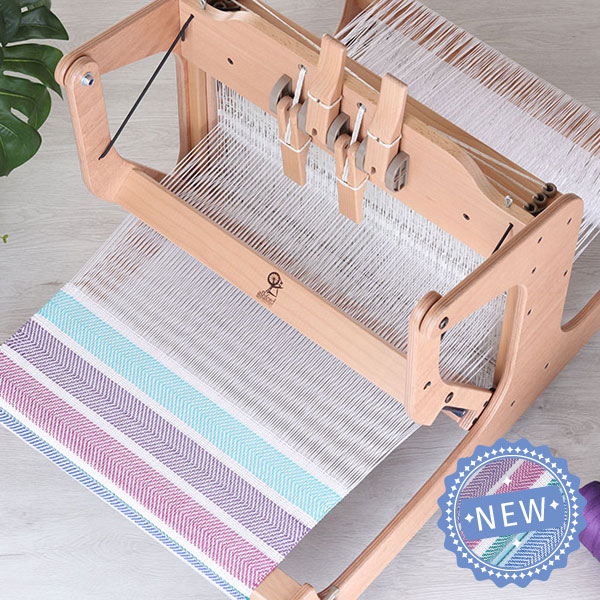
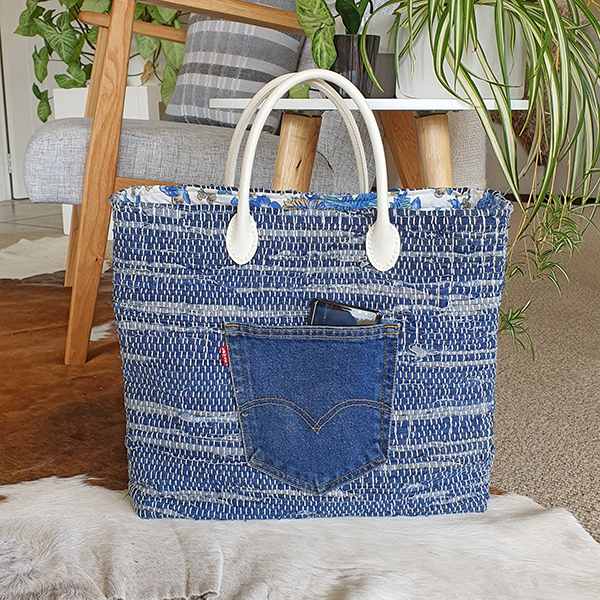
sakiori (saki = rag, oru = weaving) technique was used to make sturdy work clothes but today the colours and textures of the woven strips can be appreciated for their own beauty. In this project Elizabeth used strips of hand-dyed recycled silk to make a super pretty and useful bag. You could also use strips of denim, cotton or tee-shirts.
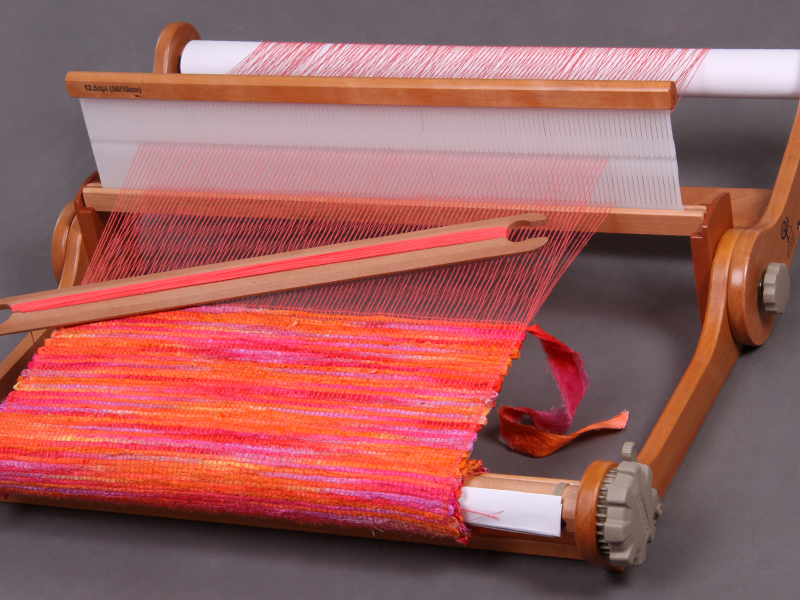
You will need: Loom: Knitters Loom 50cm/20ins (or any rigid heddle loom 50cm or wider) Reed: 12.5dpi (50/10cm) Warp Yarn Quantity and Colour: Ashford 100% Unmercerised Cotton 5/2, ne 5/2, 848m/927yds, (3½oz) 200gm cone, #48 Coral Red Weft Yarn Quantity and Colour: 100% silk dyed in stripes using Ashford dyes in Rust, Scarlet, Hot Pink, Purple and Yellow, cut or ripped into 2.5cm (1in) strips; Ashford 100% Unmercerised Cotton #952 Rust Other: Optional lining in dyed silk 115 x 40cm (45½ x 15¾ins) – lining is optional. Inkle braid woven on the Ashford Inkle loom in Ashford 100% Unmercerised Cotton #48 Coral Red 75cm (30ins)
Here’s how: Total warp ends: 204 Total warp length: 1.5m (5ft) Finished width: 38cm (15ins) Finished length: 114cm (45ins)
Warping Warp the reed in the unmercerised cotton.
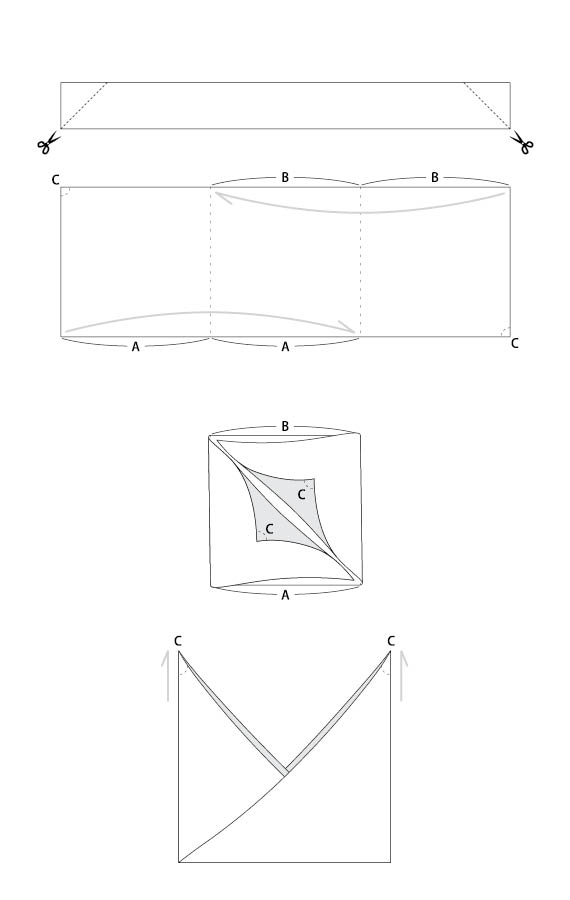
Weaving 1. With the cotton doubled, weave a 12mm (½in) seam allowance. 2. Weave the fabric alternating one pick of the silk strips and one pick of the single cotton. 3. Beat well between each row. Rather than using the reed to beat use a Tapestry beater or a similar tool, a fork can also work. 4. Cut the ends of the silk strips on the diagonal (see first diagram below) to eliminate bulk when adding new strips. 5. Continue weaving until the length is three times the width after making an allowance for shrinkage, take-up and seams. 6. Finish with a 12mm (½in) seam allowance in the doubled cotton.
Finishing 1. Remove from the loom and secure the ends with a zigzag stitch. 2. Hand wash in warm water and a little liquid soap and lay flat to dry. When still a little damp cover with a soft cotton cloth and press with a warm iron. 3. If lining the bag, sew lining to fabric right sides together allowing a 1cm (½in) seam allowance. Turn in the right way and sew seam together. 4. To assemble the bag fold and sew the fabric as shown in the diagram, A to A and B to B. 5. Pull up the corners at C to make the bag. 6. Attach inkle braid at corners for handle.