3D Weaving On A Rigid Heddle Loom
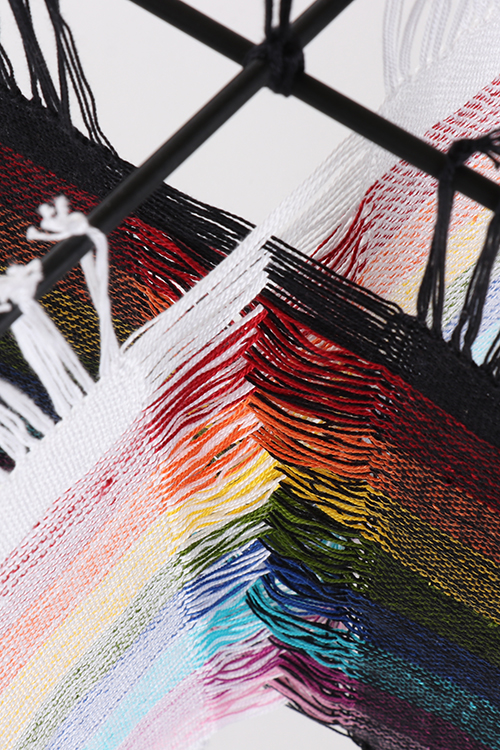
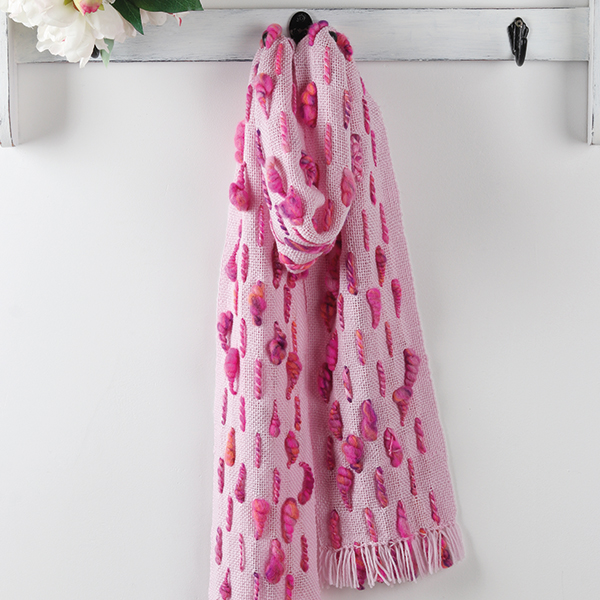
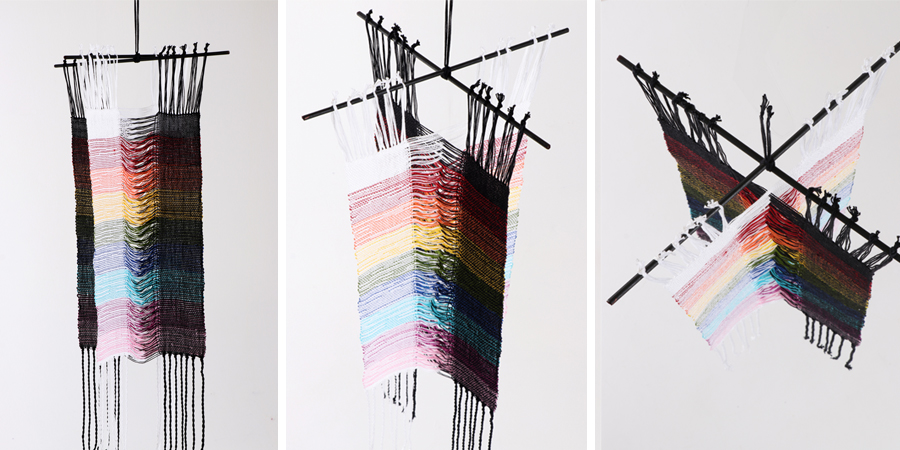
Rigid heddle looms are so versatile. Weaving on a rigid heddle loom is easy to learn and very accessible. The options are almost limitless and there are so many wonderful techniques you can try – you are certainly not limited to “just plain weave”. One such technique is creating a three-dimensional weave. We featured this technique in The Wheel Magazine Issue 31 where Esther Rodgers @jazzturtle showed us how she uses her beautiful art yarns in her three-dimensional weaving to give texture as well as shape.
I recently posted some photos on our instragram @ashford_wheels_looms and due to so much interest in this technique I made a super speedy video which I have added below.
This really is a fun technique and I hope you give it a try.
Happy weaving!

Kate
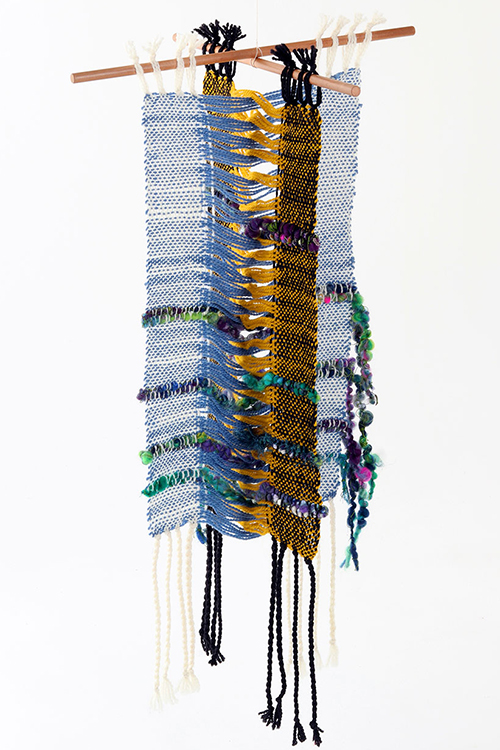
Esthers Rodgers art yarn version from The Wheel Magazine Issue 30
Size: 80 x 30cm (32 x 12ins)
Weave structure: Manipulated plain weave
You will need:
Loom: 50cm (20ins) or wider rigid heddle. I used the 50cm (20ins) Knitters Loom
Reed: 30/10cm (7.5dpi) but you can use whatever reed you like. If you have a vari dent reed, you can set it up with four sections and spaces between.
Warp yarn: Ashford Tekapo 8ply Double
Knit (100% wool, 200m/218yds,100gm) 1 ball Natural White #206, 1 ball Black #211. Use what you like! A dark yarn will pop your weft colours, light will mute your weft colours.
Weft yarn: Ashford Tekapo 8ply Double Knit (100% wool, 200m/218yds, 100gm) 1 ball Chartreuse #221, 1 ball Stonewash #229, and some textured art yarn. You need at least two colours.
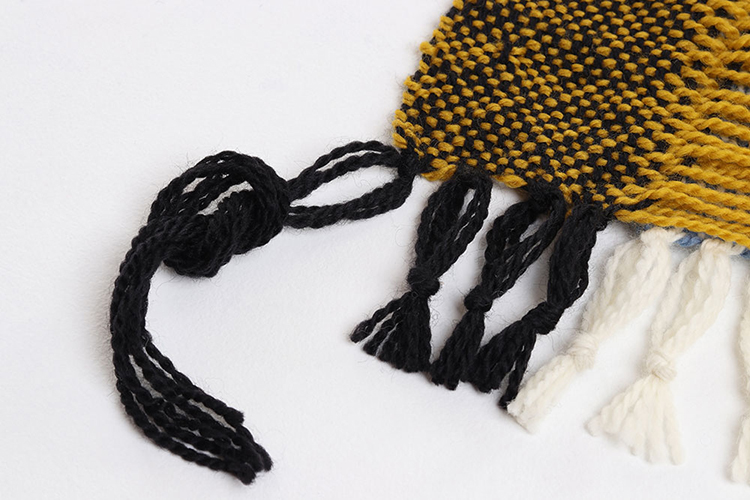
Other: 2 shuttles, fringe twister (optional),
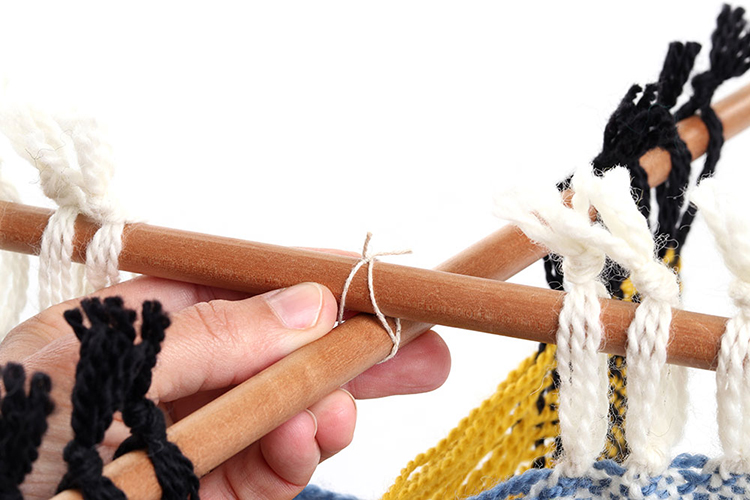
2 sticks or dowels
Here’s how:
Warping
For detailed instructions on warping a rigid heddle loom follow the instructions that come with the loom or watch the video on YouTube www.ashford.co.nz/weaving-tutorials
Wind the warp yarn onto the back warp stick as normal.
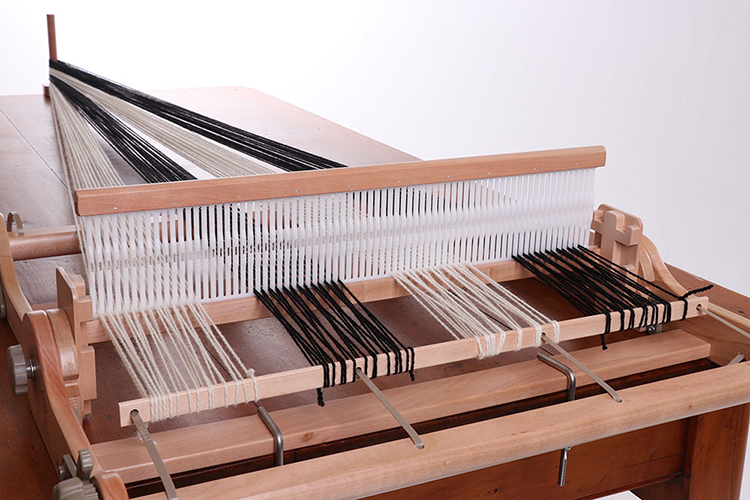
Thread the reed in 4 groups, leaving a space between each group.
Tie onto the front warp stick, keeping the warp in the 4 groupings. Do not weave a heading.
Weaving
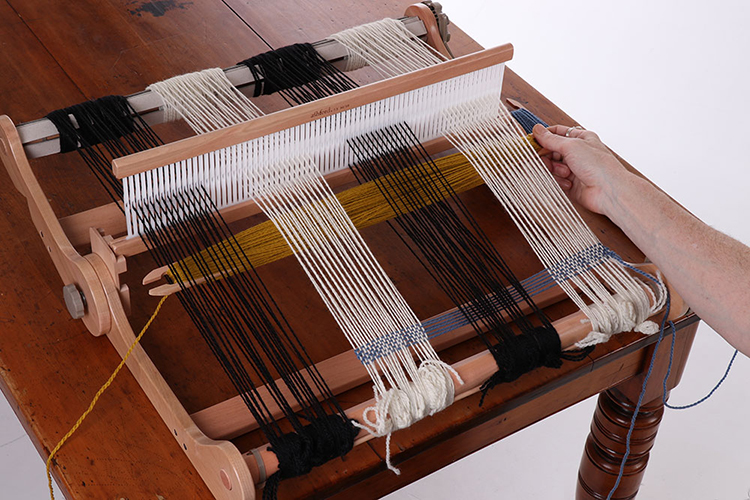
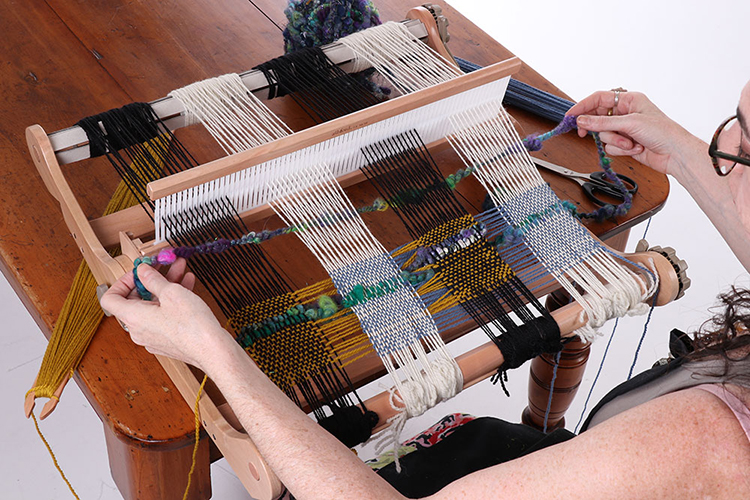
Have one shuttle on each side of the loom.
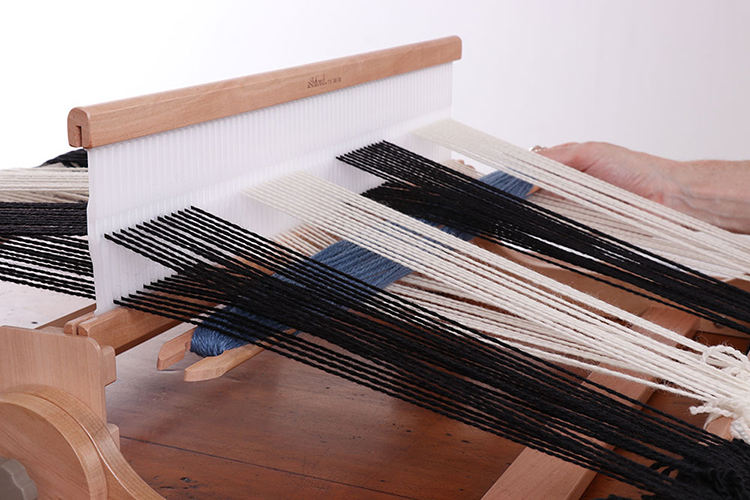
Step 1: With the reed in the up position, pass the shuttle on the right through the shed of the first grouping, float under the shed of the second grouping, pass the shuttle through the shed of the third grouping, and float under the fourth grouping.
Beat the yarn, change position of the reed.
Take shuttle back through using the same float pattern: under 4, through 3, under 2, through 1. Beat the yarn.
Repeat for two more complete passes (six full picks).
Step 2: Take the second shuttle from the left, through the shed of the fourth grouping, under the third grouping, through second and under the first.
Beat the yarn and change position.
Take the shuttle back through using the same float pattern: under 1, through shed of group 2, under 3, through 4.
Beat the yarn.
Repeat for two more complete passes (six full picks).
Switch back to shuttle 1, repeat step 1 for six picks (three complete passes).
Switch back to shuttle 2, repeat step 2 for six picks (three complete passes).
Add picks of textured yarn for accents.
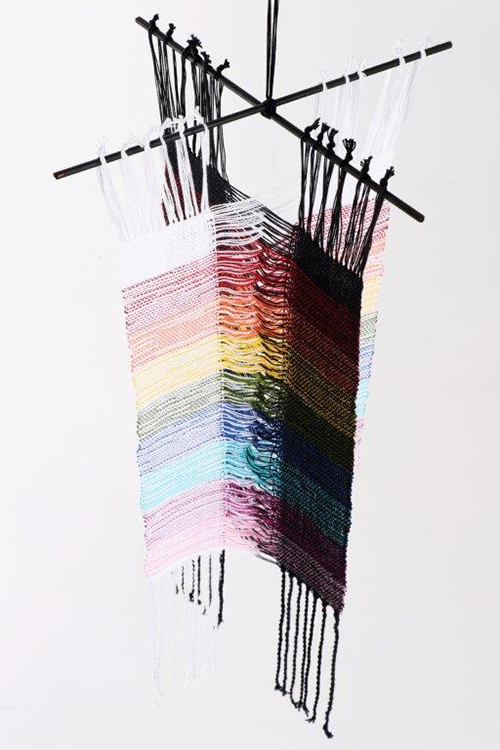
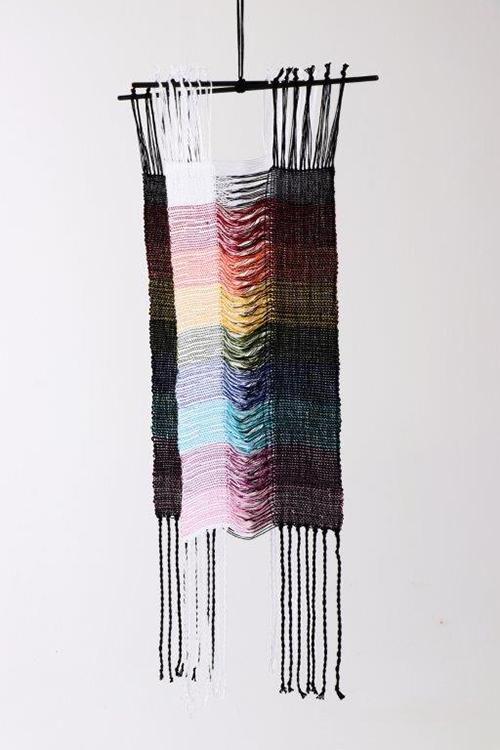
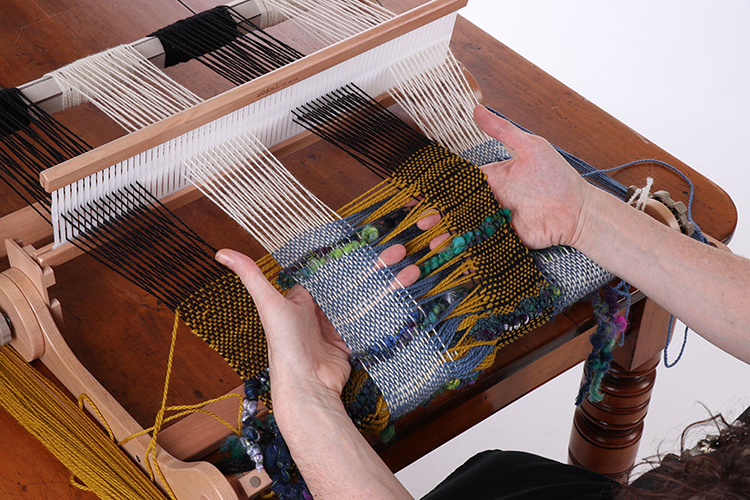
Now you have a fabulous wall hanging. The 3-dimensional technique can also be used for accents on clothing and furnishings.
Troubleshooting
Make sure you are not catching extra warp threads while you pass the shuttle through the groupings as this will keep your weaving from popping open into the 3-dimensional hanging. If when you take your weaving off the loom, there are a few caught warp threads where they aren’t supposed to be, you can just snip the weft and release the warp threads. Then trim the weft so that end doesn’t stick out.
