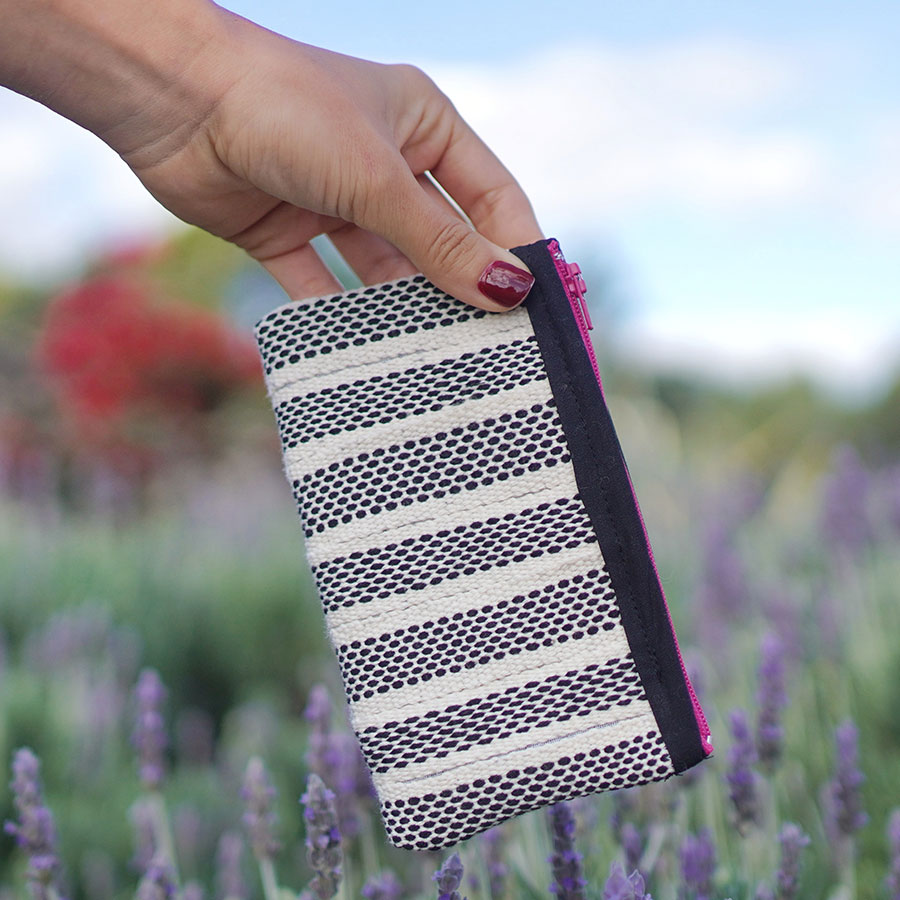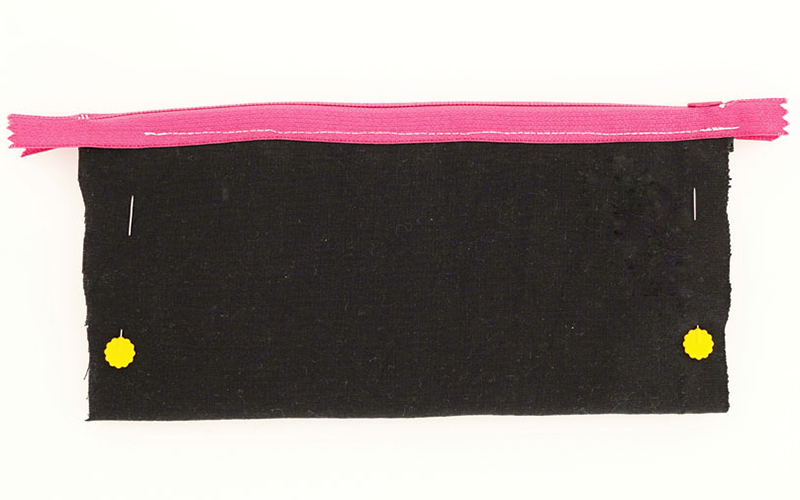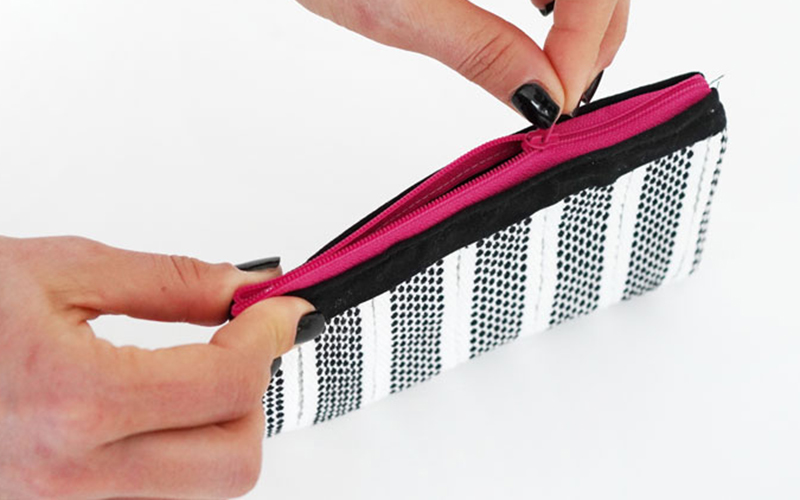
Inklette Pouch
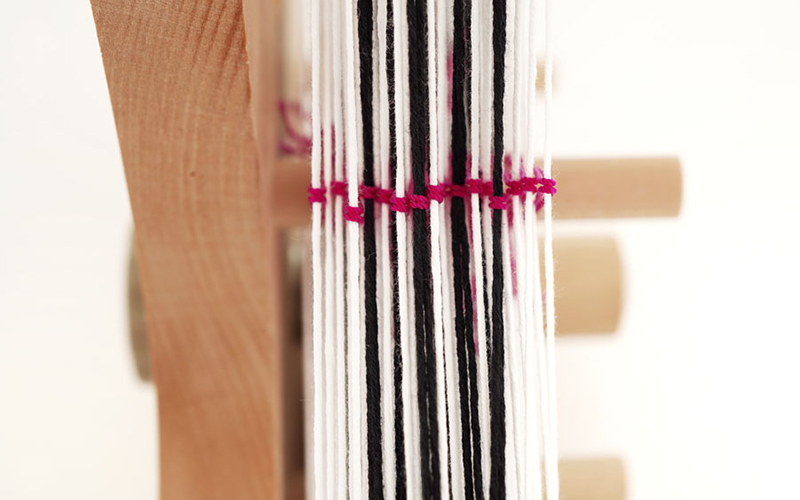
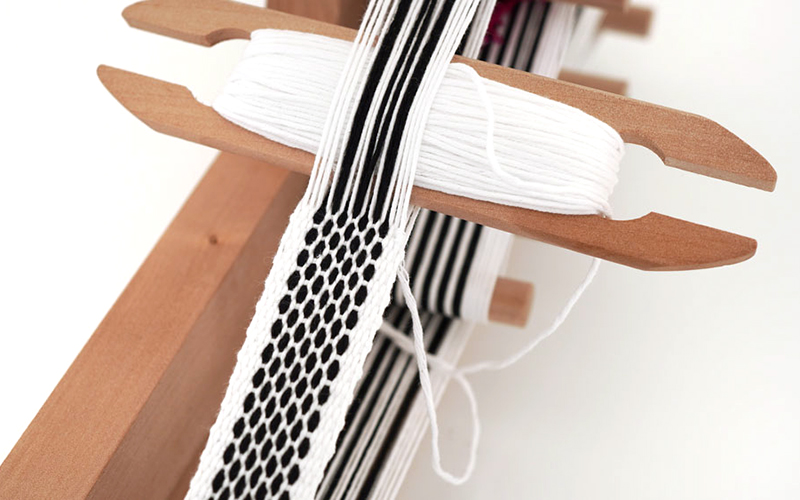
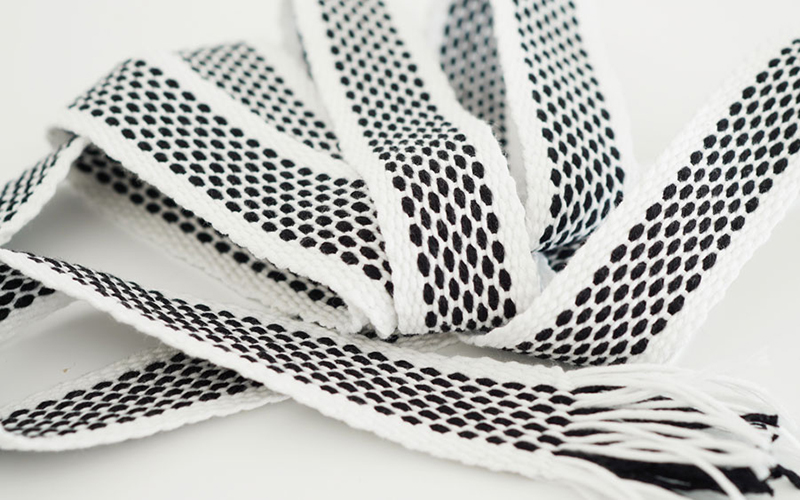
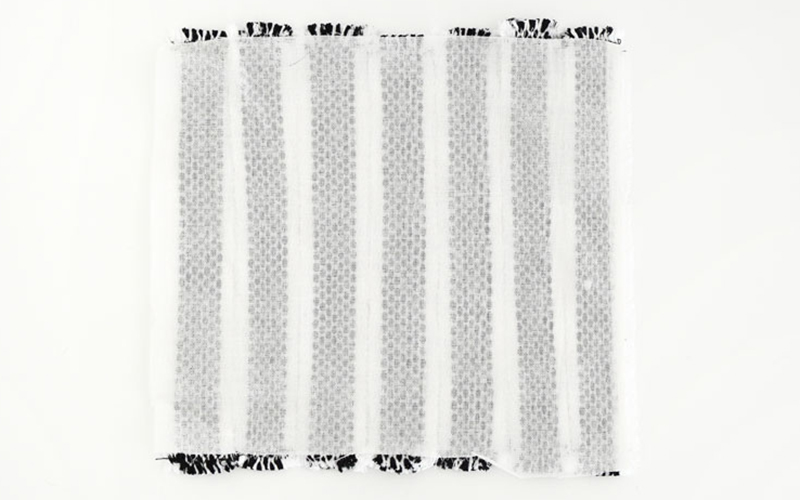
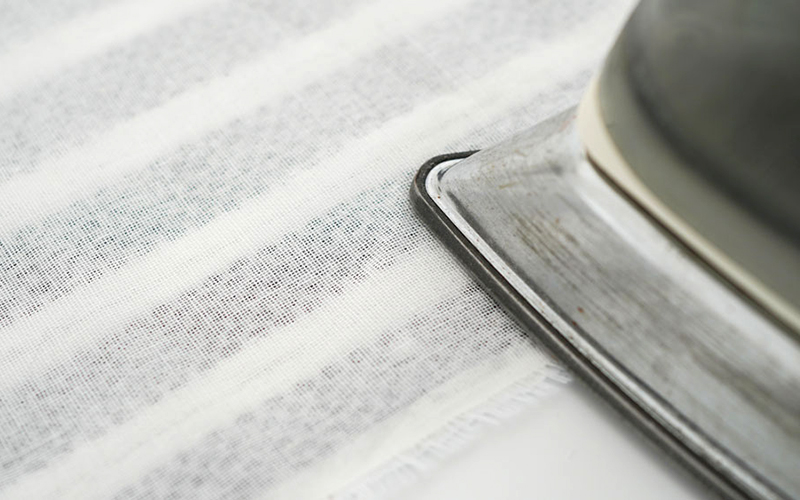
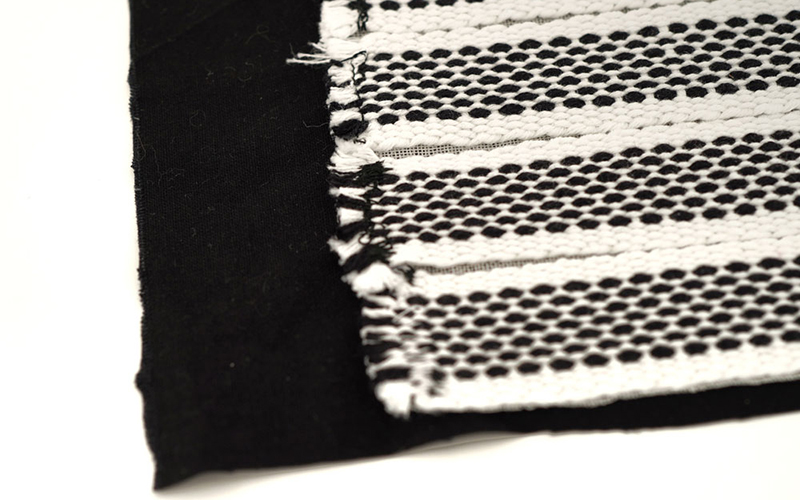
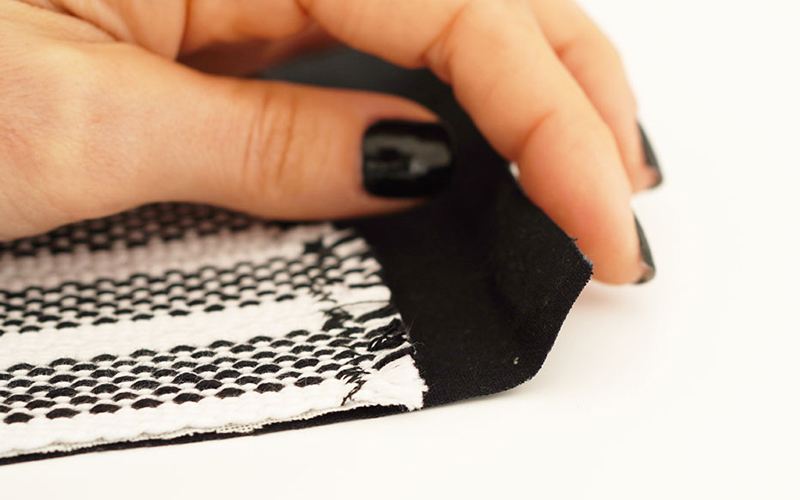
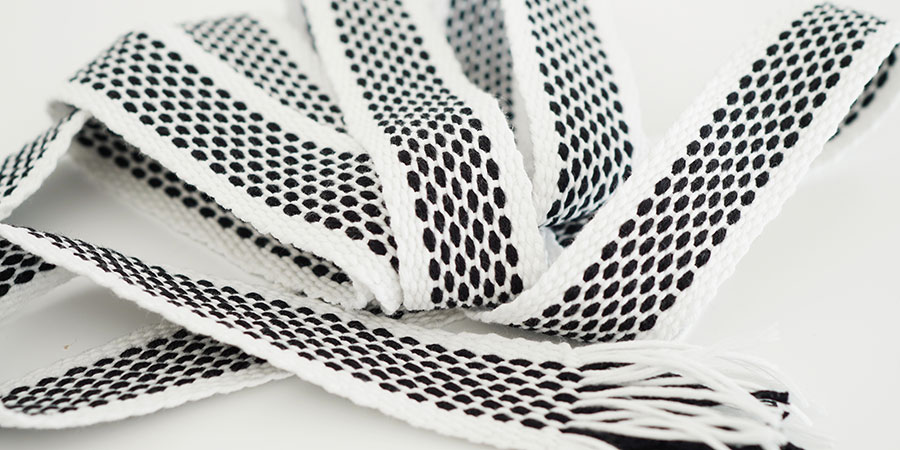
Woven bands have been a part of textile history for thousands of years, used in many cultures and countries around the world for both practical and decorative use. Here is a great little practical project you can make with your handwoven band that requires minimal sewing skills! I hope you enjoy this lovely little pouch project from Blanca De La Sotilla.
You can read more about Blanca here on her first Ashford Blog contribution. You can follow Blanca on Instagram @TunkiCrafts or Facebook TunkiCrafts
Happy Weaving!


Kate
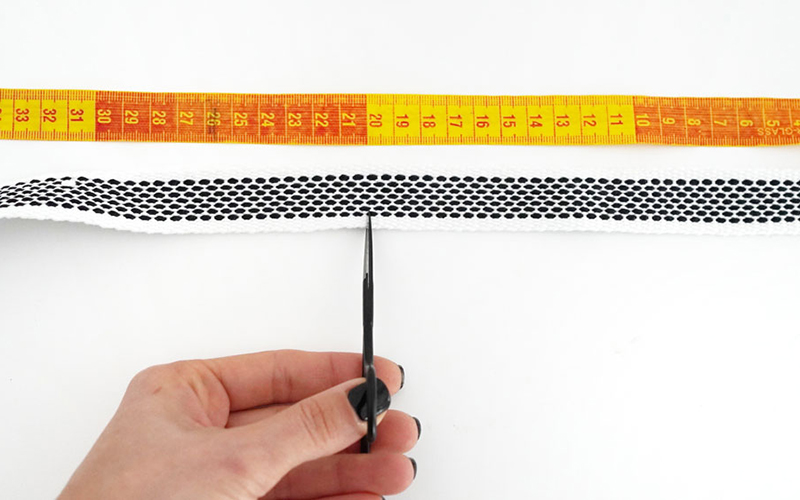
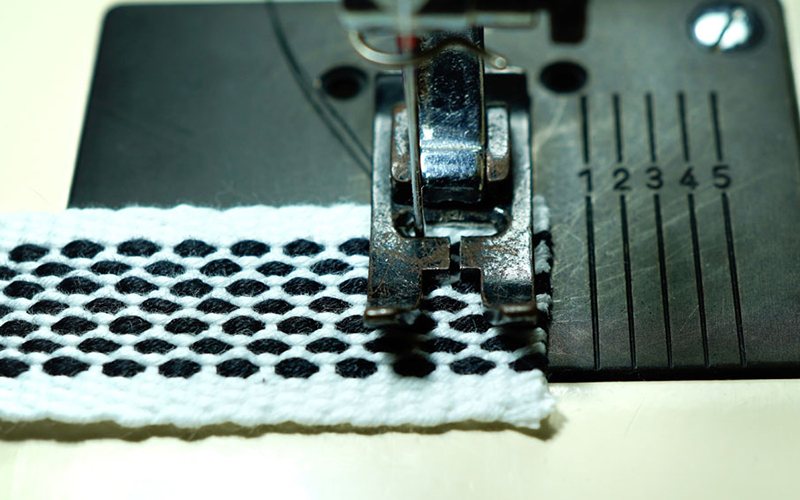
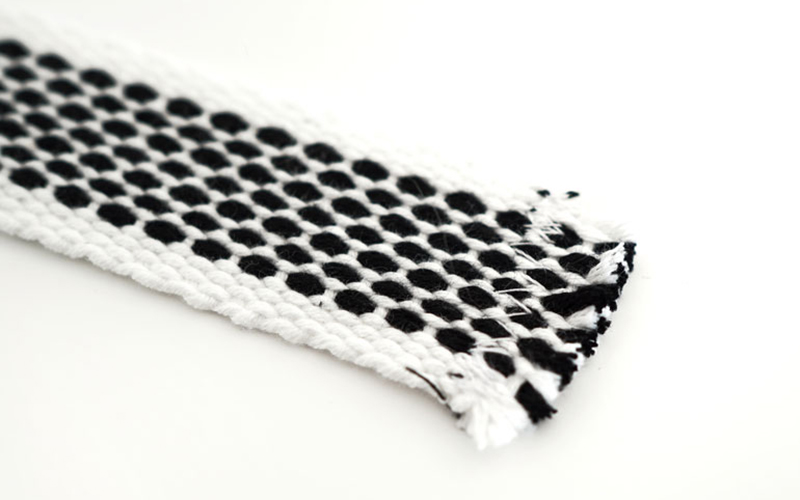
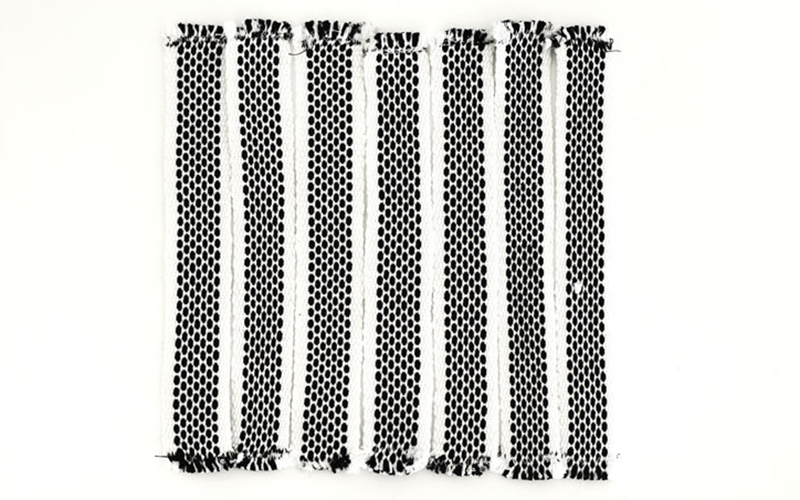
From Blanca
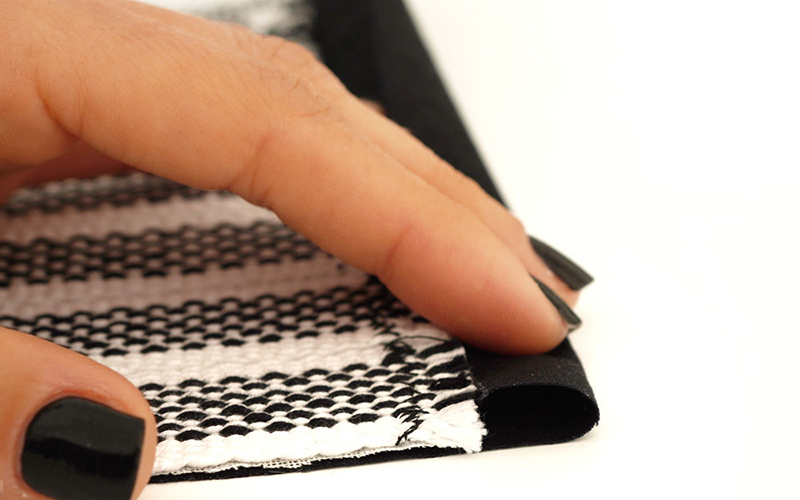
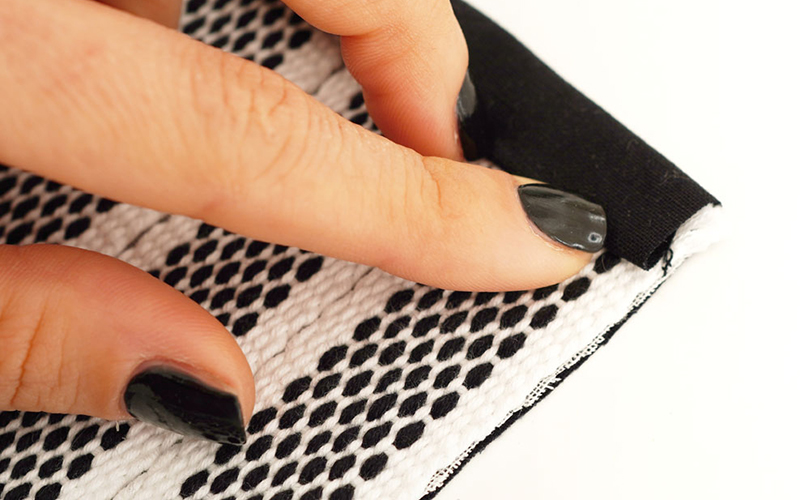
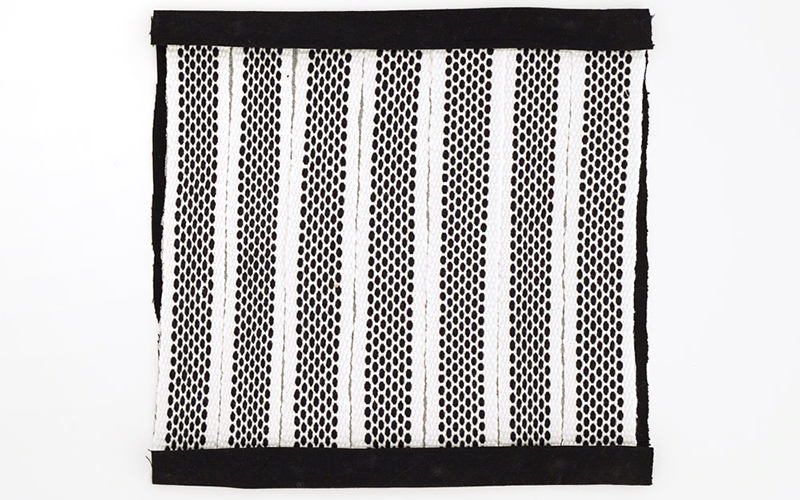
“If you have never tried to use an inkle band for making a bigger piece, this is the perfect project for you. Let’s give it a try and I can promise you won’t regret it.”