Hemstitching
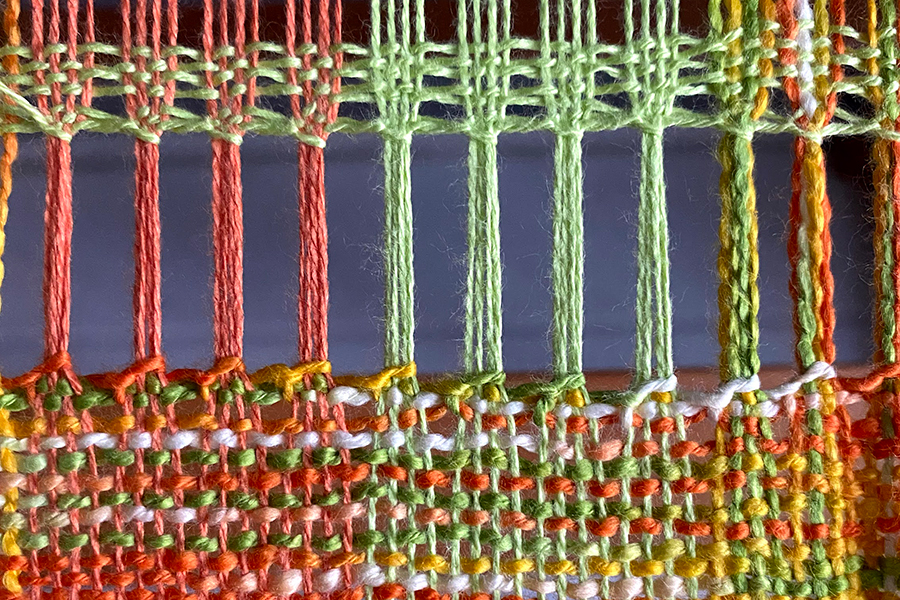
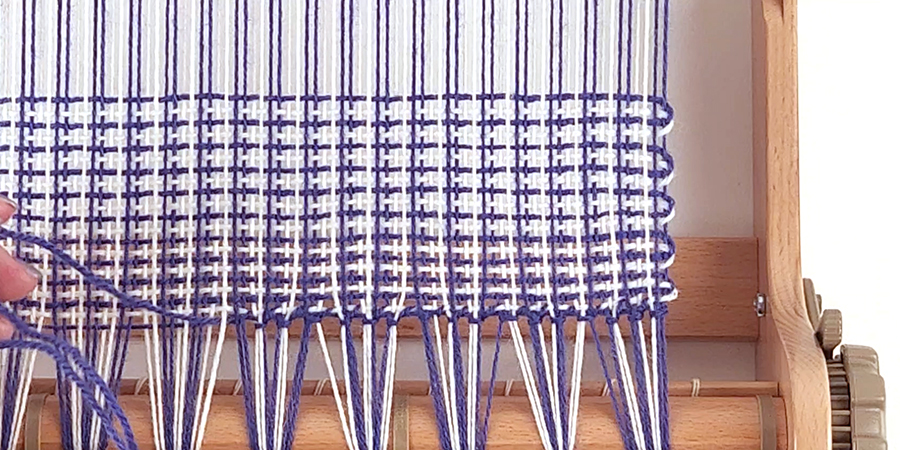
Hemstitching is a way you can secure the ends of your weaving without having to sew or tie knots in the warp ends. There are several variations of hemstitching – in the video below I show the method I use. I have also included instructions for some other methods and also how you can use hemstitching decoratively on your weaving.
Happy weaving!

Kate
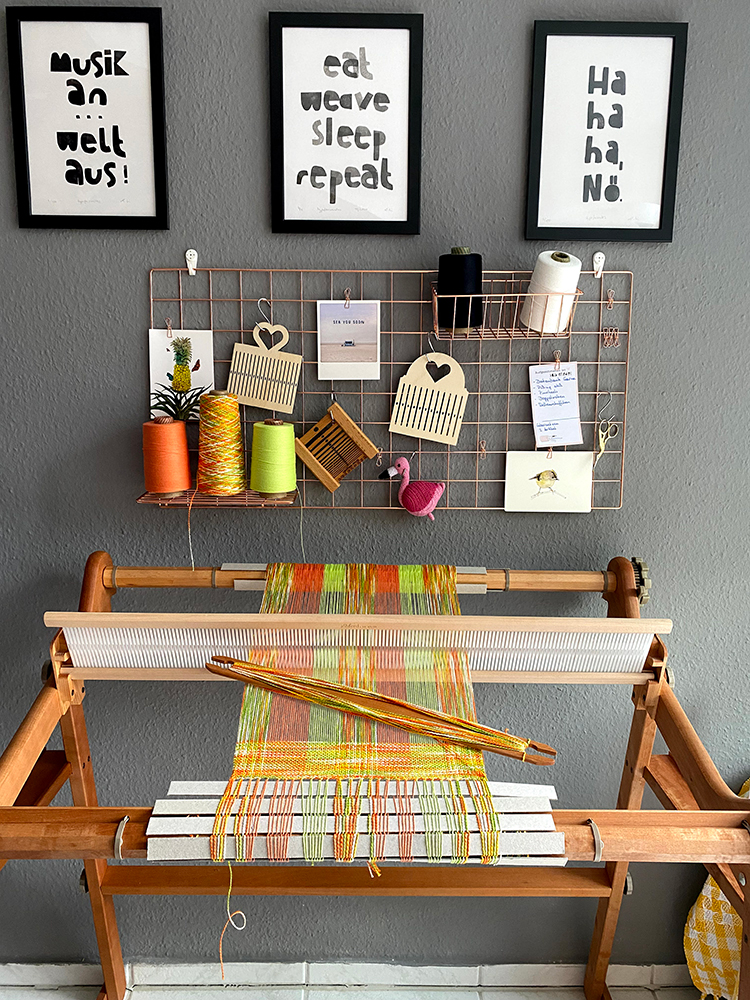
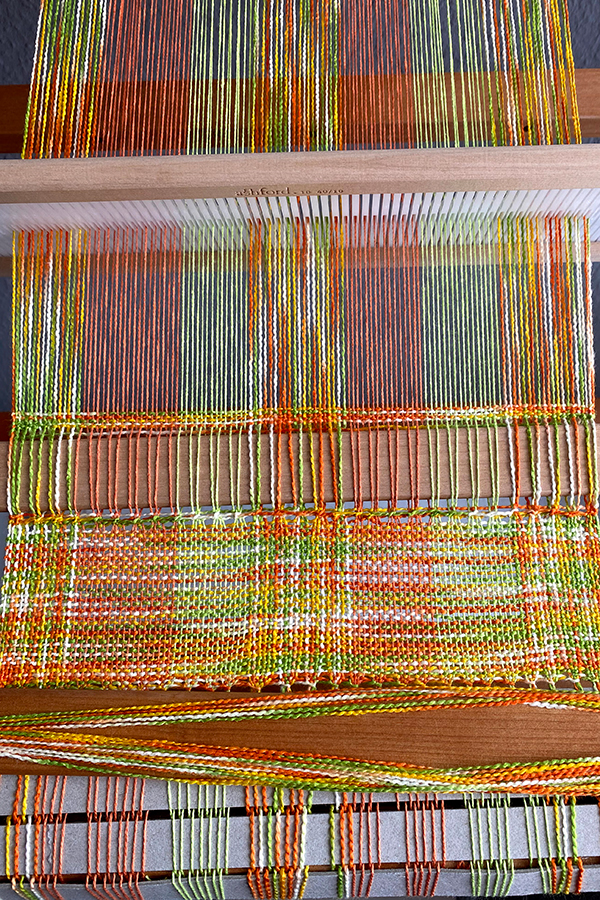
Hemstitching is much easier when the weaving is on the loom under tension.
When you begin weaving, leave a tail hanging out approximately 3 or 4 times the width of your weaving – you will see I almost didn’t have enough for the hemstitching at the end of my weaving!
The reed is placed in the neutral position to hemstitch.
You can start on the left or the right – whatever you find more comfortable. You will see in the video when I reach the end of my weaving and begin hemstitching, I turn the loom around. I only do this as I find it easier to work this way.
You can make the bunches of threads with as many warp ends as you prefer. If you have finer yarn you may wish to do bunches of 5 warp ends rather than 3.
If you find your weft yarn will miss the first thread when you begin hemstitching, simply go over the first thread to catch it and then go under the next two.
Designing with Hemstitching – A Tutorial
Bianca Wenzel, from Germany shared these methods of hemstitiching that were featured in The Wheel magazine issue 33.
Let´s talk about hemstitching. I primarily use it to secure my woven fabric at its beginning and end, but there are so many other options as well. It’s a great way to enhance your fabric. The rigid heddle loom has incredible possibilities – but today we are opting for the wool needle instead of the shuttle to do some embroidering.
All that is required is a loom, yarn, shuttle, an idea for a project and a wool needle. Start your project and leave a thread (four or five times as long as your fabric is wide). Make sure the needle is as blunt as possible, so that your yarn will not be damaged. You can opt for a straight or curved needle, whichever suits you better. I prefer the straight ones.
Important: Right-handed weavers start stitching from the right-hand side, left-handed weavers from the left-hand side. You always proceed with the reed in the neutral position.
Securing your fabric or a design element?
So far, I have only used hemstitching to secure the fabric. This is especially important with table runners as you want them to lie flat on the table without the bumps of knots. But you need to secure your beautiful woven piece to prevent it from unravelling. So, you use the hemstitch after the first rows as well as at the end of the fabric and then you can forget about sewing or tying fringes. Those who like sewing may feel free to do so!
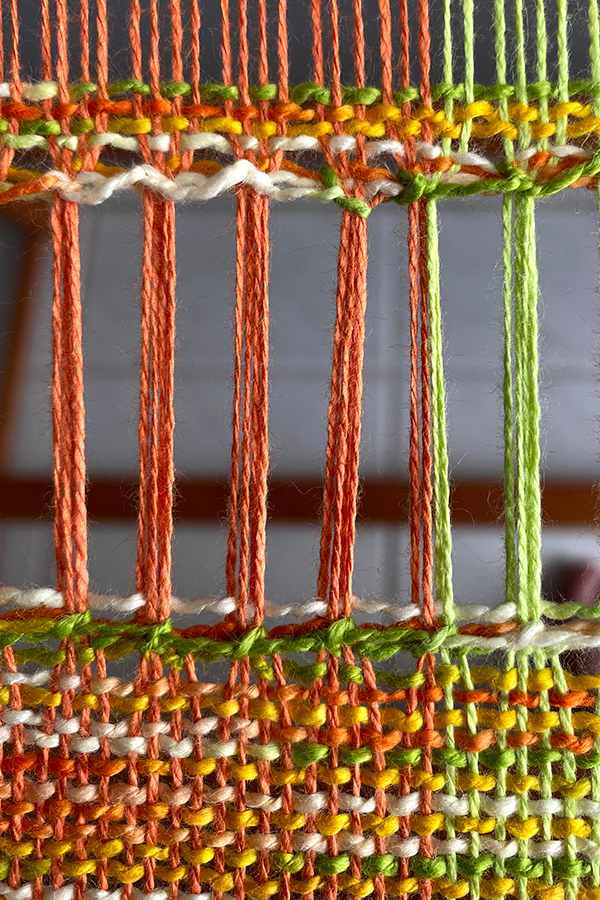
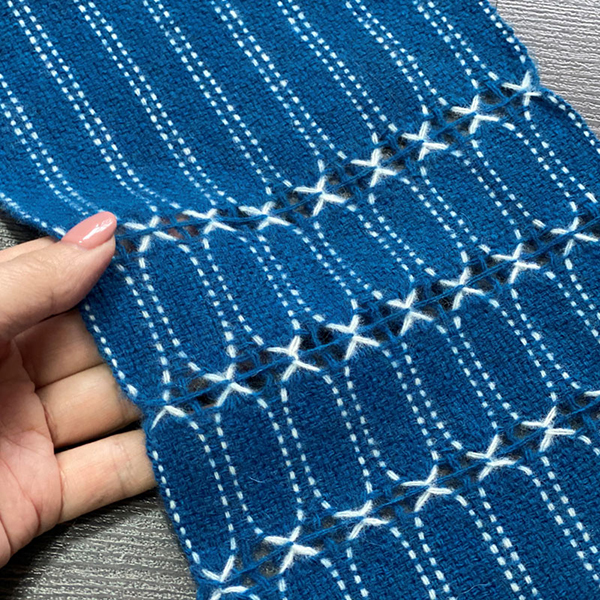
Some of the hemstitches also work as a design element. My favourite is the zigzag stitch, for which you can vary the number of threads and width in so many ways that it looks different each time. The Italian stitch and the ladder stitch also have variations and infinite possibilities. Get cracking, be creative! ~Bianca.
The Classic Hemstitch
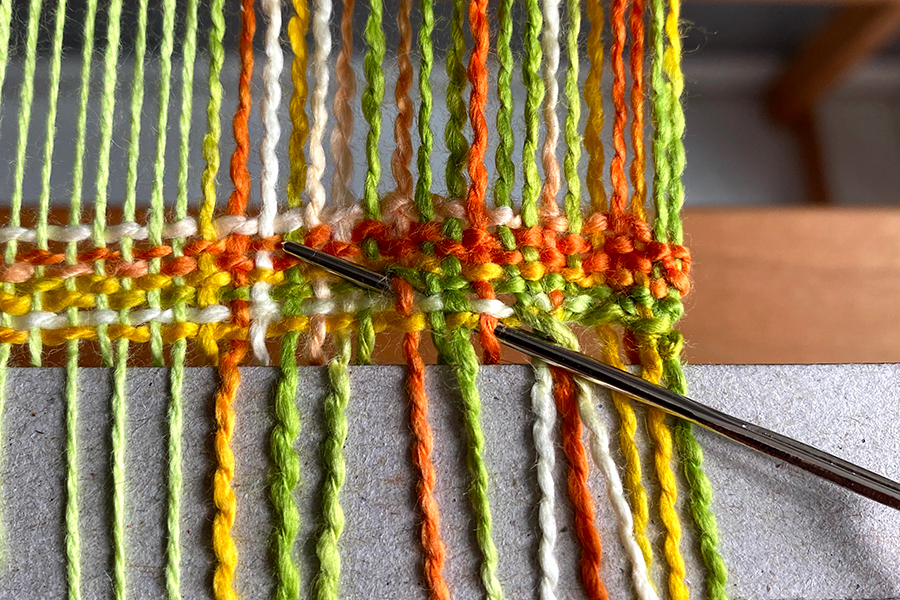
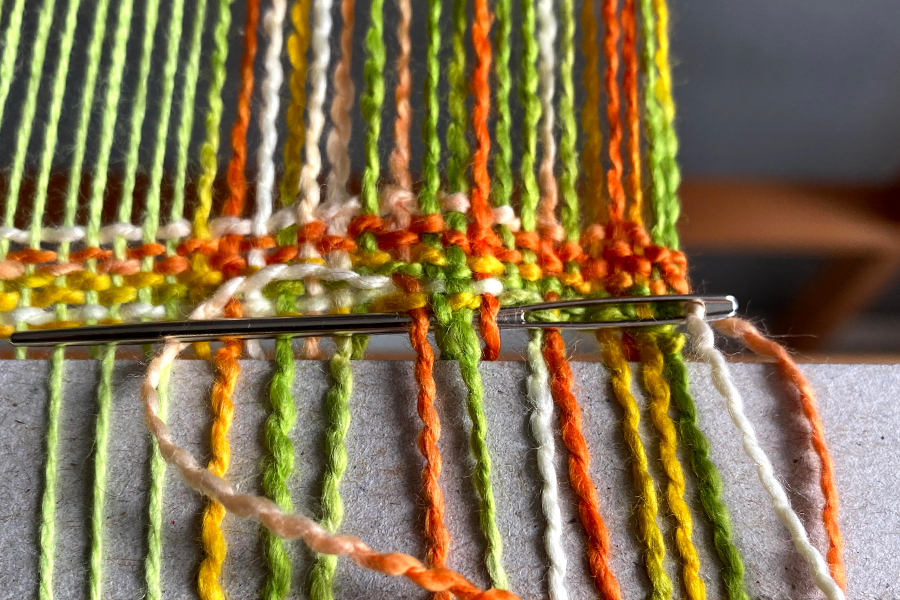
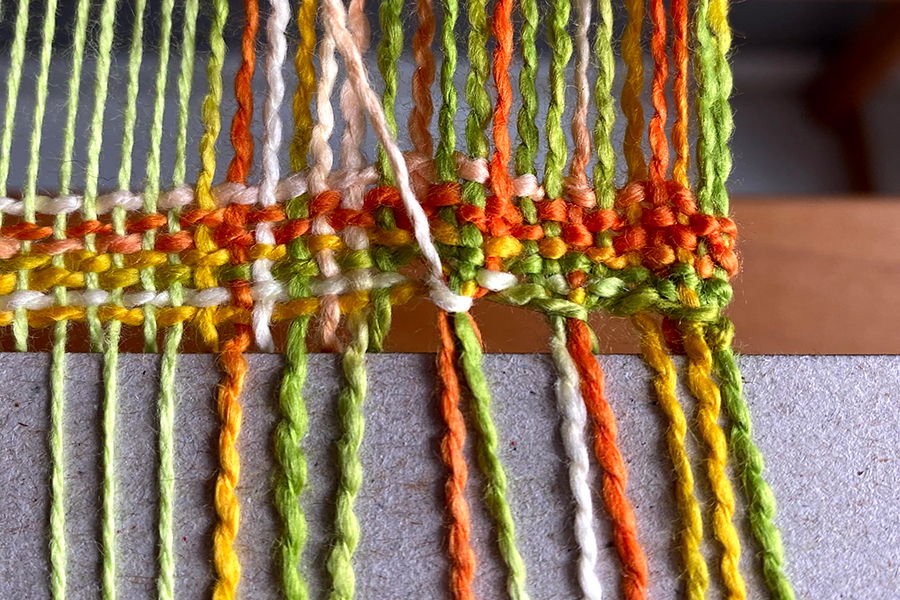
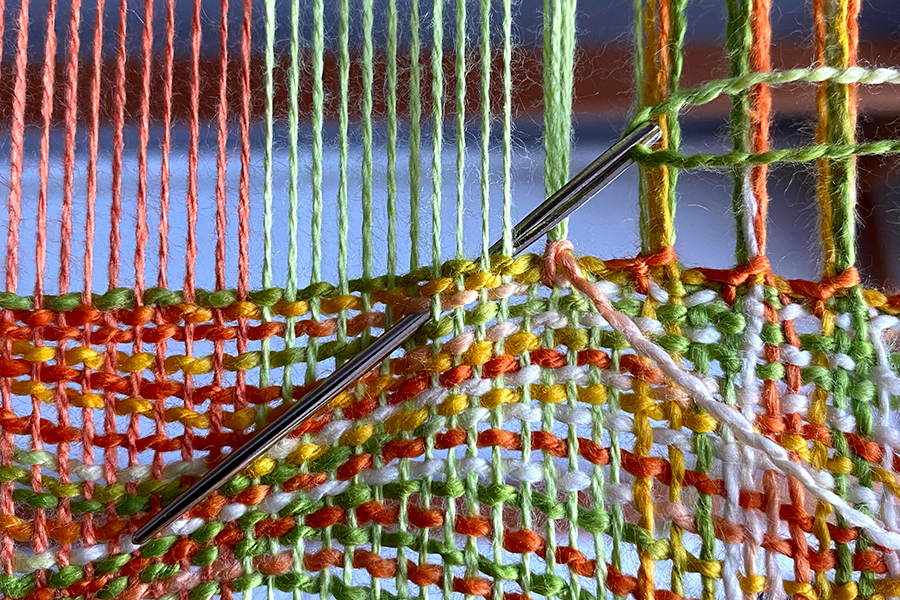
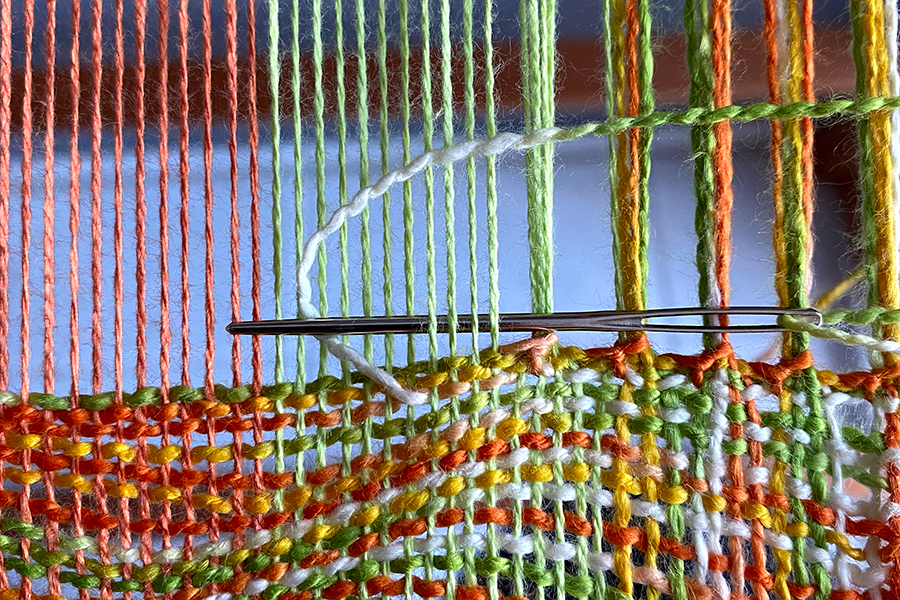
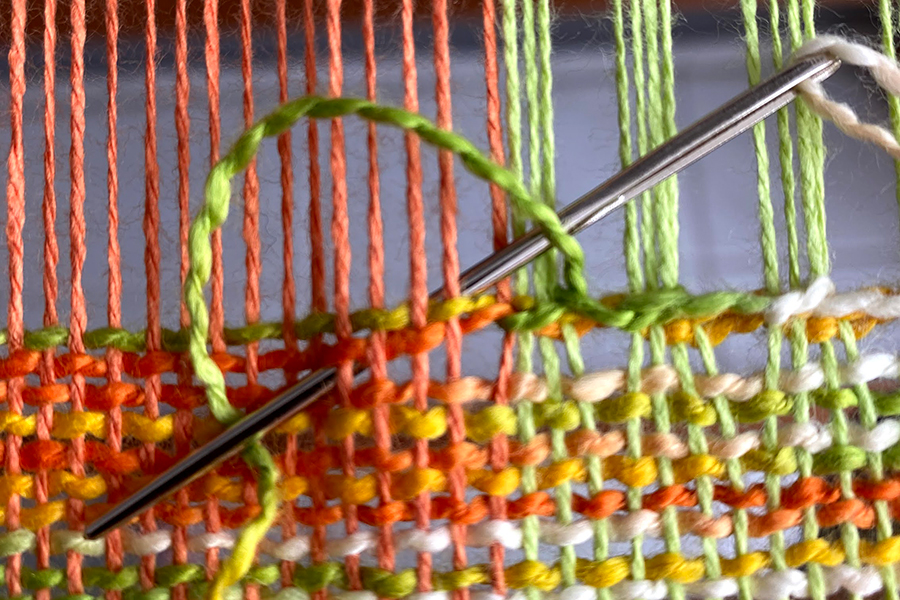
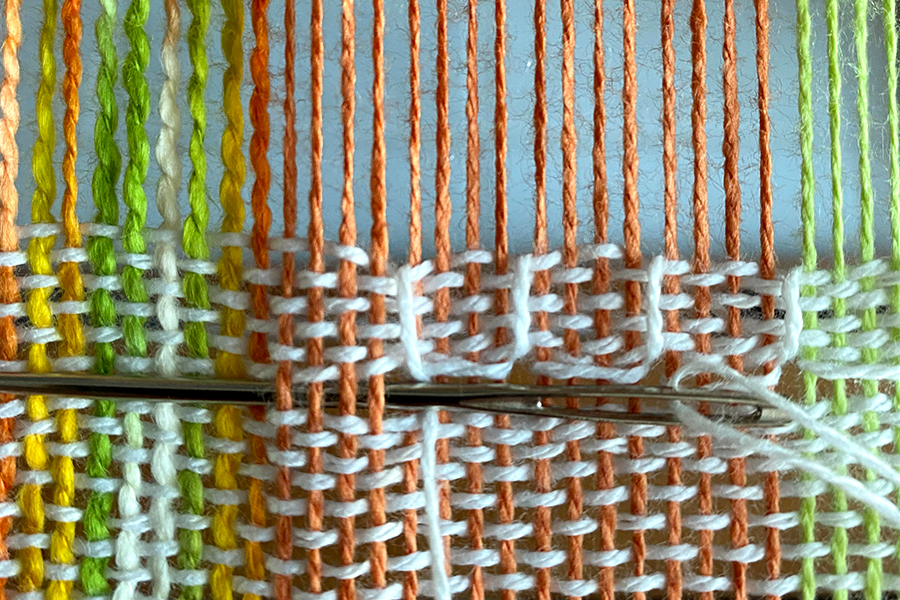
The hemstitch used to secure the fabric is very easy. When you start weaving, leave a thread which is about four to five times the width of the fabric. After you have woven a few rows, take a wool needle, thread the yarn tail through this needle and decide over how many threads the stitch is to be made. In this example, I put the needle under four warp threads in width and under one in length (i.e. in the weft, the rows which have already been woven). Pull the needle through and, in a second step, put the thread into a semicircle to the left. Once more pull the needle under the four warp threads and tighten it lightly, very lightly. There you are!
Steps 1a – 3a hemstitching when you start weaving.
Steps 1b – 2b hemstitching at the end of your weaving.
The Cheater Hemstitch
You may want to simplify the job (it’s not really cheating). With the “cheater hemstitch”, you perform all of the aforementioned steps in a single one (see left). Take four warp threads in width and one in height. Now pull the needle under the four warp threads in a row and place the thread in a semicircle over these four warp threads. Finished! The photo on the right shows a direct comparison: above you see the cheater stitch, below the classic one. I like the last one better.
The Italian Hemstitch
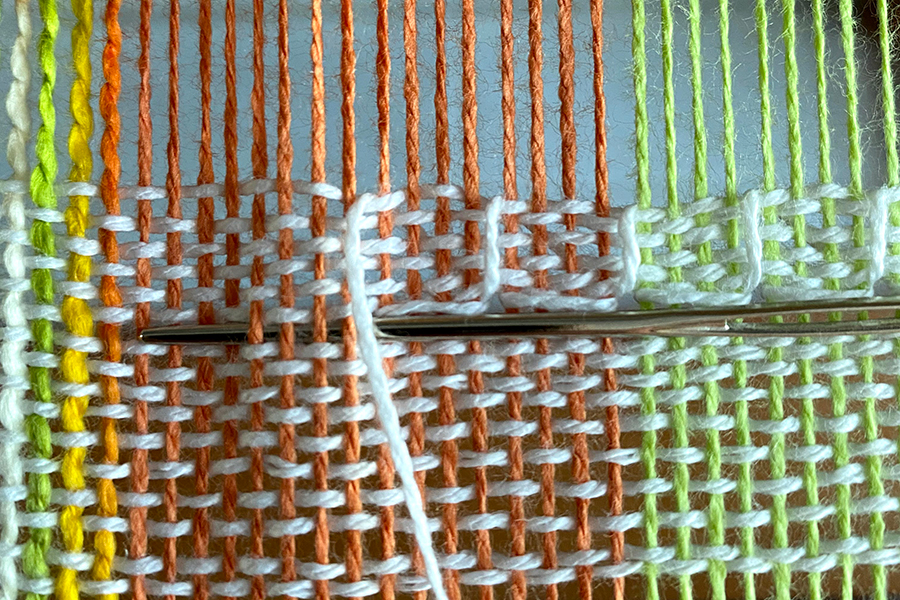
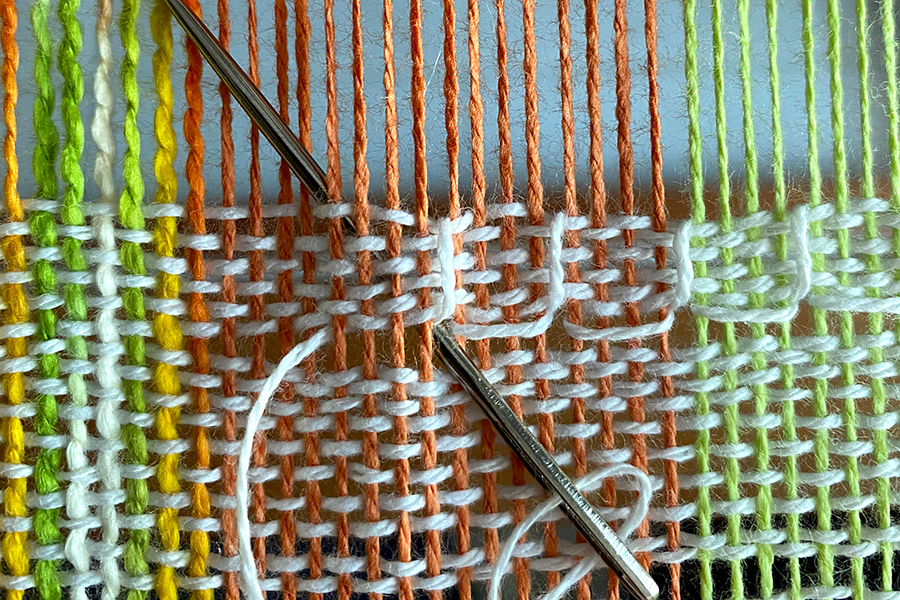
Once again – as you might have guessed – there are endless possibilities with this Italian hemstitch. Do you opt for a square form or more of a rectangle? Once you have decided, put the thread under (e.g. four) warp threads and pull it through. In the next step, pierce the needle diagonally from the starting position under as many threads as you like (in this example, under four warp threads) and pull the needle through. In the last step, pierce the needle once more horizontally from right to left – in the weft row – under the warp threads you want to secure with this stitch. This is what the Italian hemstitch looks like in the woven piece. Nifty, isn’t it?!
Zigzag Hemstitch
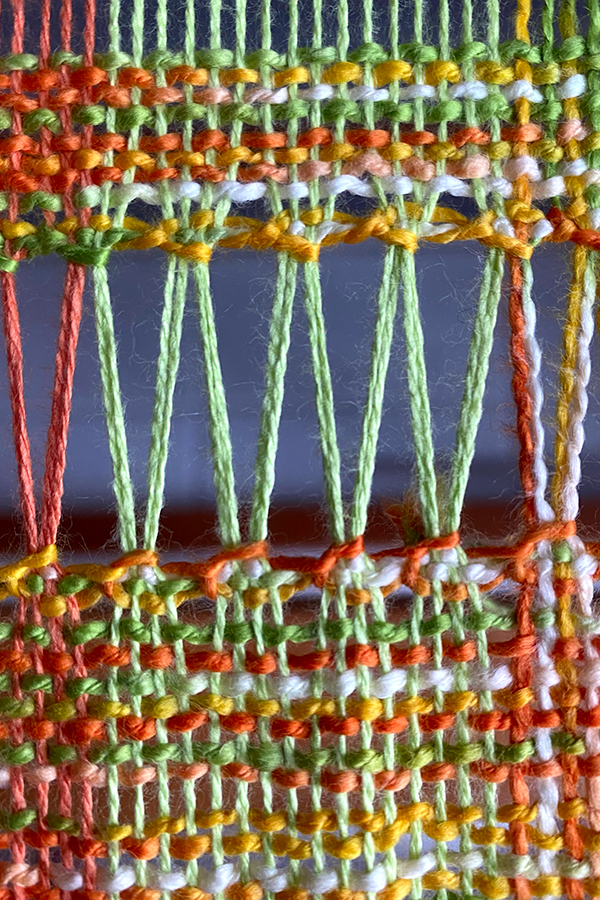
This is another great decorative element with endless possibilities. In this example, I did the hemstitch in the bottom row over four warp threads in width and three weft threads in height – or rather depth. Then I inserted something, in this case a pickup stick, but you could use a piece of cardboard or something similar. After the inserted item, I wove a few rows and then started the hemstitch with two threads in width, and later on continued with four threads each. This creates a staggered pattern which looks great. You can vary the width and the number of warp threads. Just remember to stagger the stitches, and you have unlimited possibilities.
The Ladder Hemstitch
The ladder hemstitch is similar to the zigzag stitch. Decide on the number of warp threads you want to take and bundle them by hemstitching. If you wish, you can put in a spacer again in order to separate the rows. Weave a few rows and then bundle the same number of warp threads with the hemstitch. Easy-peasy.
