Making waves

Kate
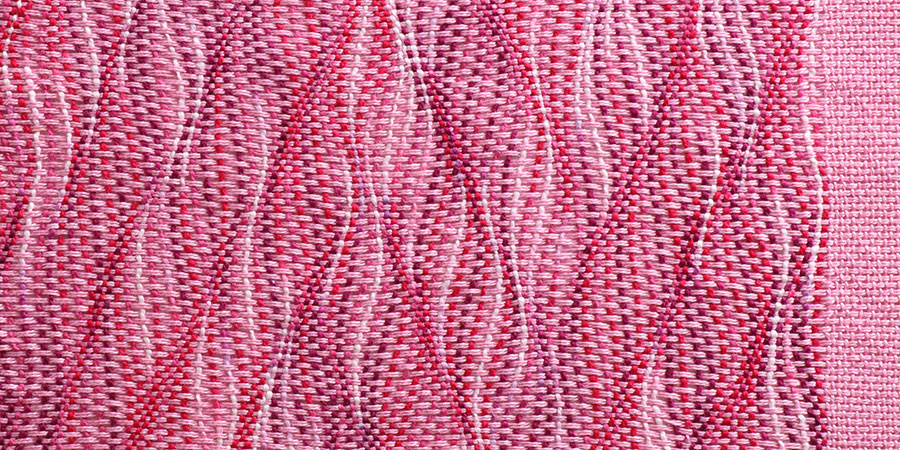
Liz Evans, from Downer, ACT, Australia shares her tips for creating eye-catching ripples in your weaving using an Ashford wavy shuttle.
Changing the Shed
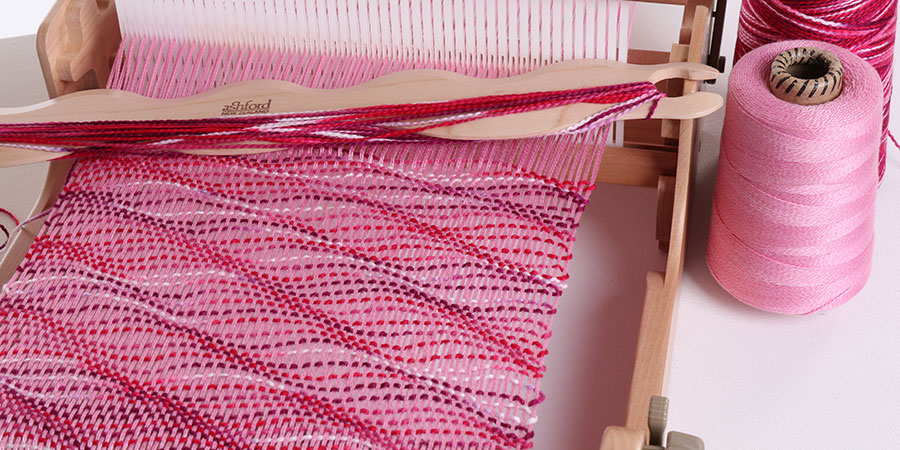
When using the wavy shuttle the heddle/reed is only used to change sheds and all the beating is done with the wavy edge of the shuttle. There are two ways that you can do this.
Basic Technique
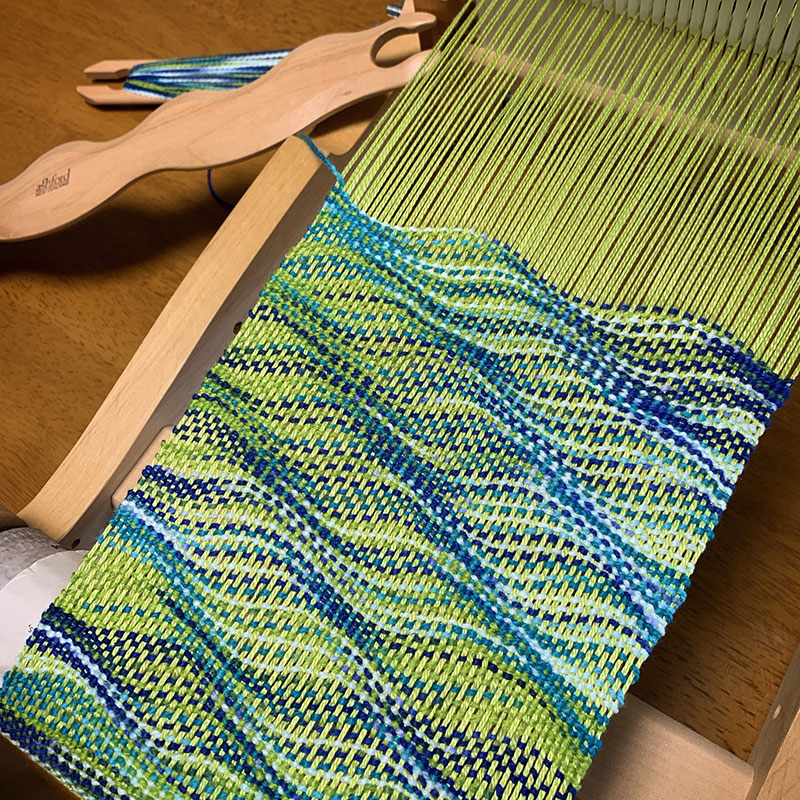
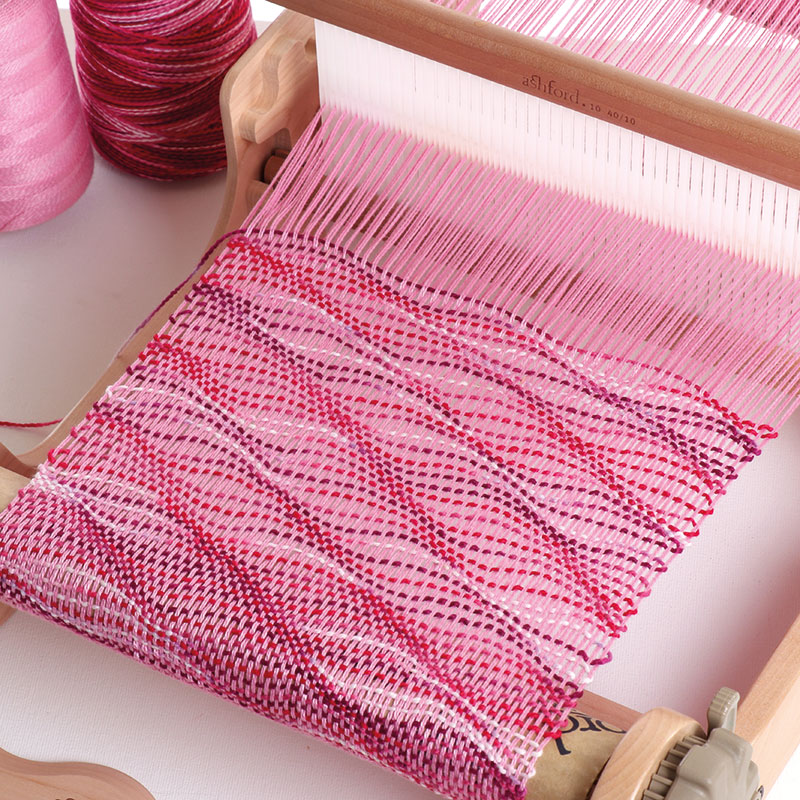
Wind the weft yarn either around the middle of the shuttle or if you plan to use only one side you can wind a figure eight on the opposite side. For the first pick pass the shuttle through the shed leaving a steeper than usual weft angle; because you are making waves the weft has further to travel than it does for a straight pick, so you need more of it. Change the shed and insert the shuttle into the new shed, beat the previous pick into place with the edge of the wavy shuttle and continue through the shed to complete the pick. Change the shed, insert shuttle, beat and continue through the shed. Continue weaving by repeating this sequence.
Alternate Technique
This technique uses a regular shuttle for the weft yarn and only uses the wavy shuttle as a beater. Place your first pick with your regular shuttle, not forgetting the steeper weft angle, change sheds, insert the wavy shuttle and beat, remove the wavy shuttle, insert regular shuttle to make the next pick, change sheds, beat with wavy shuttle. Continue weaving this sequence. You may find this technique easier to manage if you are using more than one shuttle in your project. It is also a little slower than the first technique but once you settle into a rhythm it does go quite fast.
Yarns
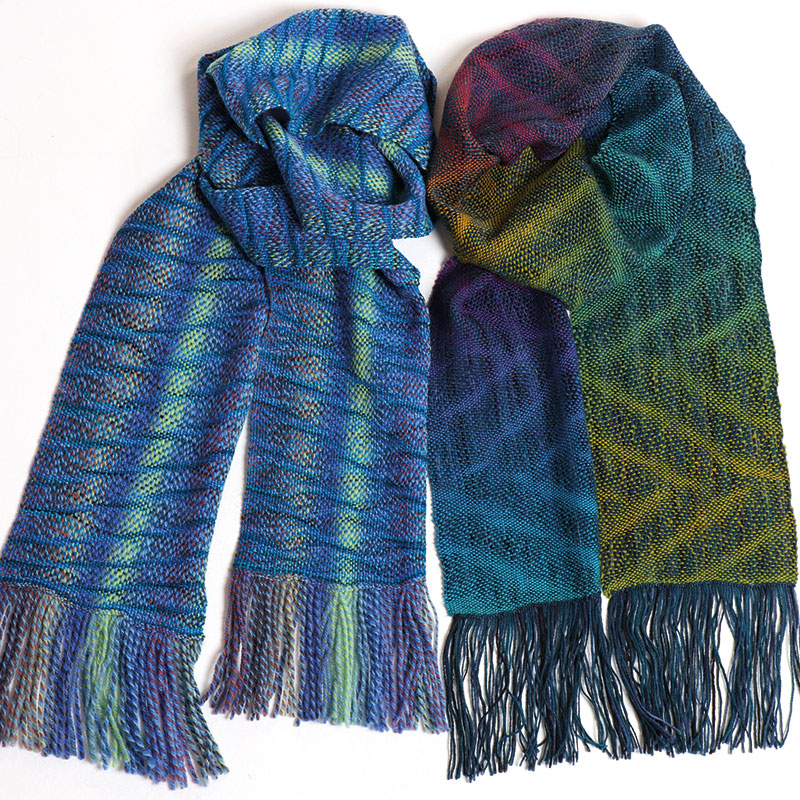
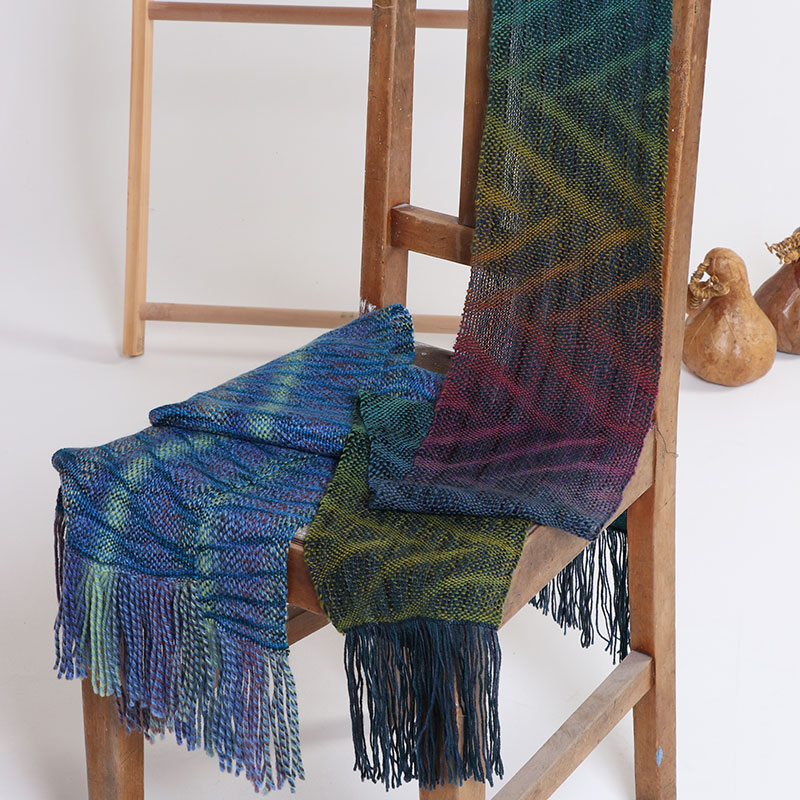
Wools and other ‘sticky’ yarns work best as they are less inclined to move and flatten out during wet finishing. Avoid lots of slippery yarns so you don’t lose those lovely waves. Although small amounts of slippery yarns used in conjunction with mostly ‘sticky’ yarns can work well. A yarn with a little bit of shine can give a wool cloth a nice pop. To make your waves stand out more use lots of contrast in colour and texture in both warp and weft yarns. It is a good idea to test your yarns first by making a sample to see how they will work.
Wavy Techniques
Stacked Waves
By beating with the wavy shuttle positioned in the same place each time you will create a stack of waves one top of another. This is good for horizontal weft stripes using lots of contrast in your colours and textures, so the waves show up well. One yarn on its own will give you a very subtle effect – the waves are there but can be difficult to see, even with a contrasting colour in the warp.
Offset Waves
Start by making a stack as above for several picks then make an offset stack by moving the wavy shuttle to one side before beating so that where you had a hill you are now making a valley directly on top of it and where you had a valley you now have a hill. There will be an area of unwoven warp between the previous valley and the new hill. During finishing the weft threads in this area will close up a little giving you a repeating pattern of dense and loose weave. So, use lots of contrast between the warp and weft threads to show it off to best effect. You can use the same number of picks in each stack for a regular pattern but what happens if you use different numbers of picks in your stacks?
Diagonal Waves
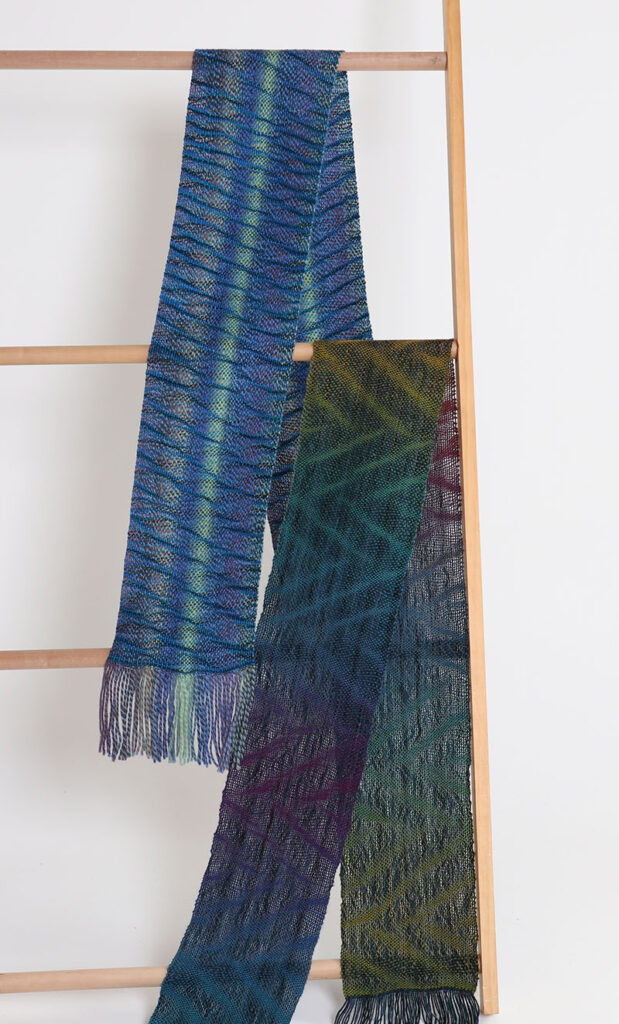
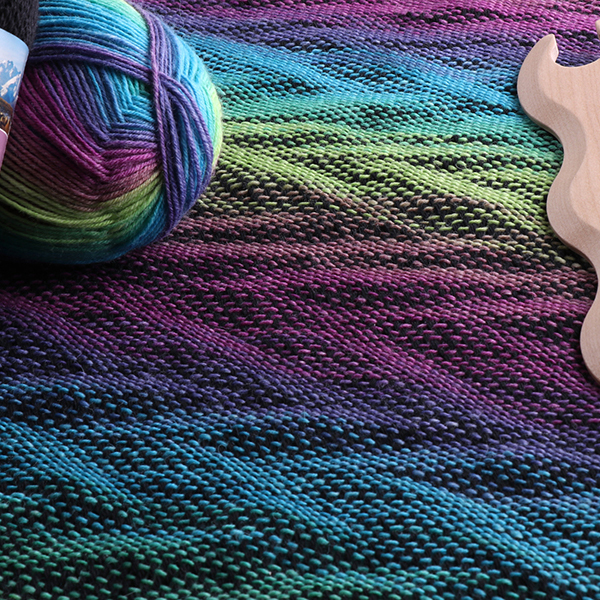
Make diagonal lines across your cloth by moving the wavy shuttle slightly in the same direction each time you beat. Only move it by a few warp threads each time. A smaller shift on each beat will give you a steeper diagonal and longer shift will give you a shallower diagonal. This will give you a series of densely woven diagonal lines moving up your cloth with a more open, lacy weave in between.
Zig-Zag Waves
Start weaving a diagonal and simply change the direction of your shift to create a zig-zag. The fewer rows you weave between changes the shorter the zig-zags will be and more rows between will create longer zig-zags. As with the diagonals you will have densely woven zig-zags with a more open weave in between.
Random Waves
This is exactly what it sounds like, just make it up as you go along! A random woven scarf would be a great project to experiment with and get used to your wavy shuttle. Use a variety of coloured and textured yarns with the above techniques and perhaps invent some new ones of your own. This will give you a good idea about how different yarn types and colour combinations work with the wavy shuttle.
Finishing
Wavy shuttle weaving can be wet finished in the usual way but it’s best not to be too vigorous in case the yarns move about too much and you lose some of your lovely waves. Some gentle swirling and pressing should be enough. When you take the weaving out of the water squeeze it, don’t wring, roll in a towel to remove the last of the excess water and then spread out flat to dry.
For more control over the waves (when woven in wool) you can lay the dry weaving out flat on a sheet of bubble wrap, wet it down with warm soapy water (a plastic bottle with holes punched in the lid is good for this) making sure it is well saturated. Now roll up the bubble wrap with your weaving inside and roll backwards and forwards about 50 times. Unroll and check the weaving, if any yarns have moved out of place you can use your fingers, a knitting needle or similar tool, to push the yarns back into place. Reroll from the other end and roll another 50 times. Unroll and check again. Keep repeating until your weaving is fulled enough. Usually 150 to 200 rolls are enough, but this will depend on your particular yarns and preference. Rinse, squeeze, roll in towel and then lay out flat to dry.
