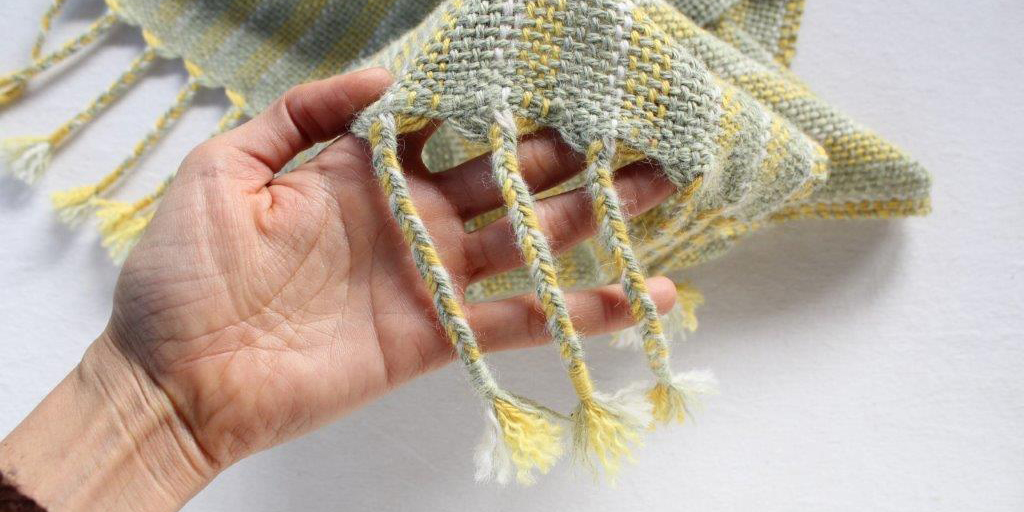
Andean braid – a fringe technique
It has been a while since my last blog post! Covid 19 certainly has been disruptive. I do hope you are all well and safe and managing in these unusual times. I am really excited to bring you this blog post, a tutorial with video for doing an Andean braid fringe technique.
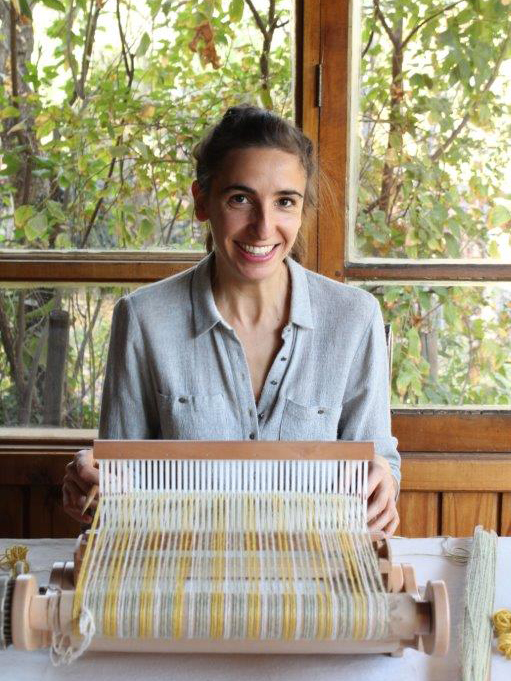
This blog post is from Fran Caselli, creator, weaver, teacher and traveller – from Santiago, Chile. We featured Fran in Issue 31 of the Wheel Magazine.
I hope you will give this technique a go.
Happy weaving!
Kate
Andean Braid – Fringe Technique
By Fran Caselli
Weaving in times of quarantine has become a balm for the soul, a sacred time and space of stillness and movement, of silence and reunion with oneself.
I have been in the mountains for 120 days in quarantine, autumn has slowly become my faithful companion and has given me much inspiration and clarity to weave a new story of myself.
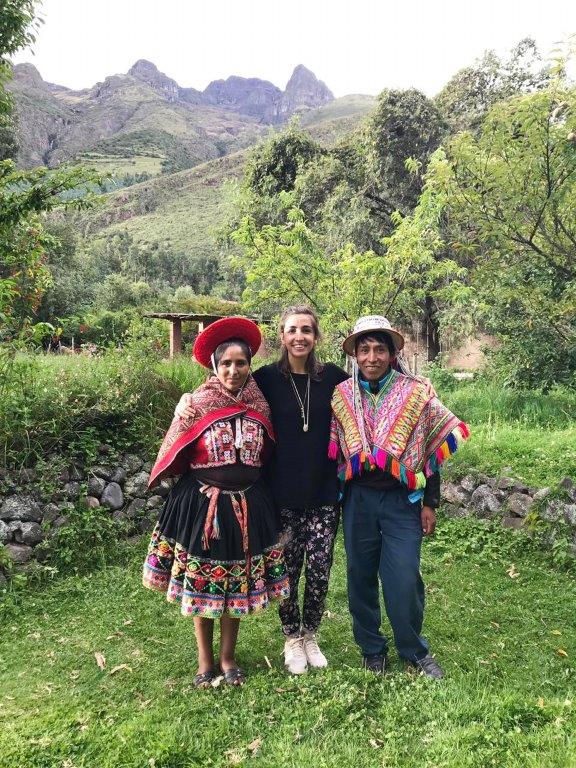
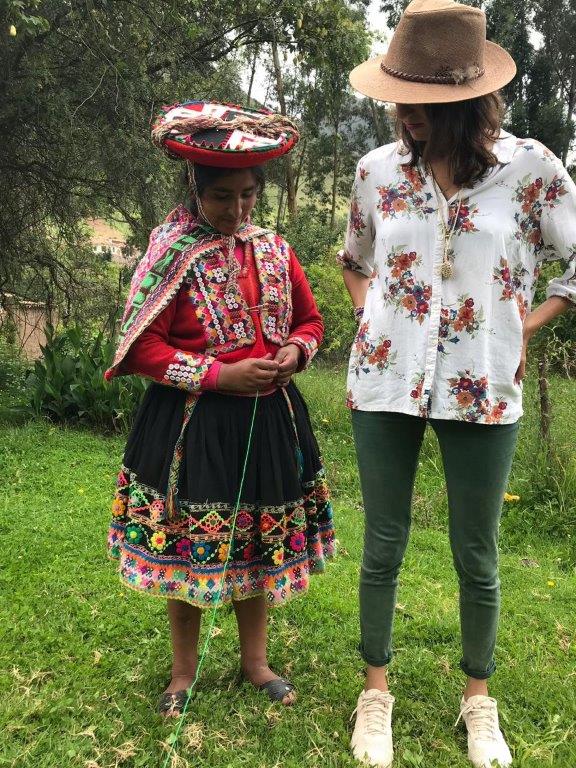
Today I want to share with you a finishing technique that I deeply admire: it is the Andean braid, an ancient technique that I learned from the hand of Alicia and Pedro, master weavers of the Peruvian Andes, who taught me their ancestral knowledge at the feet from the Apu Pitusiray, a town in the interior of Cusco, on a textile learning trip that I made in early 2019.
The Andean braid is used as a powerful representation resource, through the braided fringes an image appears that evokes snakes, a benchmark of great importance in the Andean world.
To share with you this ancient technique is to renew the recognition of the cultures of the Andes and the extraordinary legacy that lives in its weavers.
I hope you enjoy it as much as me!
You will need:
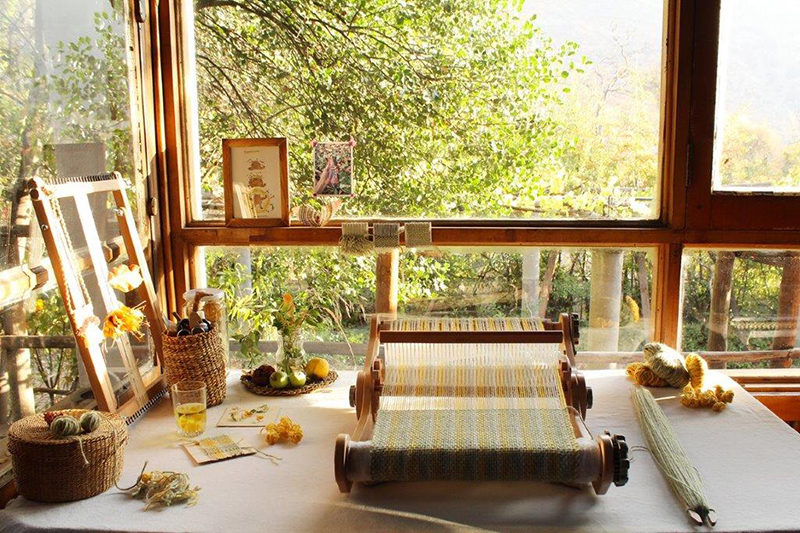
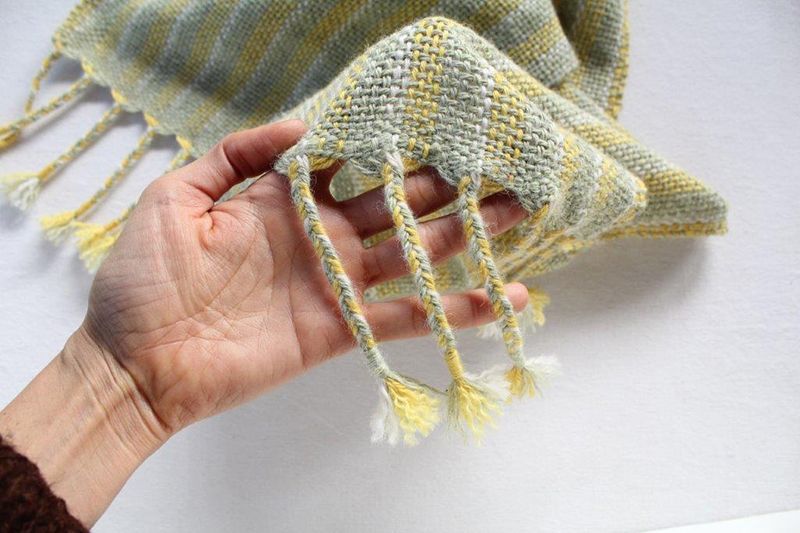
A beautiful woven fabric made by your own hands, try to leave 25cm of fringes on each end.
Let’s start!
The first thing is to fix the fabric to the table, use your shuttle and a pair of clamps to tighten the fringes.
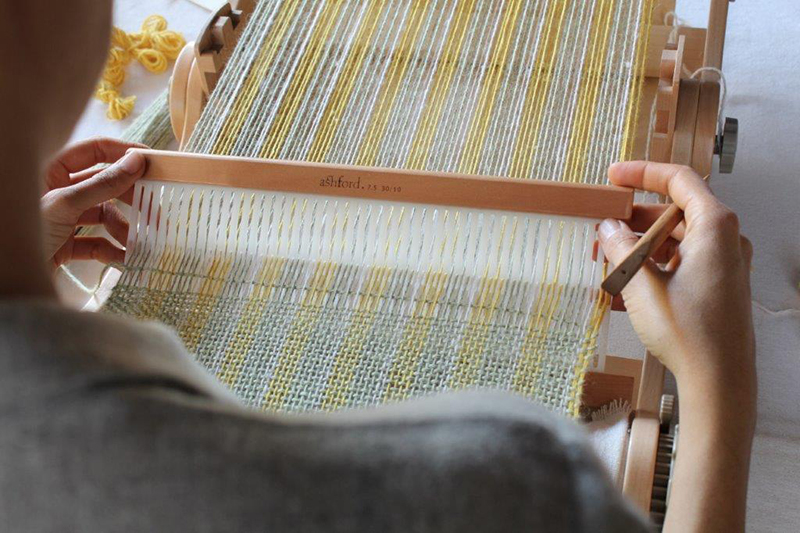
To make the braid we are going to work with 5 loops (10 warp threads), regardless of the width of your reed, try to warp in multiples of 5, I use a 7.5dpi reed on a 30cm Ashford loom, to achieve 45 loops (9 braids) I warped the last slot double.
Knot 5 pairs of fringes, the threads must be in tension.
This braid is worked with the index, middle and ring fingers of each hand. Distributing three in one hand and two in the other.
So, if you have three threads in the left hand, the index finger of the right hand must be free to be able to pick up the loop of the ring finger of the left hand,
The free ring finger takes the loop that was on the middle finger and this, in turn, takes the loop that was on the index of the same hand.
When the index finger is free, the sequence is restarted, taking the loop that is on the ring finger of the right hand and I repeat this sequence over and over again.
After each crossing, it is important to open your arms to move the crossing and compress the braid.
I repeat this sequence until the desired length is achieved. I left the braids 10cm long.
Wrapping
To finish we are going to wrap the braid. We are going to need a strand of about 15-20 cm long and we are going to make a cane leaving the curve down. I take the longest strand and start to wrap the braid to my left in a downward direction. Just like the braid was tense, it is important to tense the wrapping. We continue this action in order to avoid wrapping the previous wrap, the length is optional, I did about 2cm. In order to finish, I insert the tip of the strand into the loop very carefully, without releasing it, then I take with my index finger and thumb the other end and pull up, accommodating the strand below and hiding it inside the wrapping, I cut the strands. Then we cut the knots and excess fringe Personally, I like to open the fringe strands to make them more pompous. If you dare to do it, you can brush them with a pointed tool.

