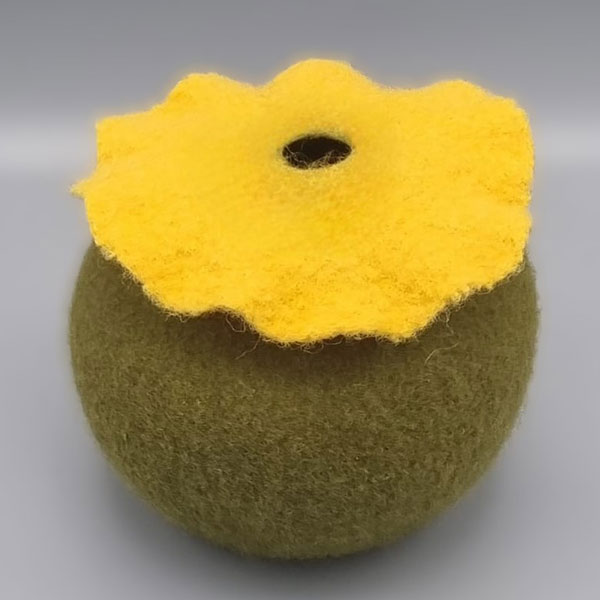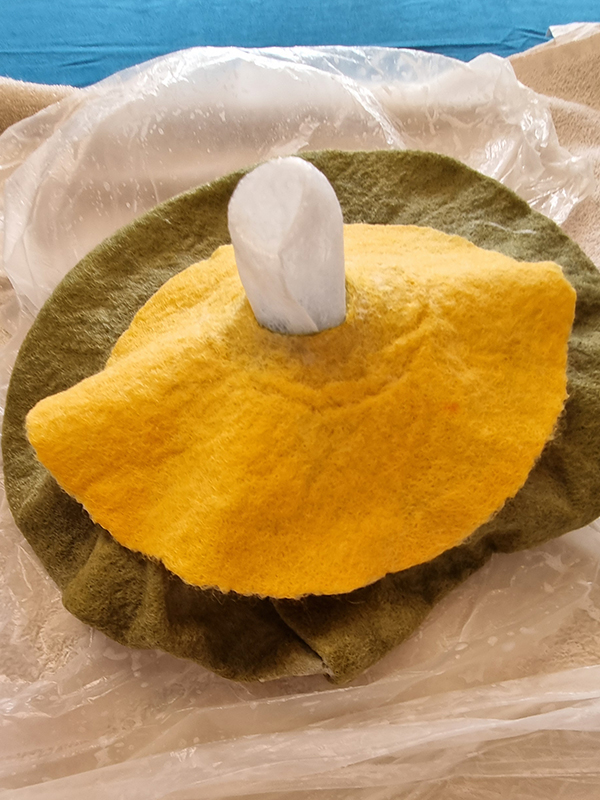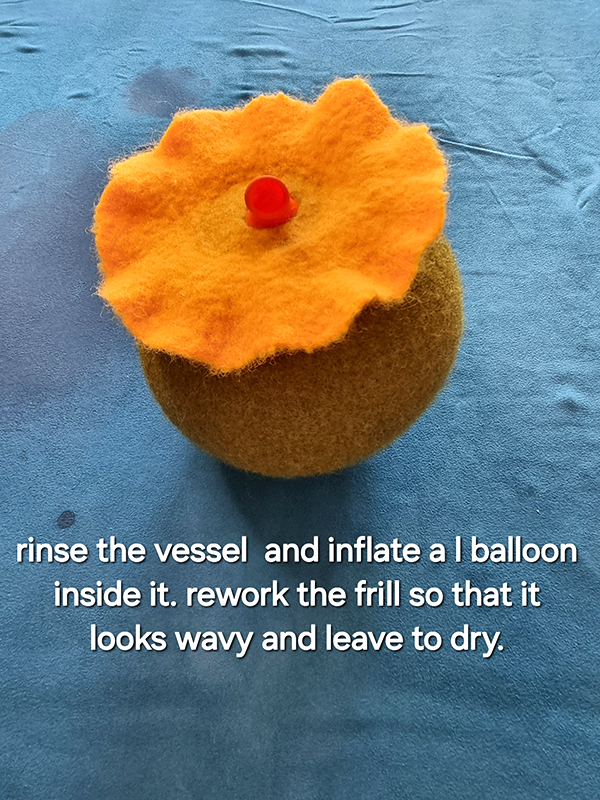
Felted Frilled Vessel
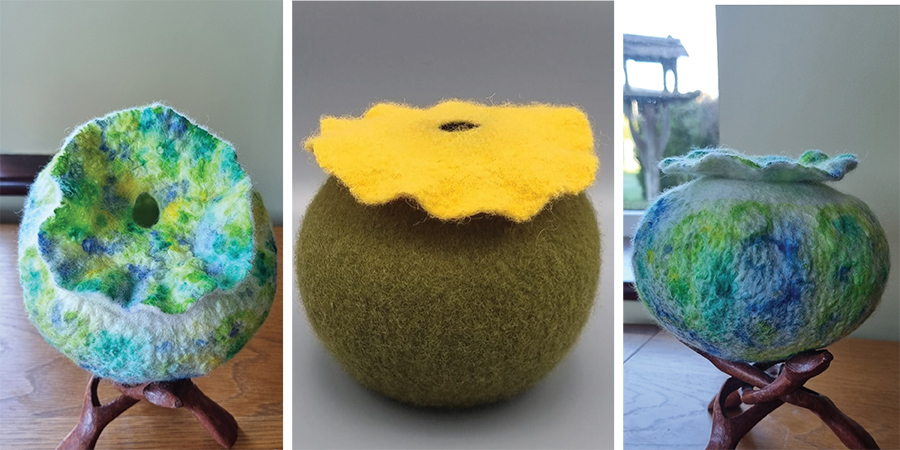
I meet Helene when she visited us here in Ashburton last year. Helene has been felting for over 10 years and enjoys working on flat and structured 3D pieces, loves experimentation and pushing textile boundaries and has exhibited locally and internationally. I would like to thank Helene for sharing these fantastic, detailed, step-by-step instructions which are easy to follow even if you are a beginner felter. This technique can be applied to create a variety of vessels, bowls and decorations.
I hope you enjoy giving this project a go.
Happy felting!

Kate

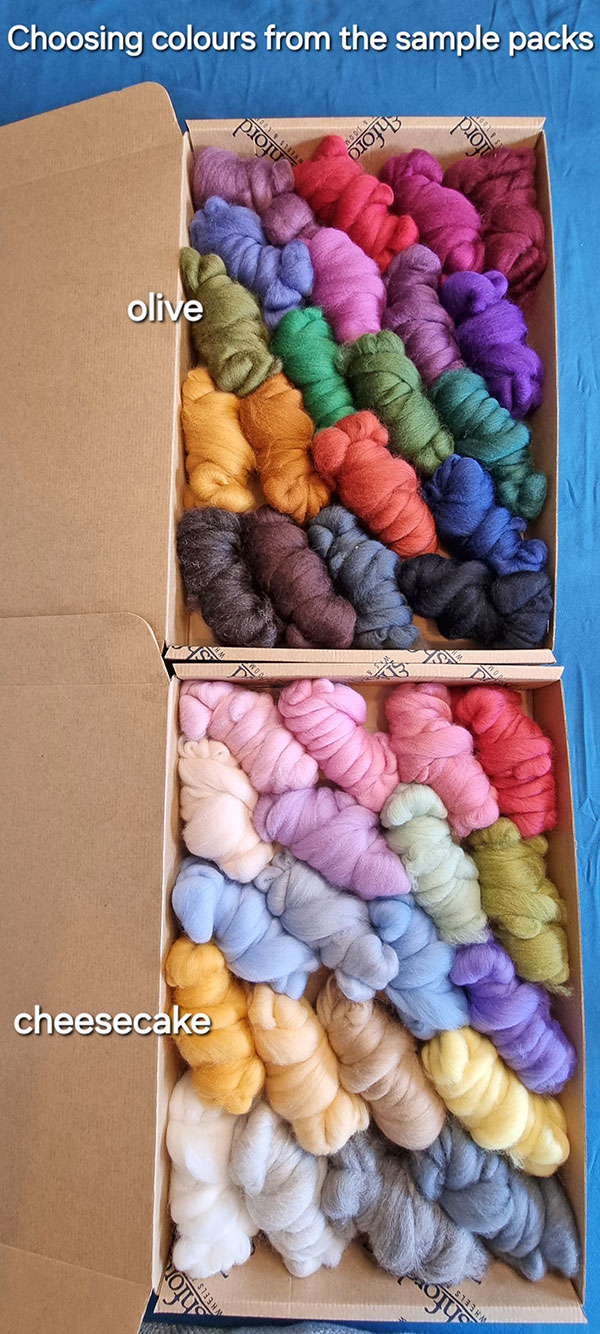
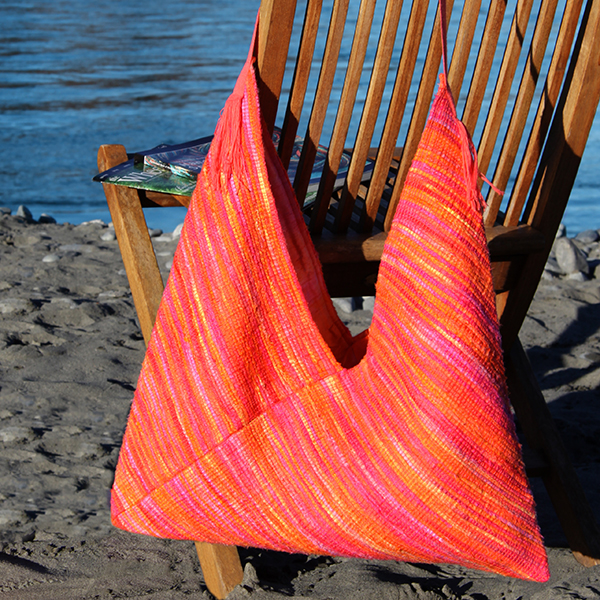
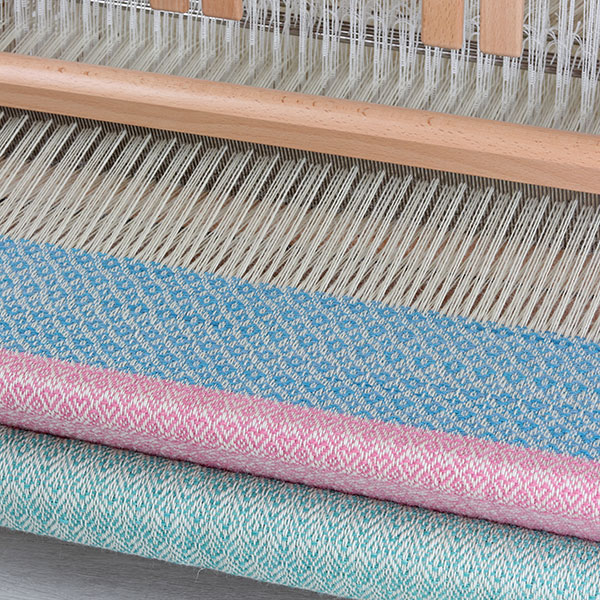
The Corriedale fibre from Ashford which was used for the frilled vessel project was a joy to work with. From a technical viewpoint, it was straightforward and quick to lay out and effortless to felt, even while using a cool soapy solution throughout the majority of the process. It produced a really sturdy piece so I can see myself using this fibre in more of my 3D work! That said, my felt-making adventures will stretch further with the Corriedale fibre. Its softness makes it the perfect candidate for wearables such as hats, handbags and even gloves. I loved the array of shades too – from the pretty pastels to the jewel like tones, there is bound to be something to suit everyone’s taste. I am looking forward to playing with these colours and blending some for my next project!
Helene Dooley
Designer