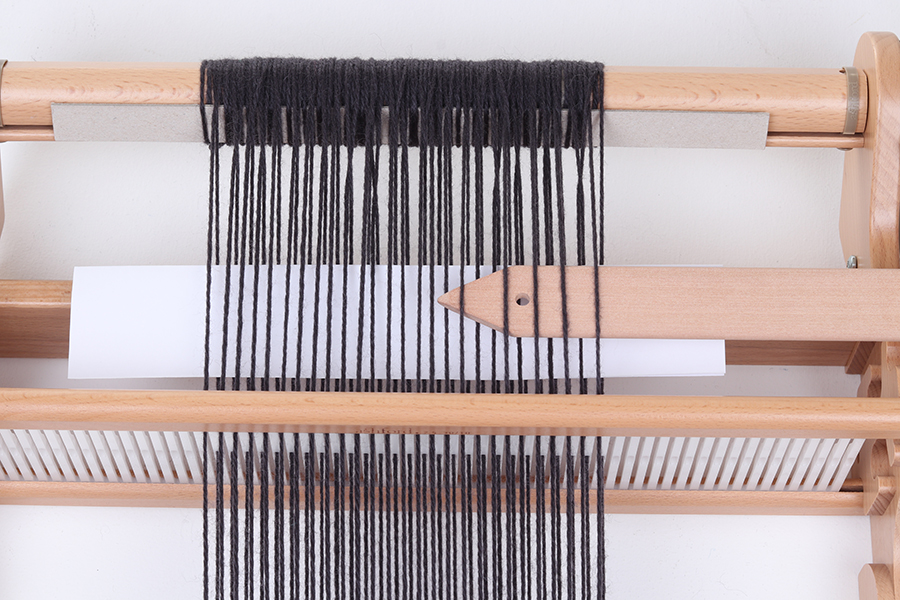
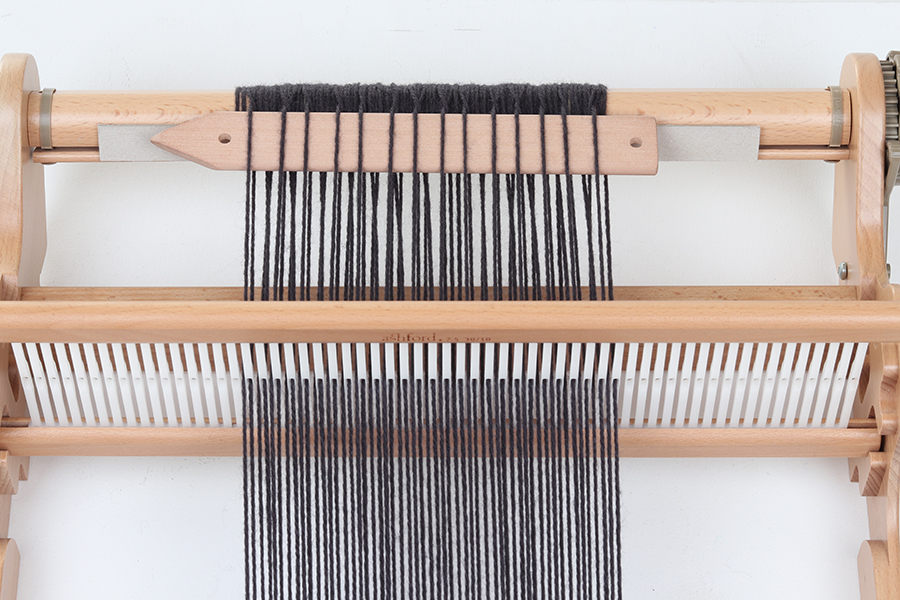
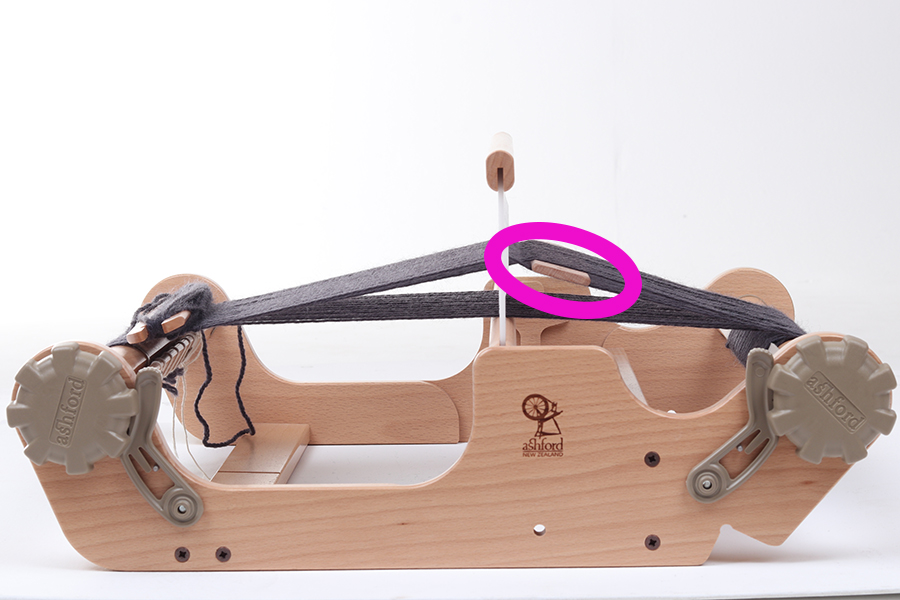
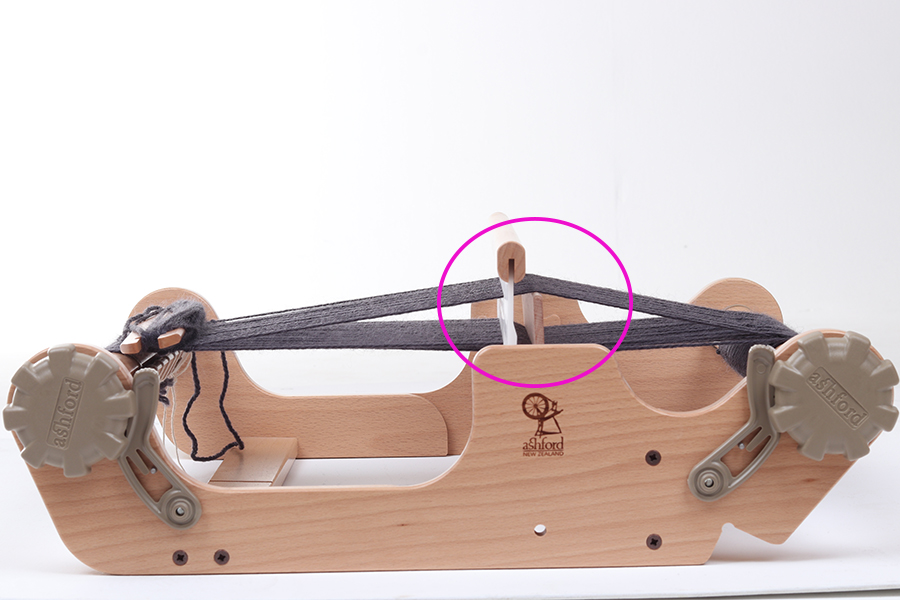
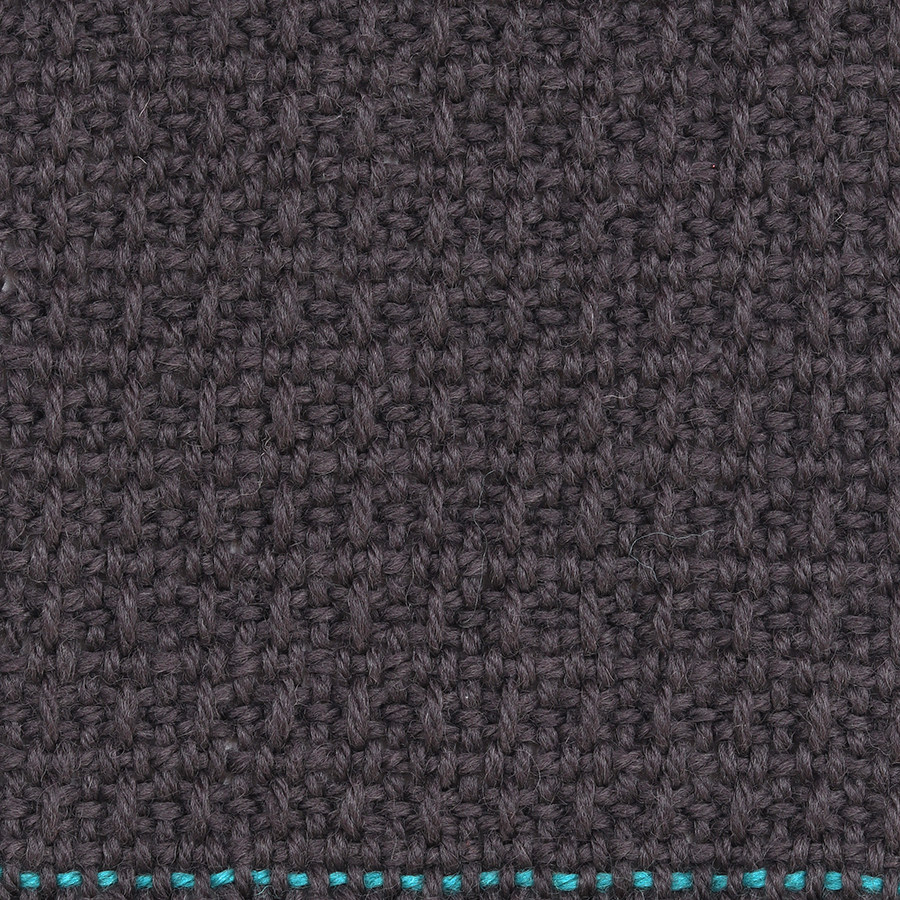
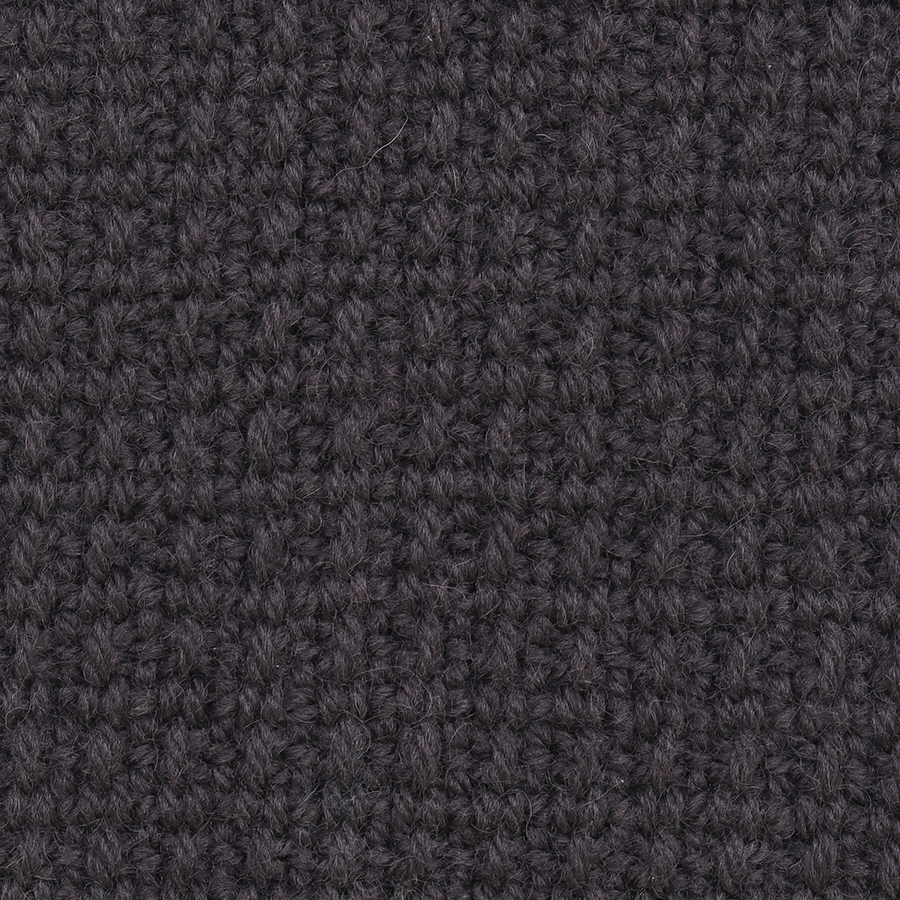
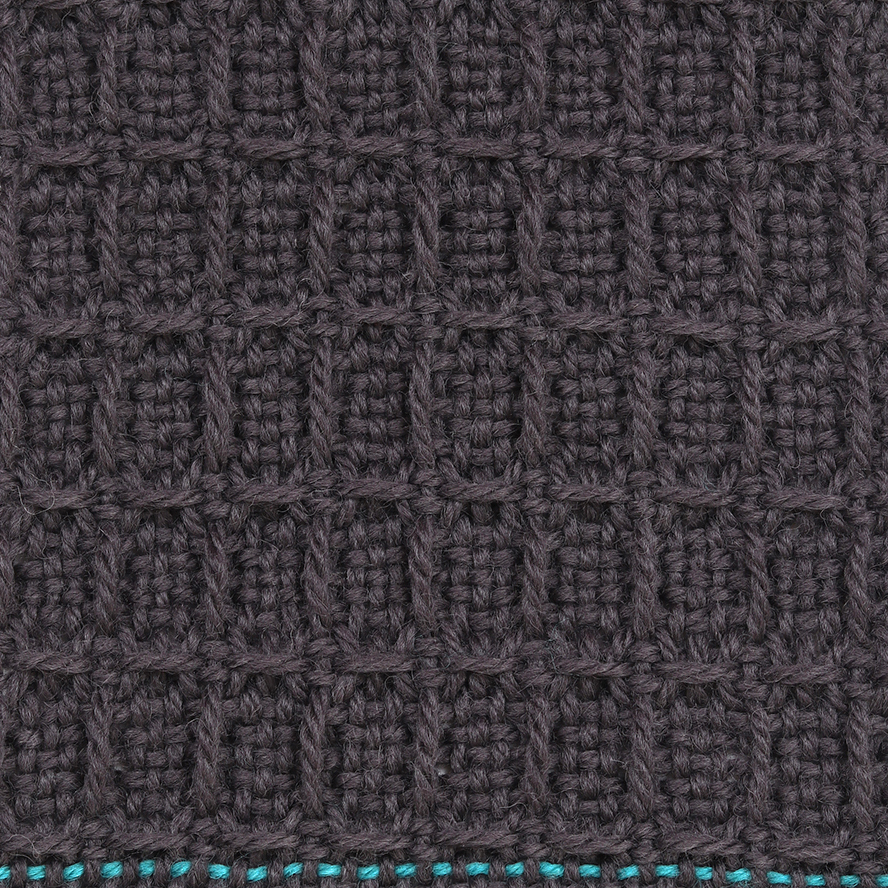
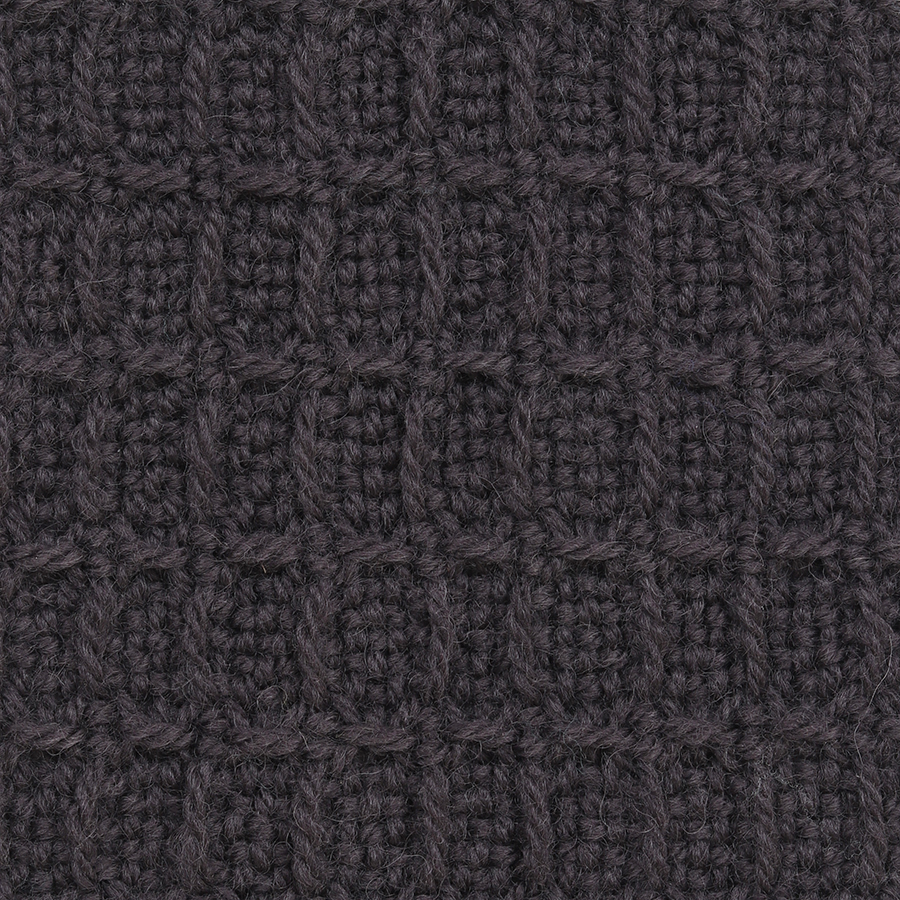
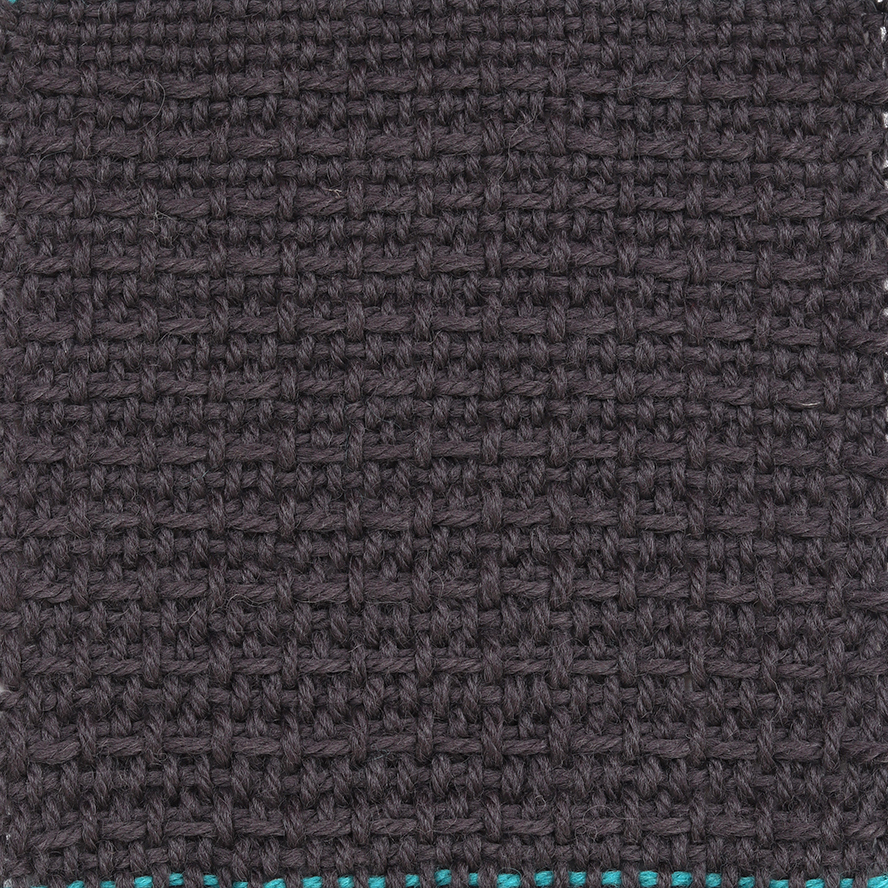
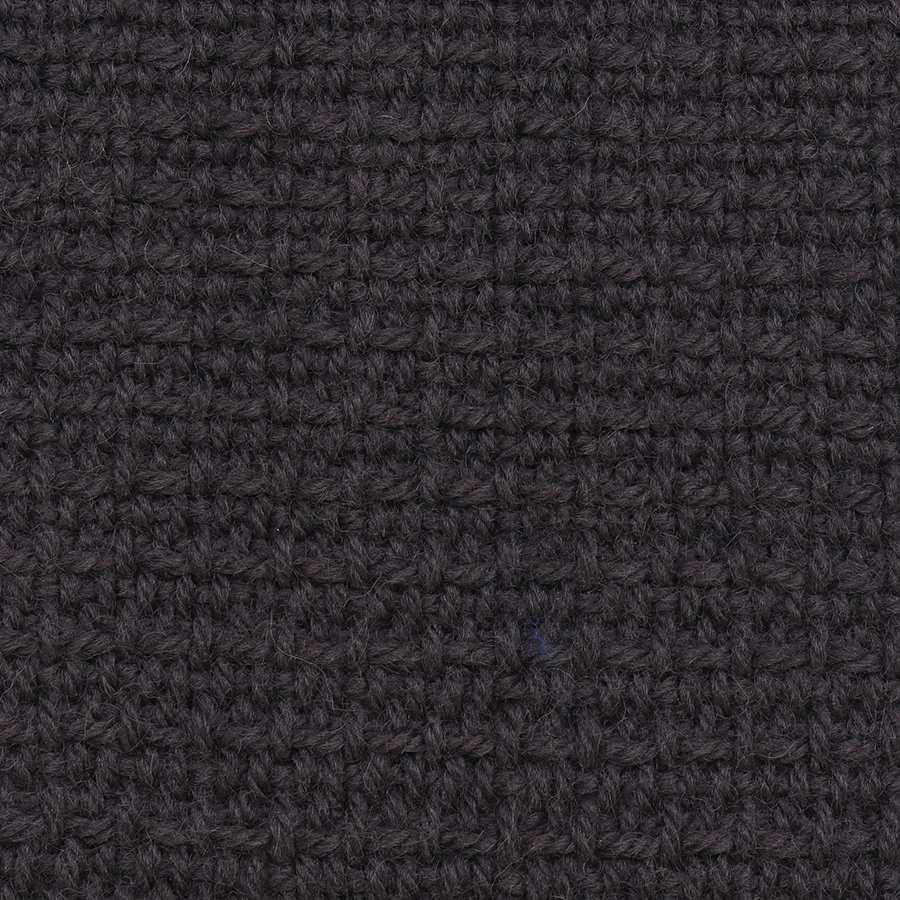
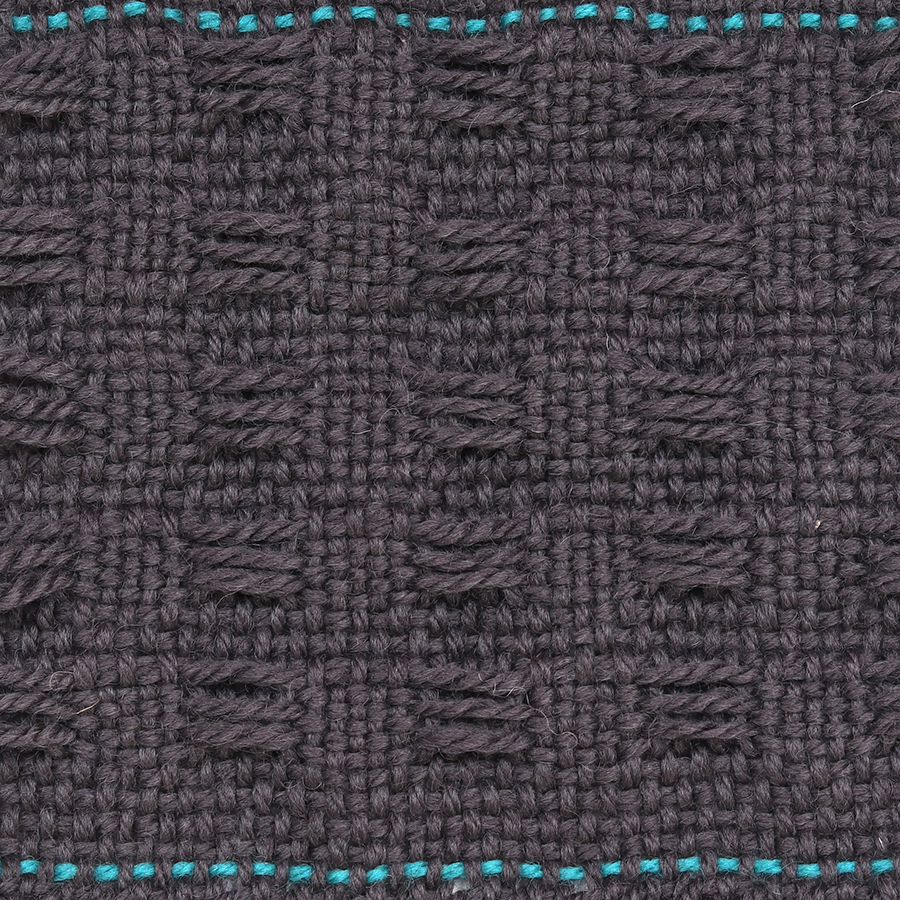
Fun with Pickup Sticks – Part 1
These patterns are not only fun to experiment with, but they also open up a world of creative possibilities. Whether you’re a seasoned weaver or just starting out, I hope you enjoy exploring and trying out these designs. Happy weaving!
Kate
The sampler below was warped up using Ashford Triple Knit yarn in the colour Shadow.
You will need:
Loom: Ashford Rigid Heddle Loom 25cm (10”) or wider
Reed: 7.5dpi
Warp and Weft Yarn Quantity: Ashford Triple Knit yarn in the colour Shadow. 100% wool. 1 x 100gm ball.
Hint: Weave a few rows of plain between each pattern or place a contrasting thread is I have.
Here’s how:
Total warp ends: 54 (you can do this sampler any width)
Total warp length: 1.5m (5ft)
Width in reed: 18cm (7ins)
EPI (ends per inch): 7.5
PPI (picks per inch): 7.5
Legend:
PUP = Pick up pattern. This is the sequence you pick up the threads behind the reed. The reed is in the down position when you pick up the threads that are in the slots. You never pick up threads that are in the holes/eyes.
When the pattern says “PUP – Over 1, Under 1” – you take your pickup stick over the first thread, then under the second thread etc. the full width across the warp. If the pattern says “PUP – Over 2, Under 2” – you take your pickup stick over the first 2 threads, under the next two threads etc. the full width across the warp.
Hint: If you find it difficult to see the threads place a piece of paper or card between the layers.
When the Pickup stick is not in use always slide it to the back by the roller.
(click on images to view larger size)
UP – Reed in the up position (A)
DOWN – Reed in the down position (B)
NEUTRAL – The reed in neutral position
UP P/S Forward Flat – The reed is in the up position, and the pickup stick has been slid forward to behind the reed but is still flat (C)
NEUTRAL P/S Forward Side – The reed is in neutral, and the pickup stick is forward and turned on its side (D)
Hint: Weave a few rows of plain between each pattern or place a contrasting thread.
Pattern #1
PUP – Under 1, Over 1
Row 1: DOWN
Row 2: UP P/S Forward Flat
Row 3: DOWN
Row 4: UP
Continue repeating Row 1 – 4
Pattern #2
PUP – Under 1, Over 2
Row 1: UP
Row 2: NEUTRAL P/S Forward Side
Row 3: UP
Row 4: DOWN
Row 5: UP P/S Forward Flat
Row 6: DOWN
Row 7: UP P/S Forward Flat
Row 8: DOWN
Continue repeating Row 1 – 8
Pattern #3
PUP – Under 1, Over 1
Row 1: UP
Row 2: DOWN
Row 3: NEUTRAL P/S Forward Side
Continue repeating Row 1 -3
Pattern #4
PUP – Under 2, Over 1
Row 1: DOWN
Row 2: UP P/S Forward Flat
Row 3: DOWN
Row 4: UP P/S Forward Flat
Row 5: DOWN
Row 6: UP
Continue repeating Row 1 -6
Pattern #5
PUP – Under 1, Over 1
Row 1: UP
Row 2: NEUTRAL P/S Forward Side
Row 3: UP
Row 4: DOWN
Continue repeating Row 1 – 4
Pattern #6
PUP – Under 1, Over 1
Row 1: UP
Row 2: NEUTRAL P/S Forward Side
Row 3: DOWN
Row 4: NEUTRAL P/S Forward Side
Continue repeating Row 1 – 4
Pattern #7
PUP – Over 3, Under 3
Row 1: NEUTRAL P/S Forward Side
Row 2: UP
Continue repeating Row 1-2 three more times, then weave some plain weave then repeat the pattern.
If you have enjoyed these patterns – make sure you are signed up to receive our Blog notifications and you will be notified when Part 2 is published.
