How to spin a bouclé yarn
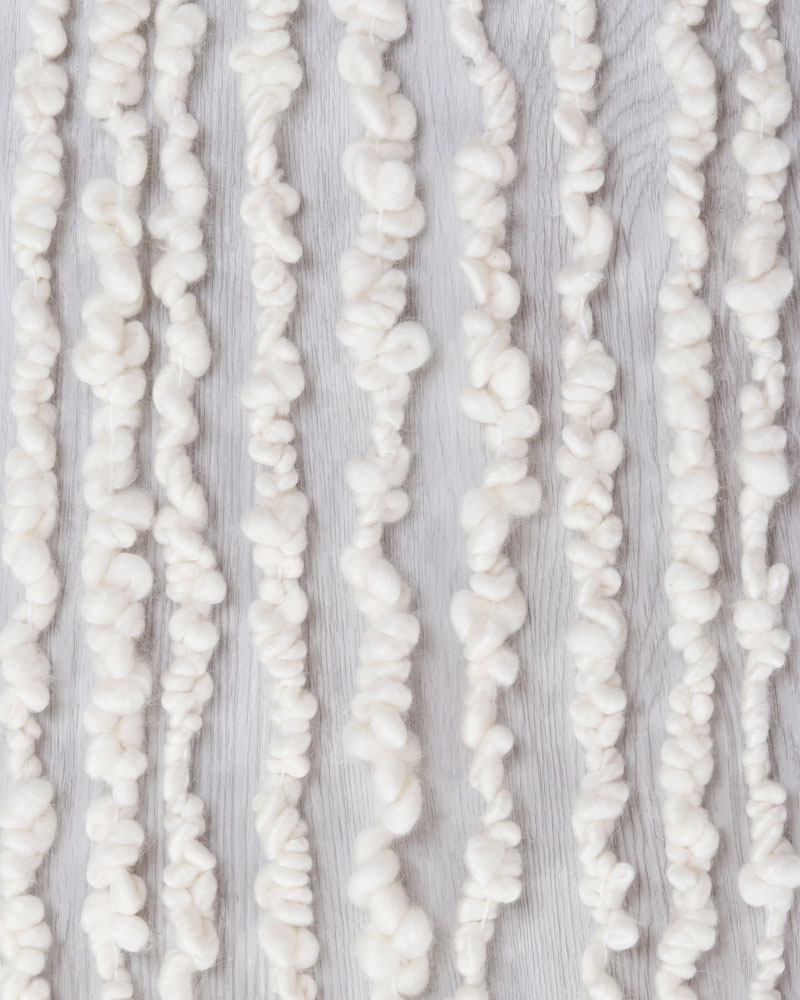
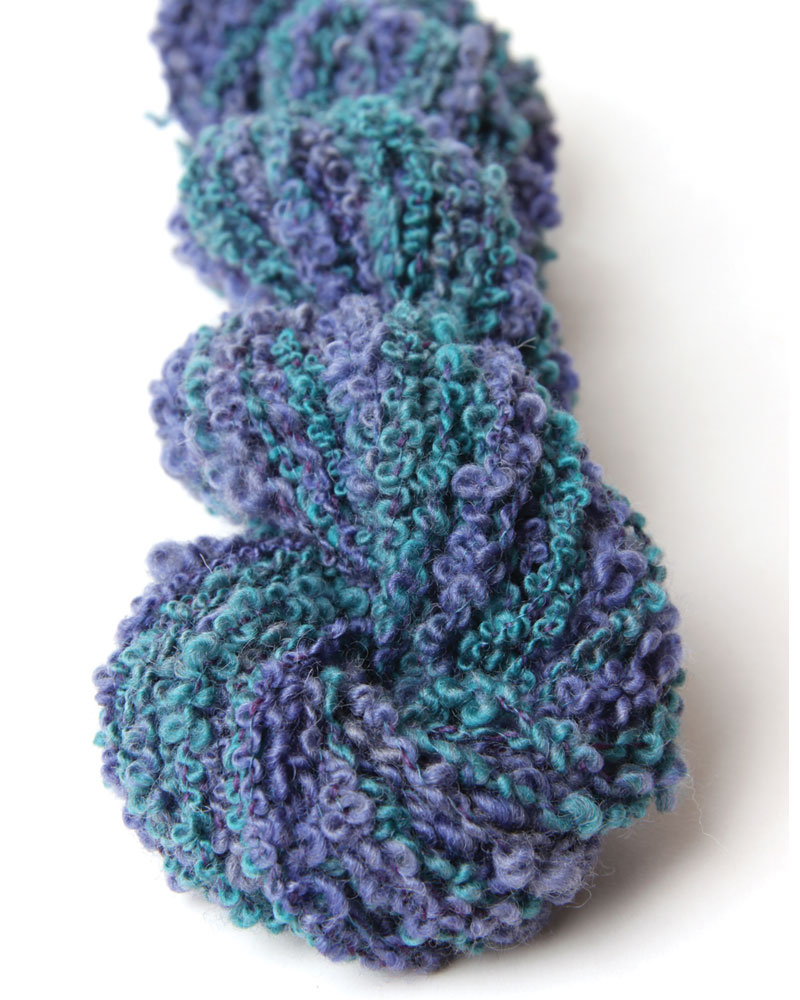
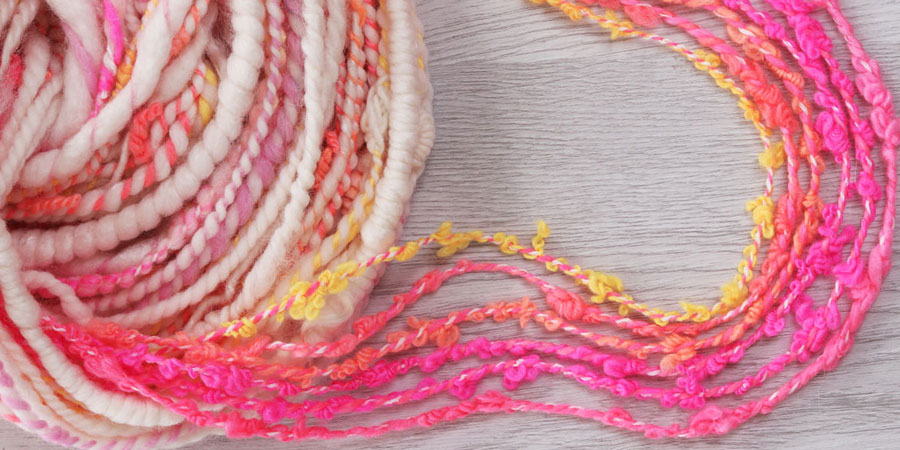
Bouclé yarn is made from first creating loose loops around a core yarn, which can range from tiny circles to large curls that are then secured in place by a binder thread. Bouclé yarns are really fun to spin, so beautiful and are particularly wonderful to use in your weaving. Here are the instructions for spinning a Bouclé yarn – you can make your Bouclé very fine…..or very chunky as in this tutorial.
Bouclé is beautiful in all sizes! I do hope you will give it a go!
Happy spinning!,

Kate
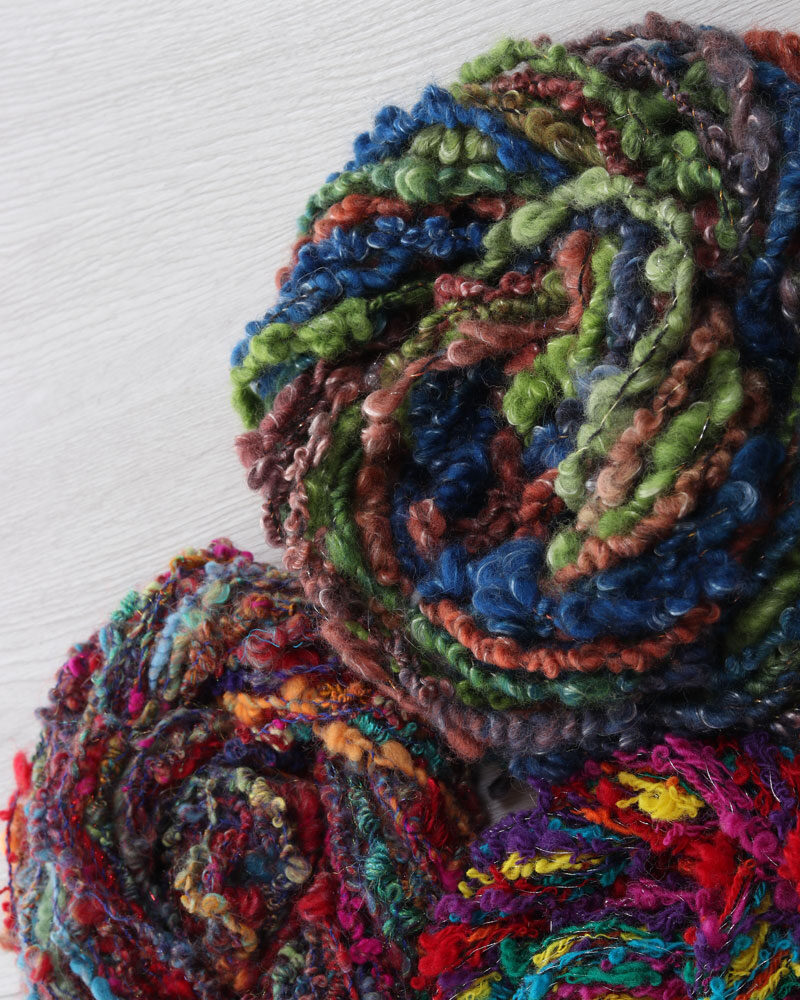
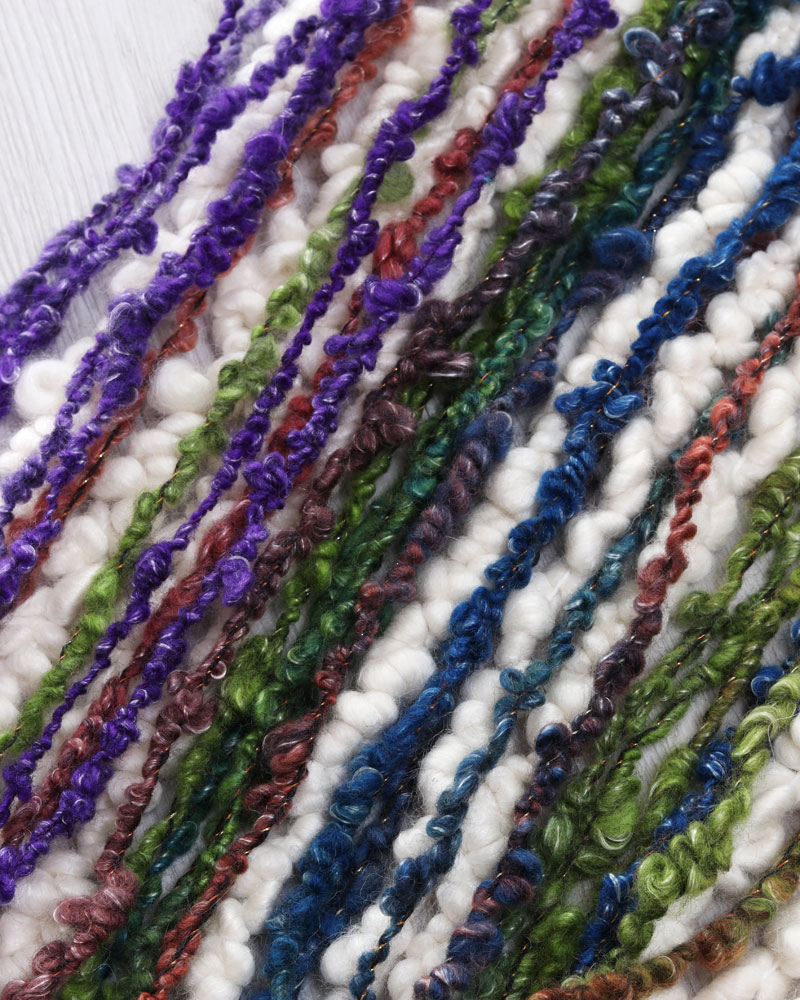
You can hand spin all three of the singles if you want, or you can use a commercial yarn for your core and your binder. Cotton works well for the core. You can even use a silver, gold or metallic thread for a binder to add a little bling!
Hand spin singles
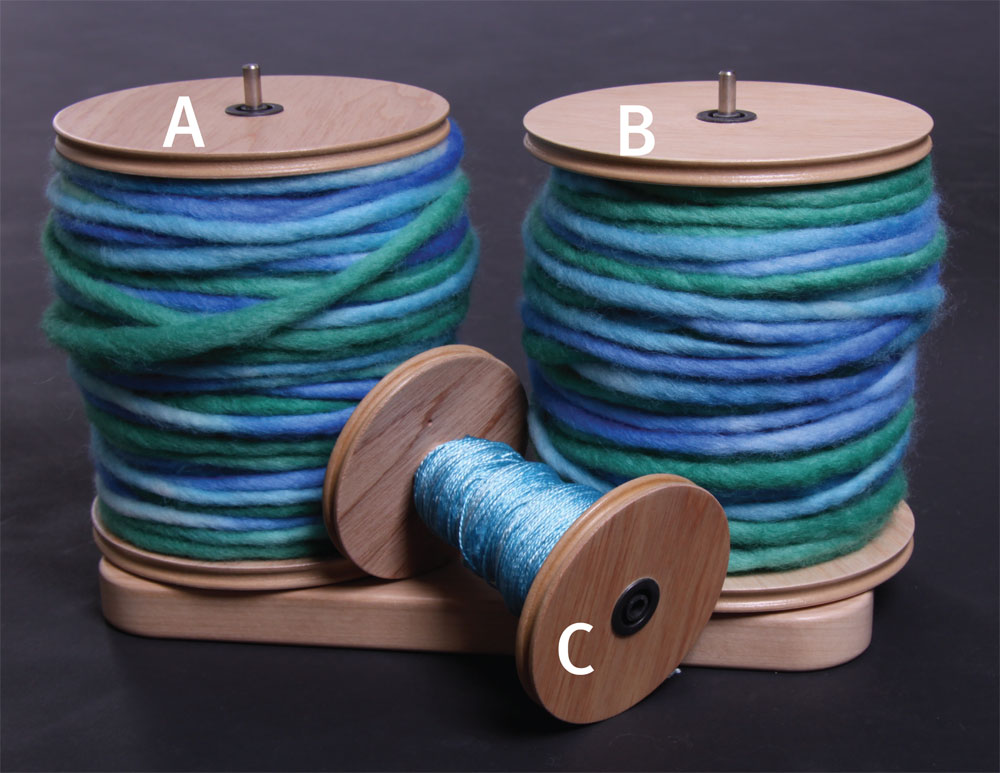
A. Core yarn – Spin with a loose “S” twist (wheel going anti-clockwise). When you ply the looping yarn onto it the twist will tighten, so you do not want too much to begin. This is usually thinner than the looping yarn, but it can be he same thickness if you want.
B. Looping yarn – Spin a regular “Z” twist single (the wheel going clockwise).
C. Binder yarn – Spin a very fine “Z” twist single. You can use a “S” twist but I find the “Z” twist binder makes a nice finished yarn.
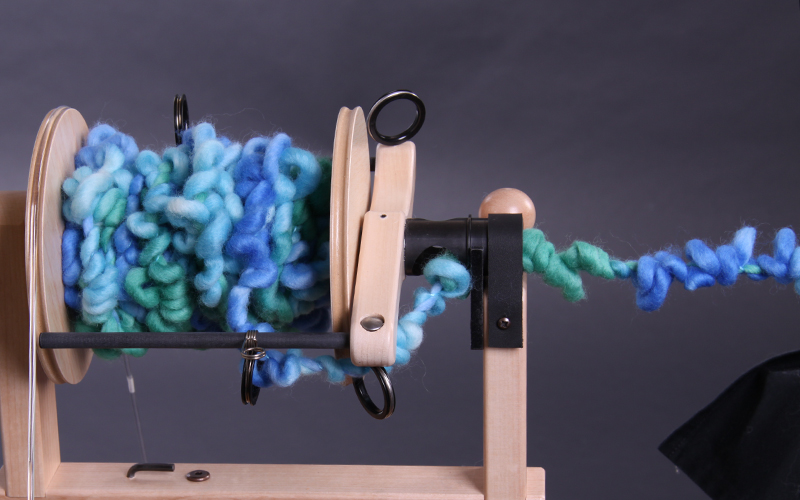
Step two – Loading the loops
Problem solving
- Core yarn wraps around loop yarn – hold your core yarn under tighter tension.
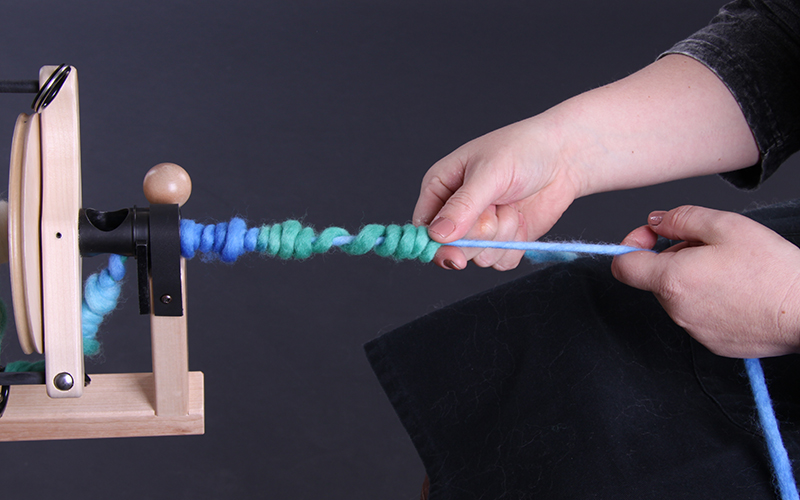
- Loops are not loose – “throw” your yarn onto the core under less tension and a little more quickly.
- Yarn not feeding onto the bobbin – work closer to the orifice and “feed on” meaning push the yarn into the orifice.
- Yarn still not feeding on – check it is not caught on any hooks – I recommend using a Jumbo flyer if you have one.
- Core getting over twisted – you may notice my core yarn is hanging on a drop spindle, an awesome little trick I was taught many years ago. Simply wind your core yarn onto a drop spindle and then it can untwist as needed.
Step three – Adding the binder
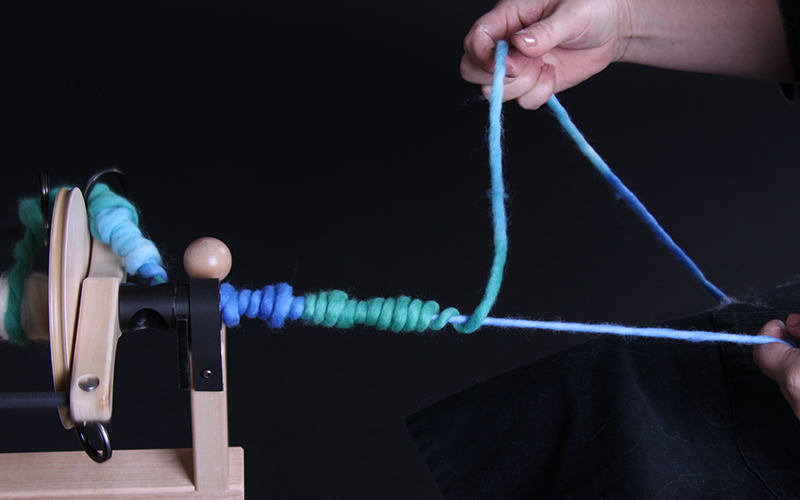
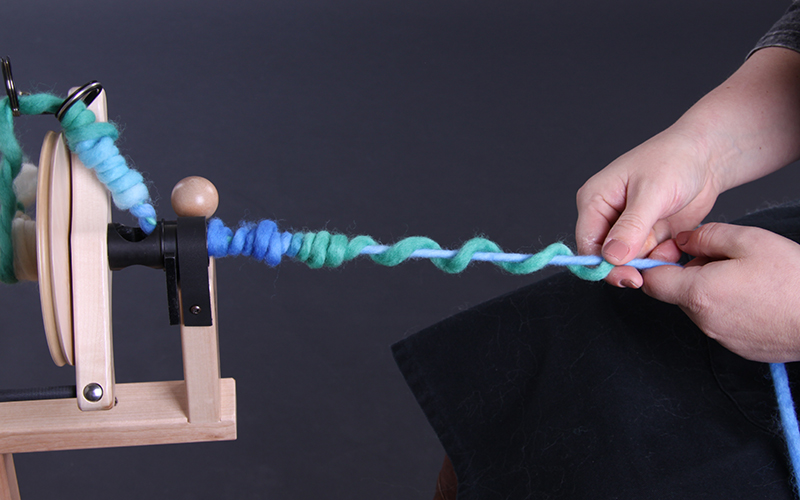
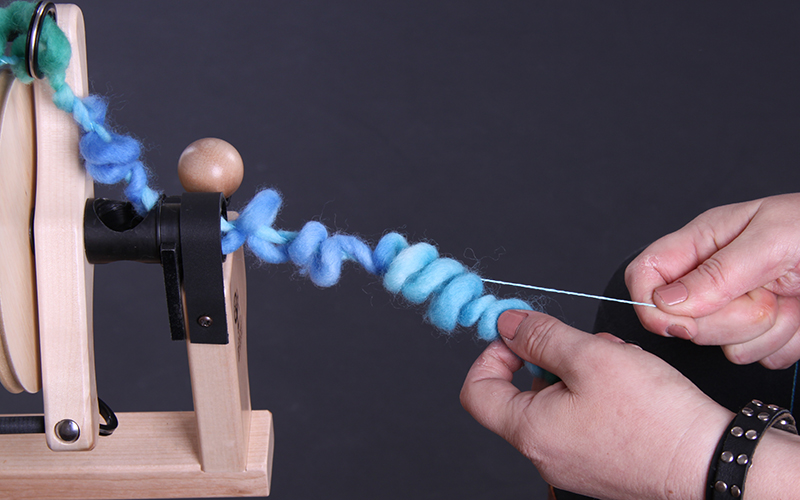
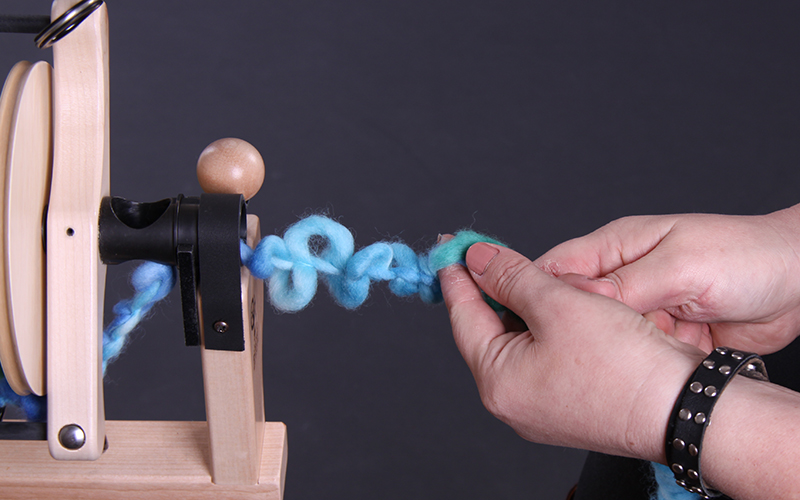
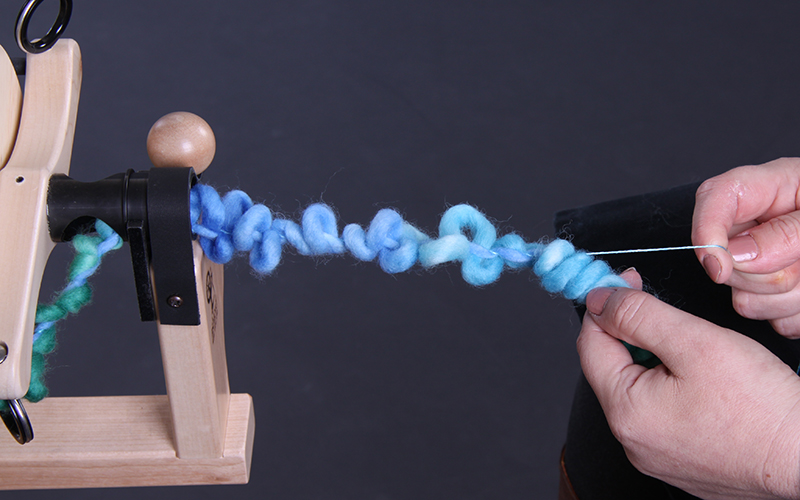
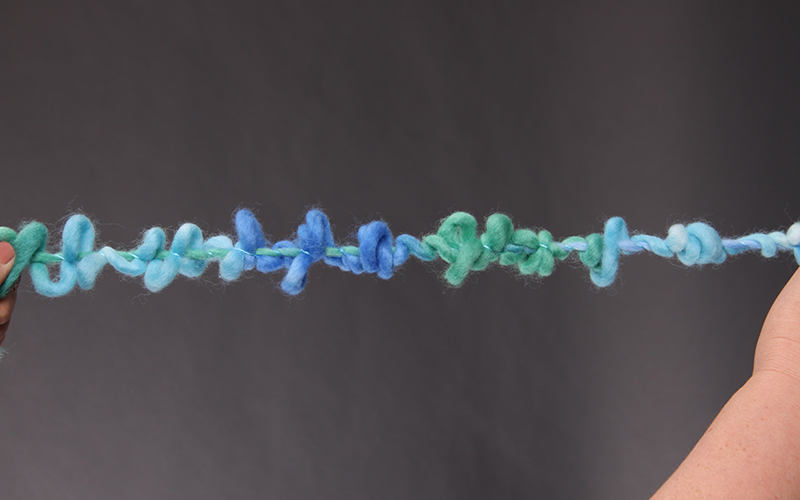
Once you have finished all the looping yarn you will now add the binder yarn, plying it “Z” Twist (clockwise). Change to a new bobbin and attach the the binder yarn and loopy yarn attached to the bobbin. Use the hand you normally use as your front hand when spinning, in my case my left hand, to hold the loopy yarn and adjust the loops as you are plying. Work in short sections, about 5-6cm (2-3ins) at a time. I hold the loops with my little finger folded in and use my index finger and thumb to spread the loops out evenly as I go. Then with your right hand, bring the binder yarn in alongside, laying it parallel to the loops and let it ply together securing the loops in place. Spread the next lot of loops out and bring the binder yarn alongside to ply when ready. Depending on how much you are spreading the loops out as you go, you may find you need the extra length of the core yarn when you reach the end.
Problem Solving
- Binder wrapping around loops – hold the binder out on a 45° angle under tension while you are arranging loops, then bring in alongside the loops.
- Yarn not feeding on – check it is not caught on hooks (I suggest using your jumbo flyer if you have one).
Step four – Finishing your yarn
As with all hand spun yarn you need to wash to set the twist and this will also allow your loops to bloom.
