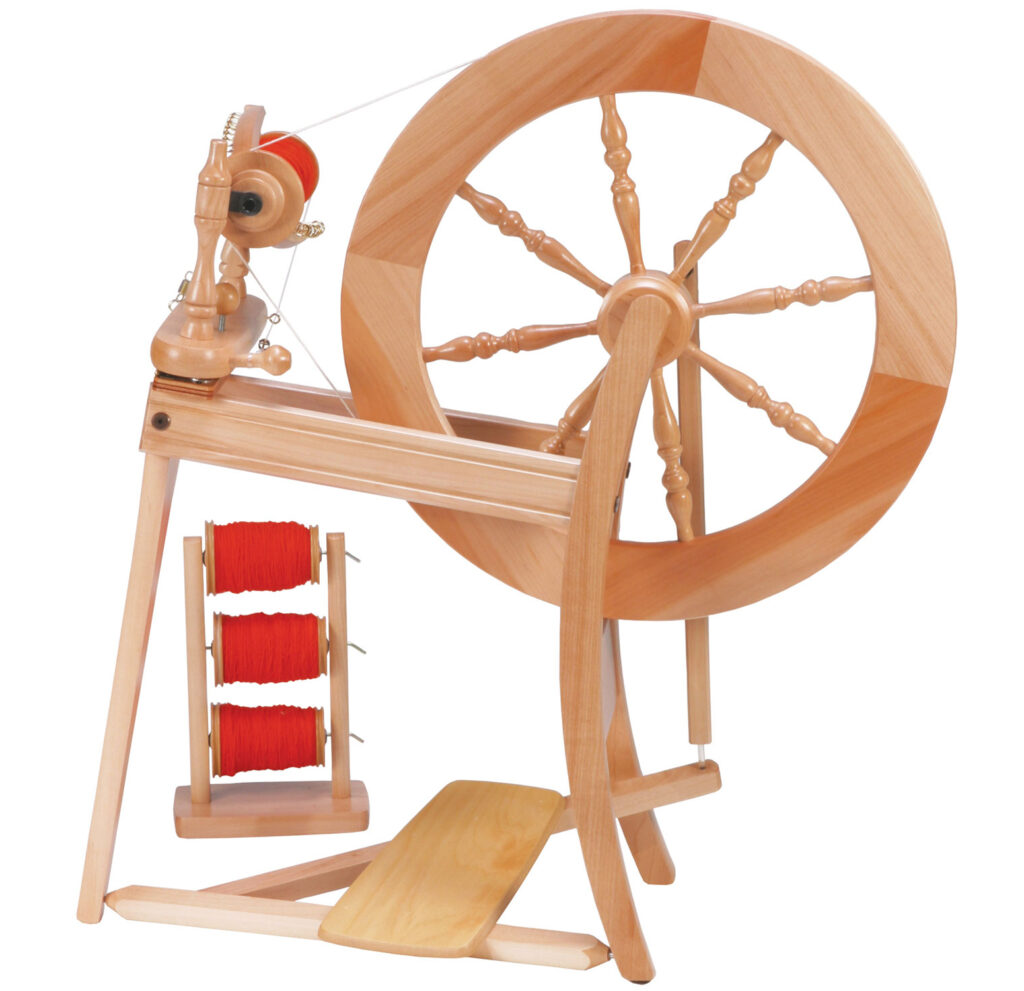
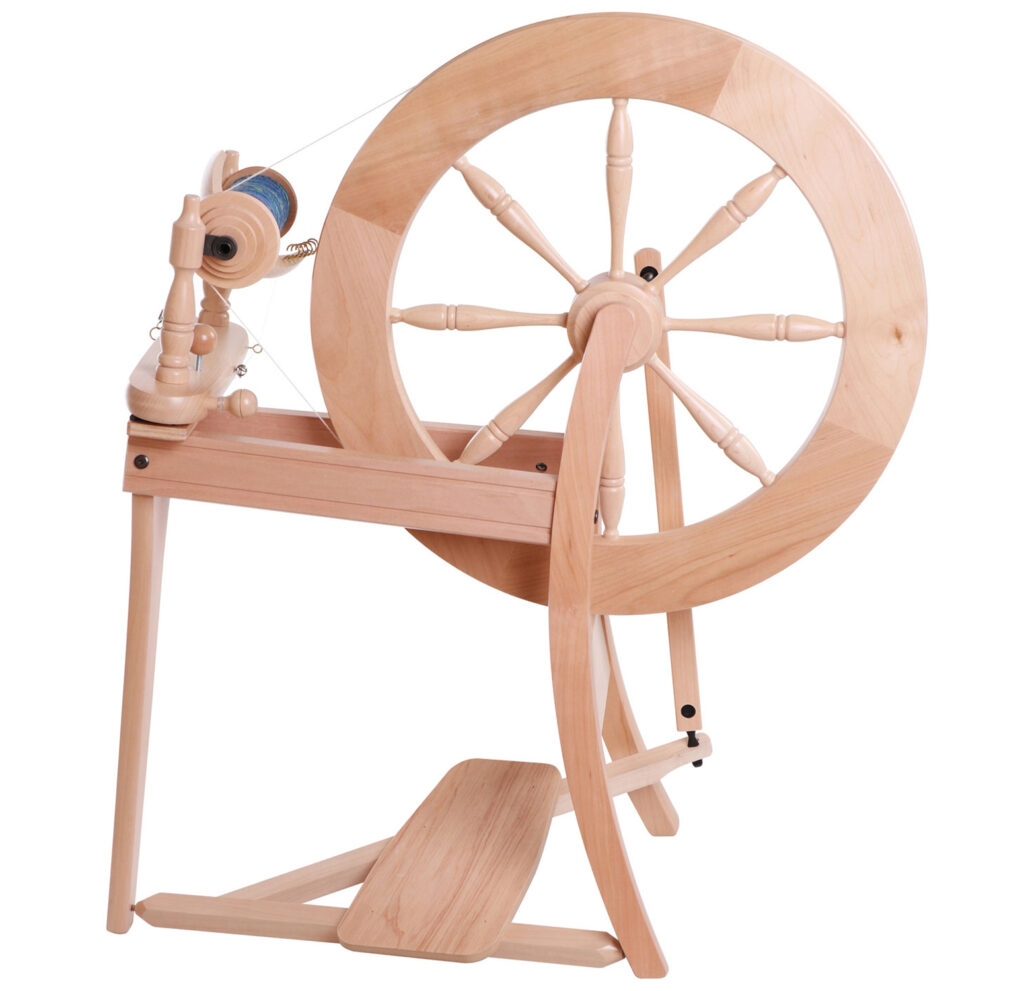
- Check the flyer bearings are at right angles to the flyer shaft. If not, loosen the screws holding the maid uprights to the maiden bar, align the bearings and retighten the screws.
- Check that there are large washers between the screw heads and maiden bar.
- Check the alignment of the wheel and flyer whorl. If necessary, loosen the screws holding the adjusting board to the side rails, align the wheel with the whorl (whorls) and retighten.
- Turn the drive belt adjusting knob until the flyer is closest to the wheel. Re-tie or replace the drive band with a soft cotton cord or Turbo Kit. Turn the drive belt adjusting knob until there is sufficient tension to turn the flyer. Do not over tighten as this adds unnecessary friction to the flyer bearings.
- If the wheel is tight between the wheel supports, loosen the bolts (or screws) holding the frame until it is free. Then spin the wheel and gradually retighten the bolts or screws.
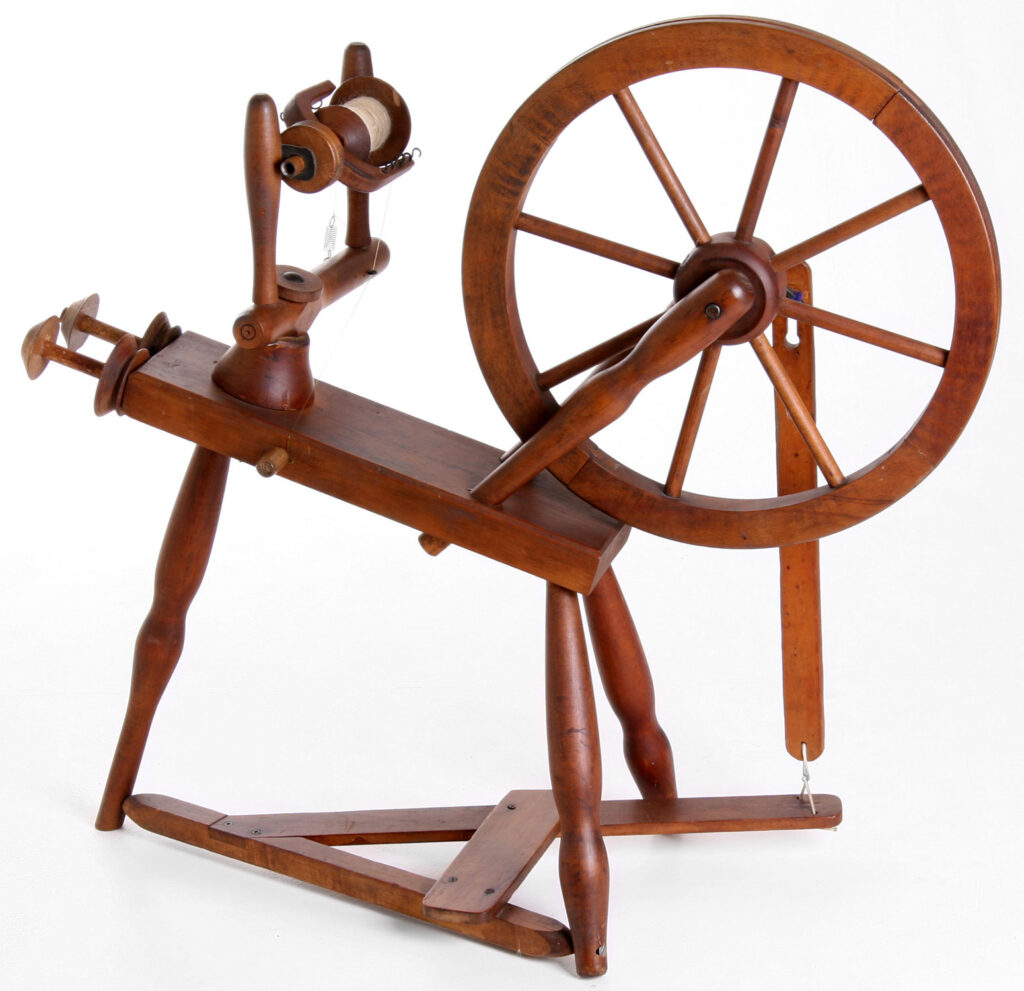
Early Traditional Spinning Wheels
- If your wheel has nylon bearings, prise the wheel supports apart and let the oil drop onto the crank between the hub and the bearings.
- On very old Traditionals, the con rod was secured to the crank with a bolt and nuts either side of the crank which could loosen and jam against the con rod. If this has happened use a spanner to loosen the two ¼” nuts. Adjust the nuts until the con rod bearing has approx. 1mm (1/16”) clearance, retighten and apply a drop of oil.
- If you Traditional is pre 1975 and has a clunk, most likely the hole for the hub pin in the crank has worn. To overcome this fit a Double Treadle Kit which includes a new crank, hub pin and con rods.
- If a new bobbin has been fitted to a very old flyer and the small bobbin end rubs against the flyer, use a wood file or sandpaper or to remove wood where the bobbin touches the flyer.
Click below to view:
Traditional Spinning Wheel timeline – Use this to date your Traditional wheel.
Previous model instructions
Video Tutorials
