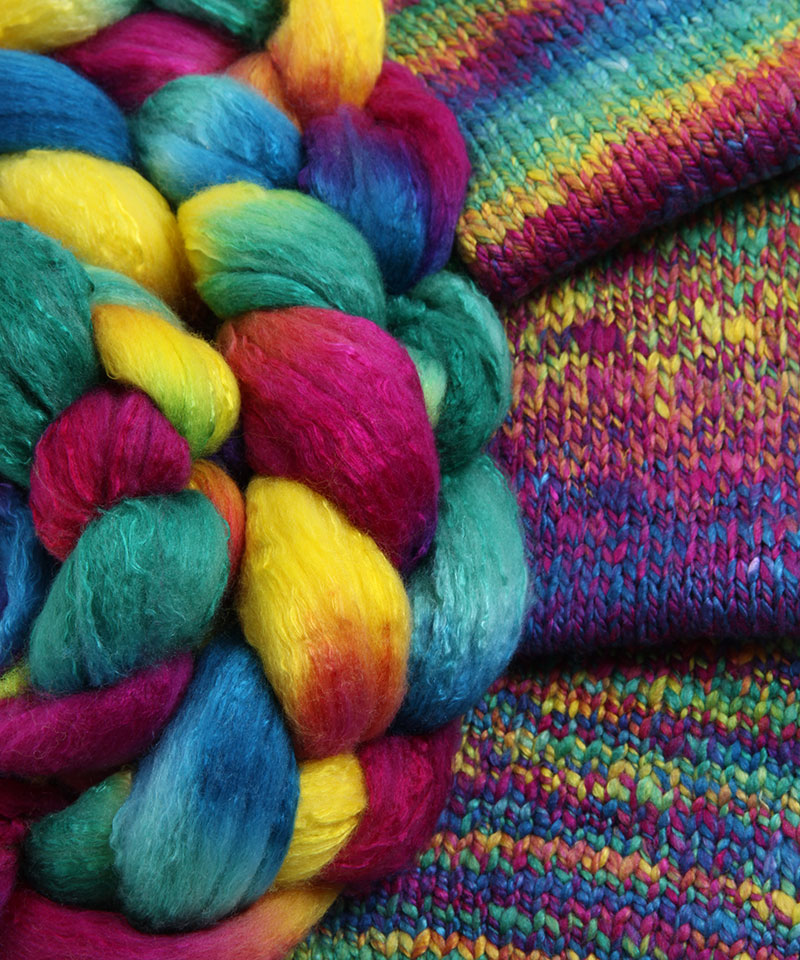
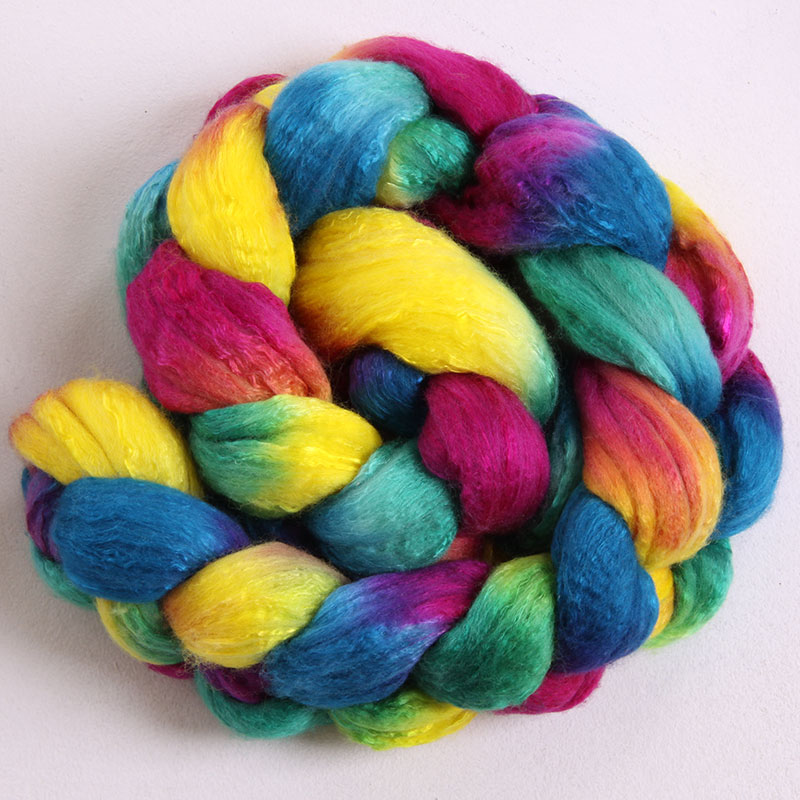
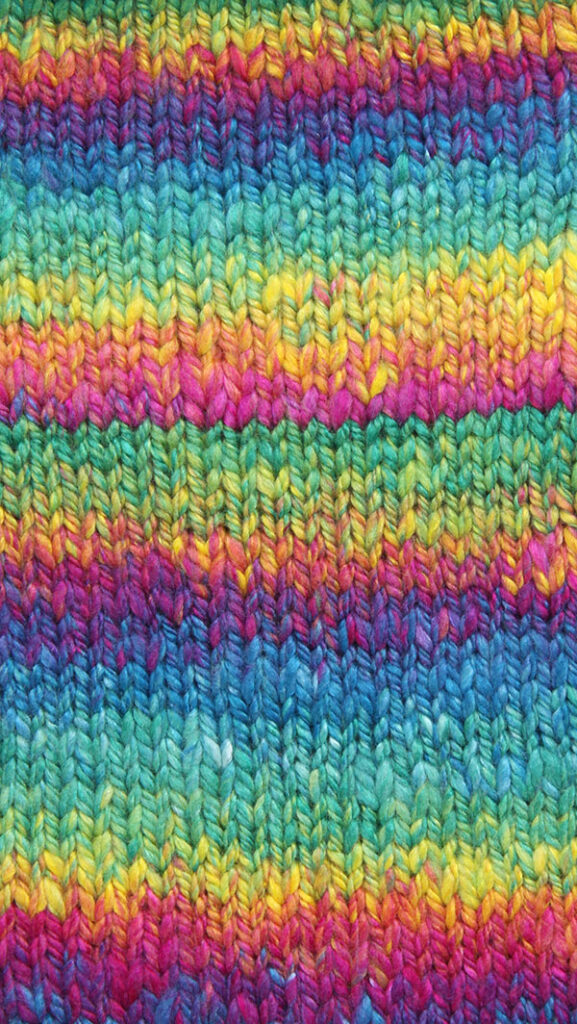
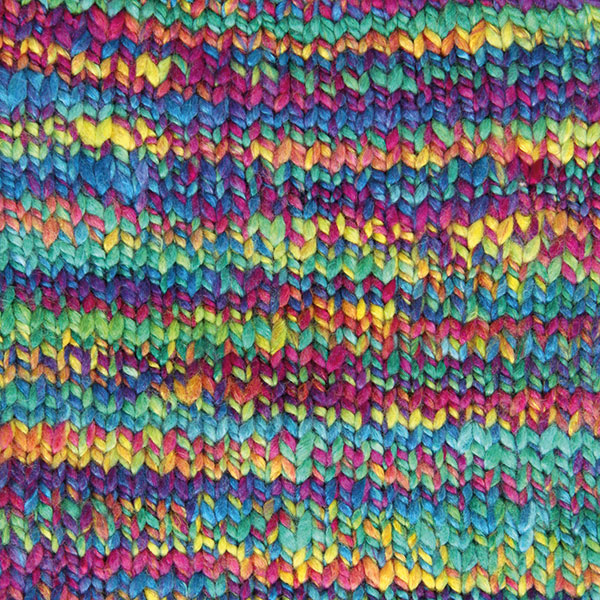
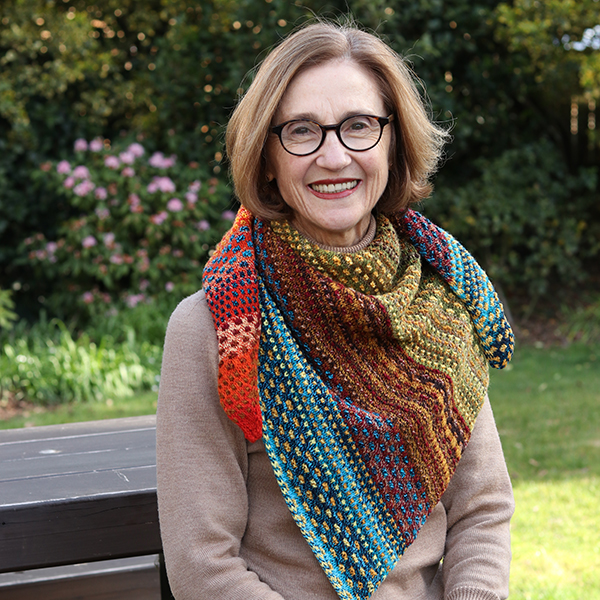
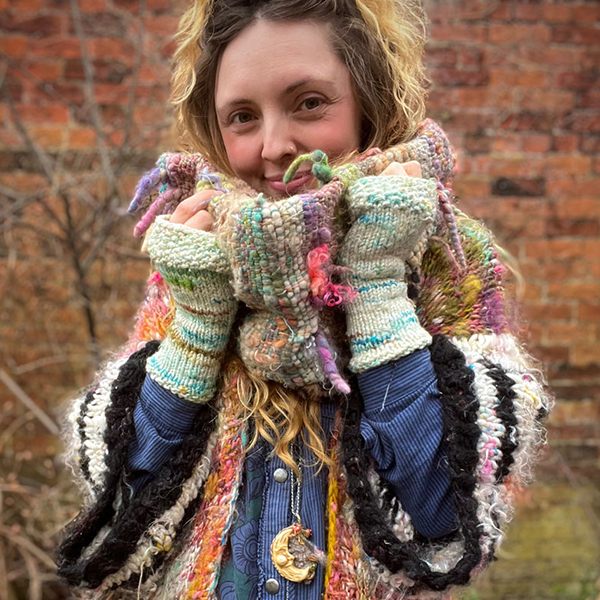
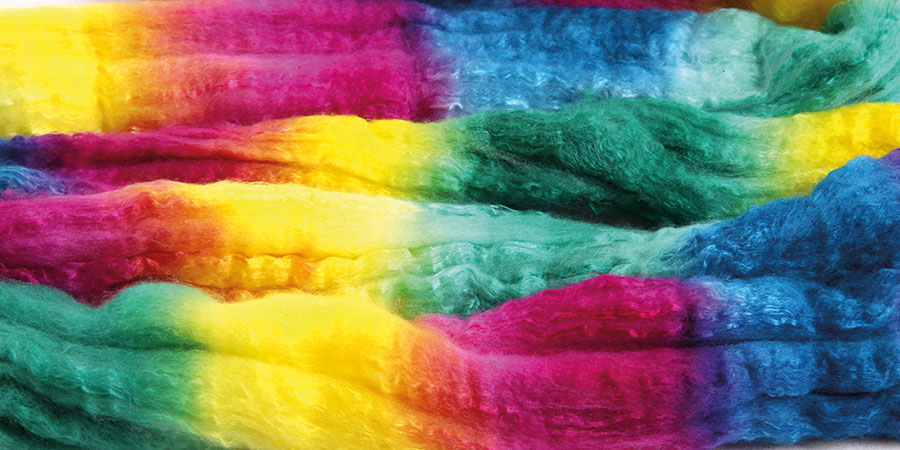
Same, same but different!

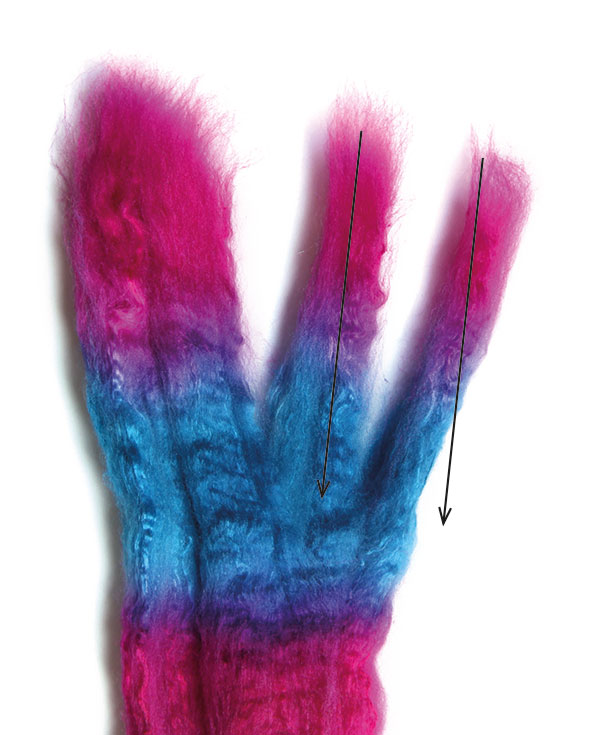
Hand dyed fibre is so beautiful but it can be intimidating. How do you know what your yarn will look like once spun and plied? How will the colours merge during the spinning and recombine when plied? This article shows some different techniques for spinning and plying those beautiful hand dyed fibre braids. 

Happy spinning!

So, how do you know what your yarn will look like once spun and plied?
The answer is – sample, sample, sample! I strongly recommend sampling before you commit to spinning all your fibre. Spin some, ply it and then knit a sample, too. Then you can choose the look – and the technique – you want.
I did some experimenting with six lengths of fibre all dyed exactly the same. I chose bright colours (Ashford dyes in Bright Yellow, Bright Pink, Turquoise and Shamrock) so I could show you clearly the different results. I spun three lengths the same way, back and forth across the end of the sliver. I plied two together as regular 2 ply and Navajo plied the third. The other three lengths I split lengthways and spun down each strip and again I plied two together as regular 2 ply and Navajo plied the third.
So from one colourway I have some interesting results just from spinning and plying differently!

What will the finished yarn look like?

Sample 1 – Spin across and ply two
Take one length of your dyed sliver and loosely open the fibre. Spin back and forth across the end of the sliver onto one bobbin.
Repeat the process with a second braid.
Ply the two bobbins together. 

Spin singles back and forth across the end of the braid

Sample 2 – Spin across and Navajo ply
Take one length of your dyed sliver, loosely open the fibre and spin onto one bobbin, spinning back and forth across the end of the sliver as you did for Sample 1.
Navajo ply this bobbin.

Spin singles back and forth across the end of the braid

Sample 3 – Spin down and ply two
Take two lengths of your dyed fibre, split each length into four thinner strips lengthways. Spin the four strips of each length onto separate bobbins.
Ply two bobbins together.

Separate braid into equal thinner strips and spin down each strip

Sample 4 – Spin down and Navajo ply
Take one length of your dyed fibre, split into four thinner strips lengthways. Spin the four strips onto one bobbin.
Navajo ply this bobbin.

Separate braid into equal thinner strips and spin down each strip

By experimenting with different spinning and plying techniques, you can create a variety of unique effects from the same dyed fibre. The possibilities are endless. Don’t be afraid to experiment, and you’ll discover the perfect technique to bring your multi-coloured braids to life!