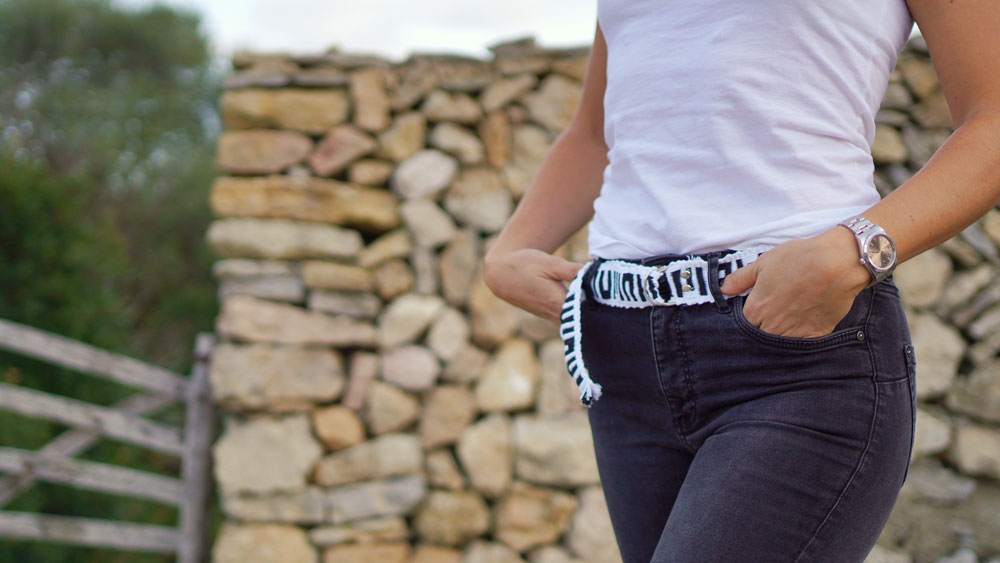
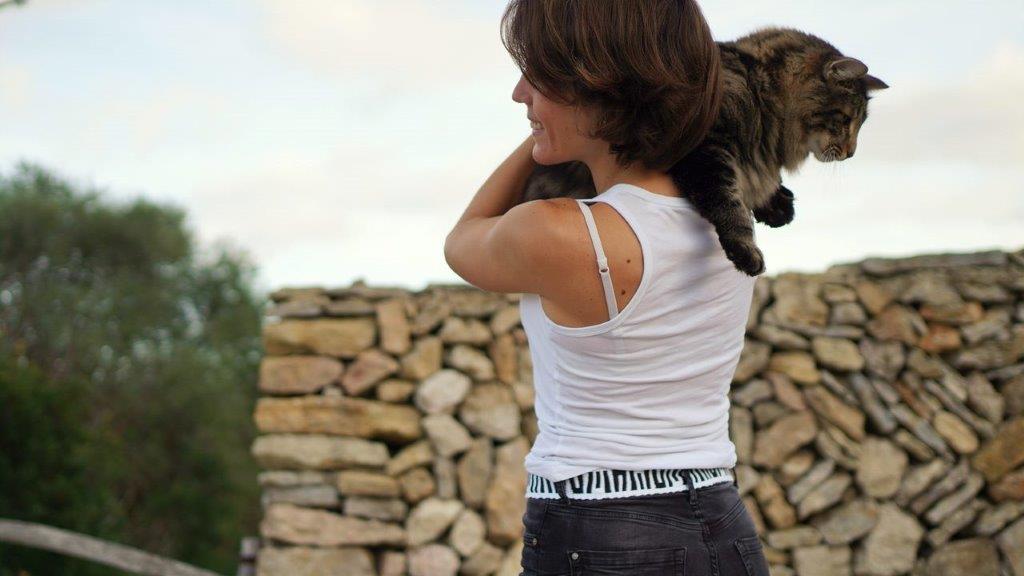
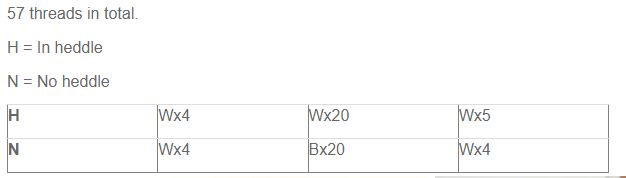
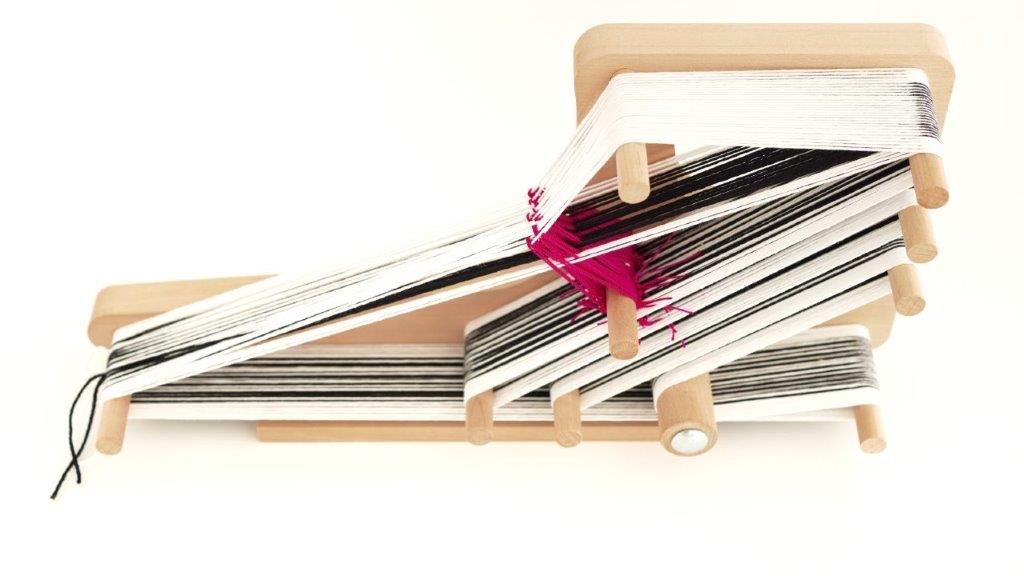
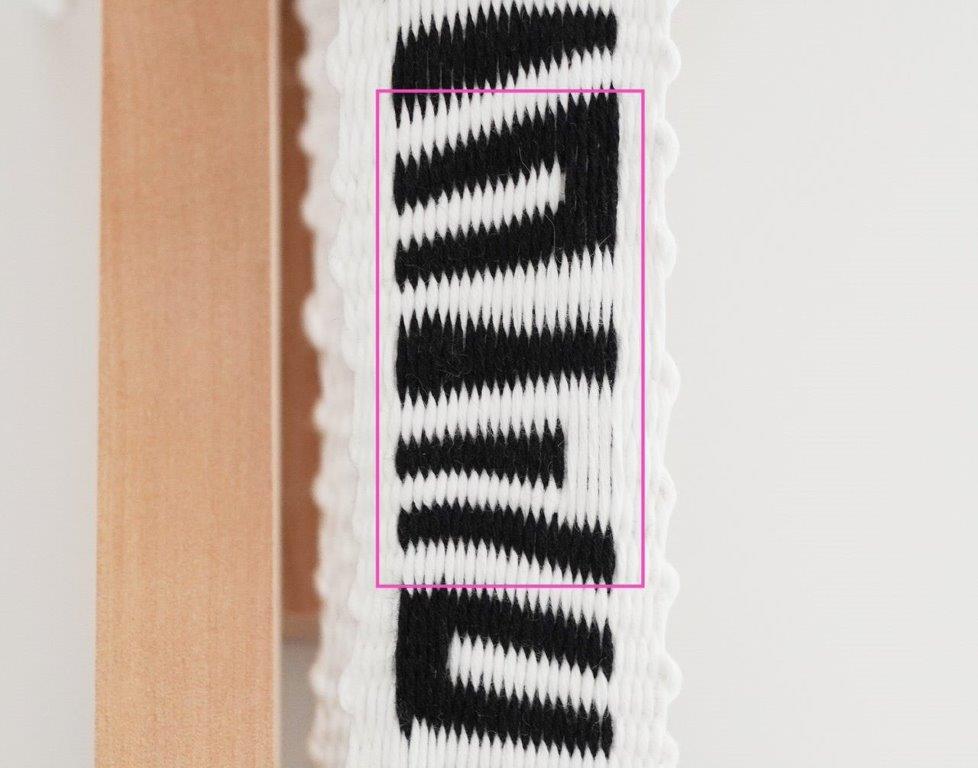
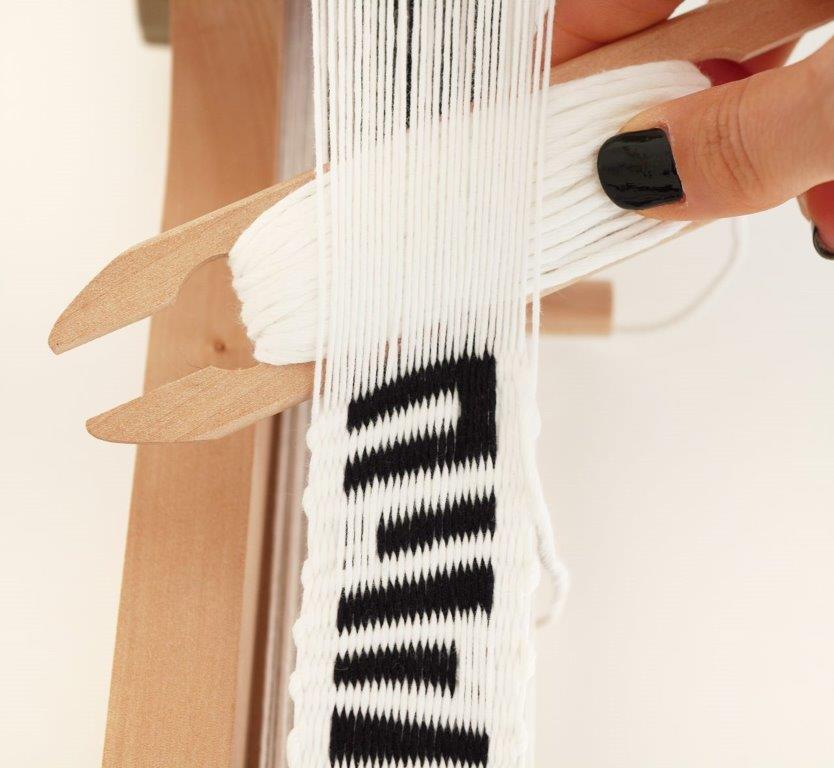
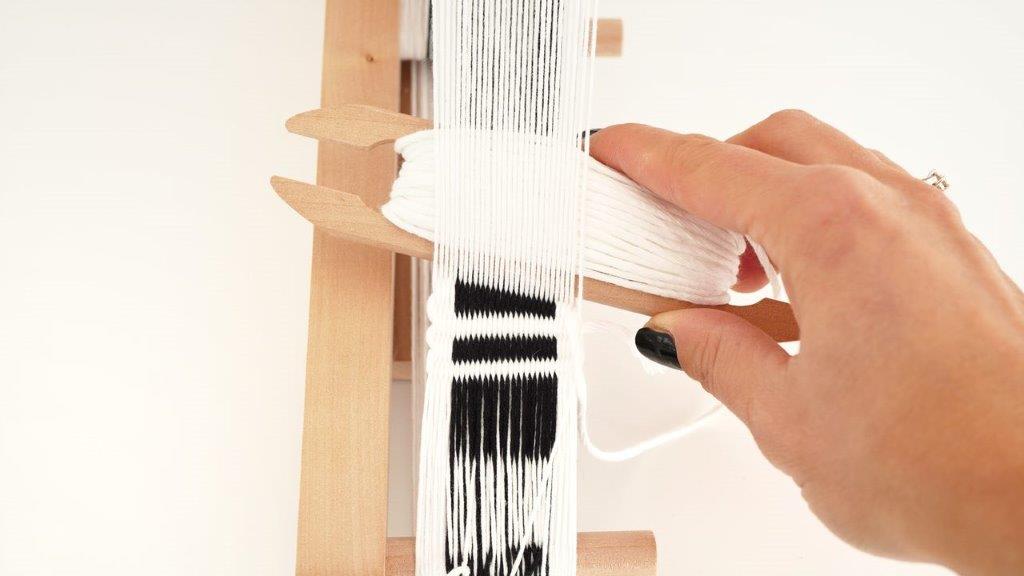
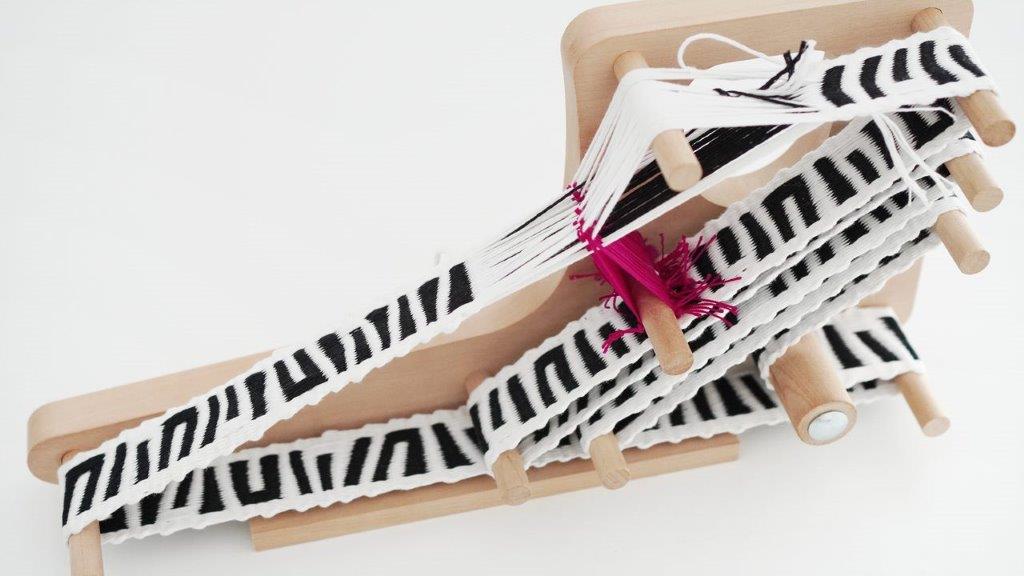
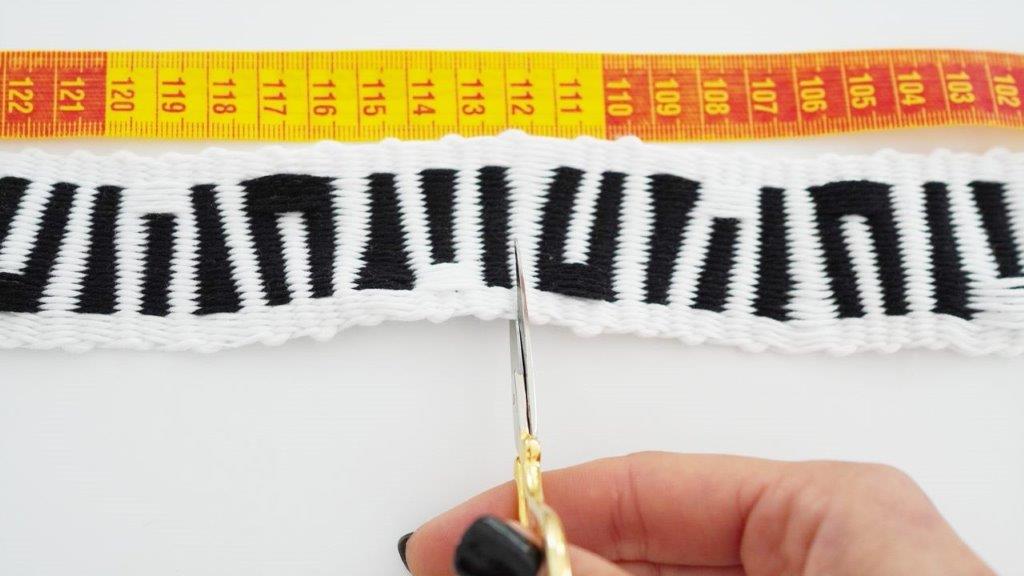
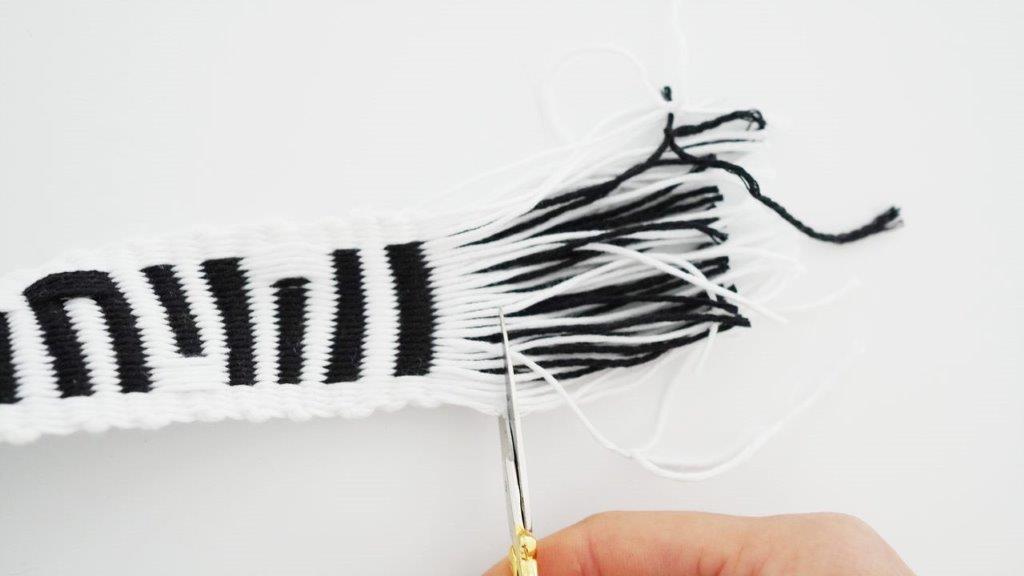
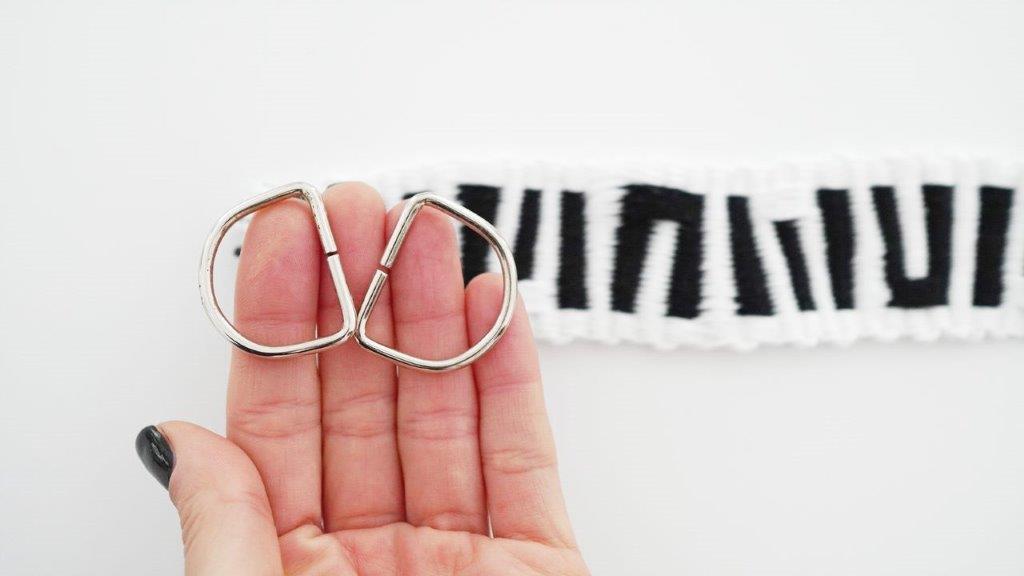
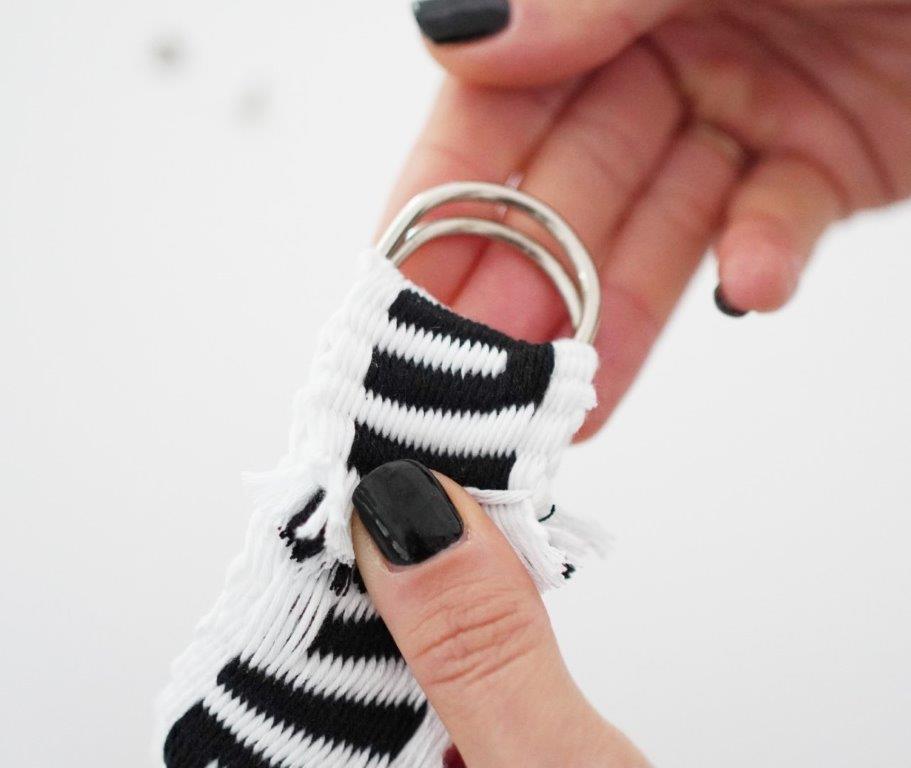
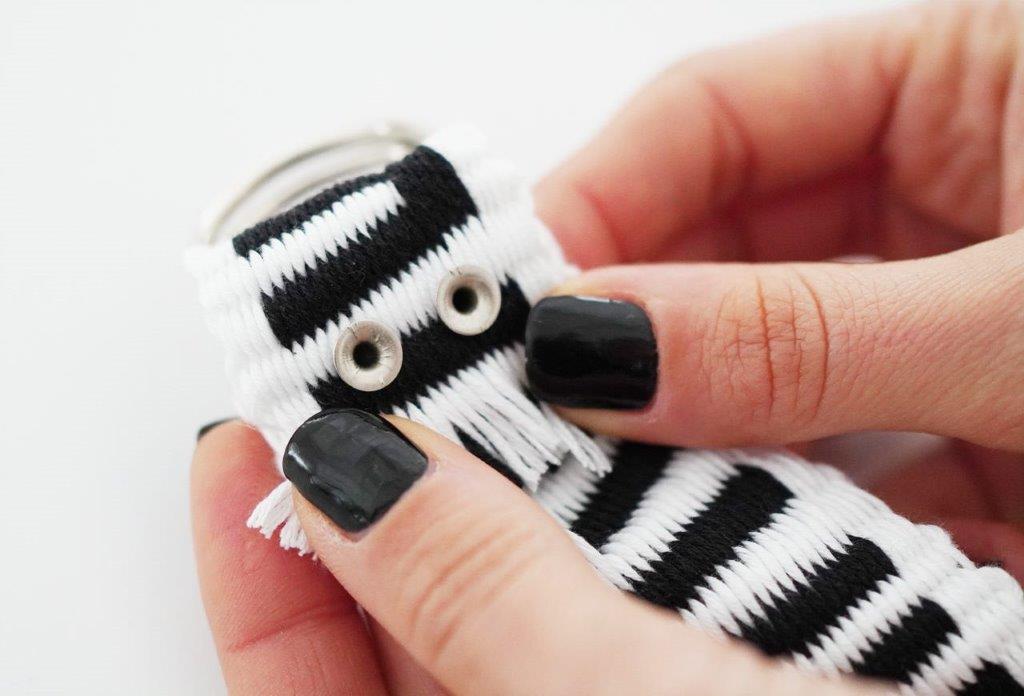
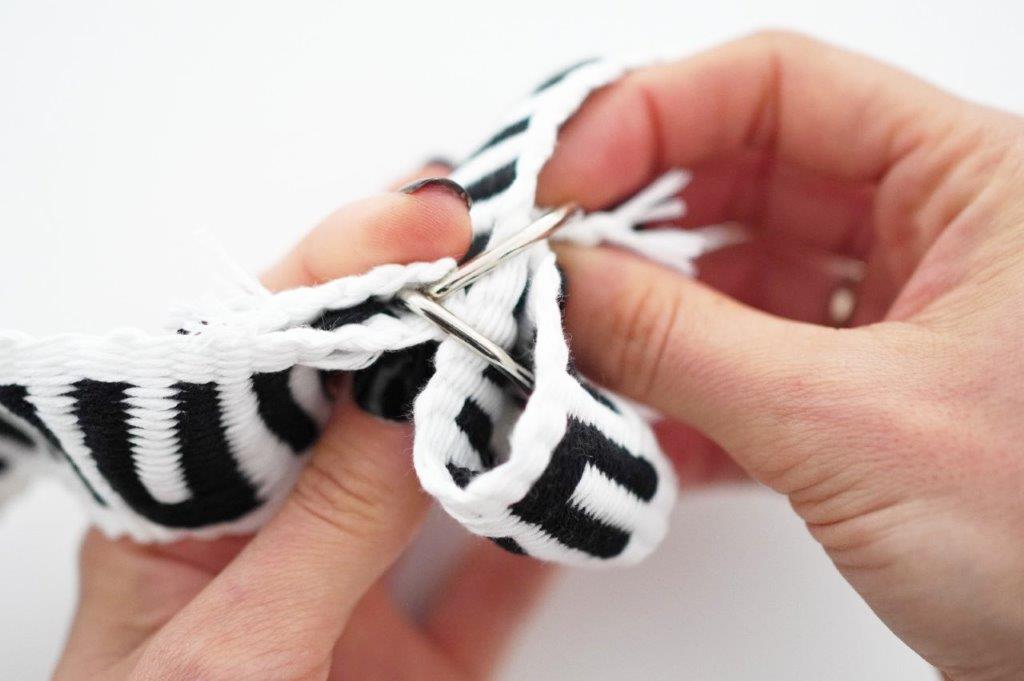
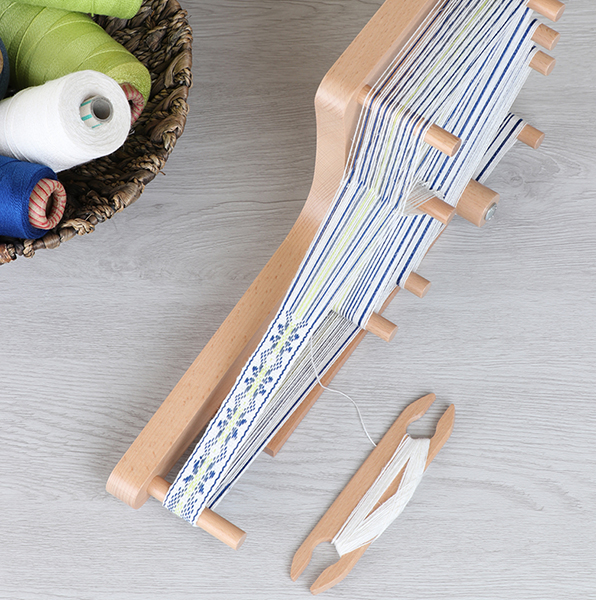
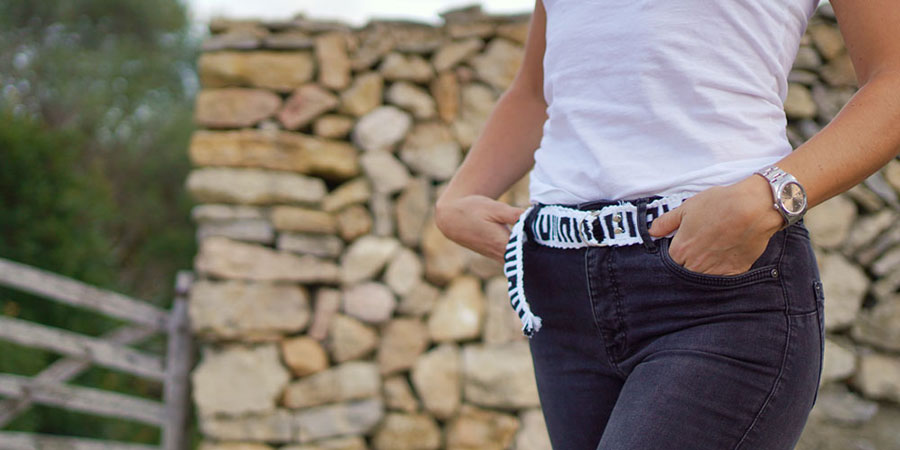
Zebra belt woven on an Inklette loom

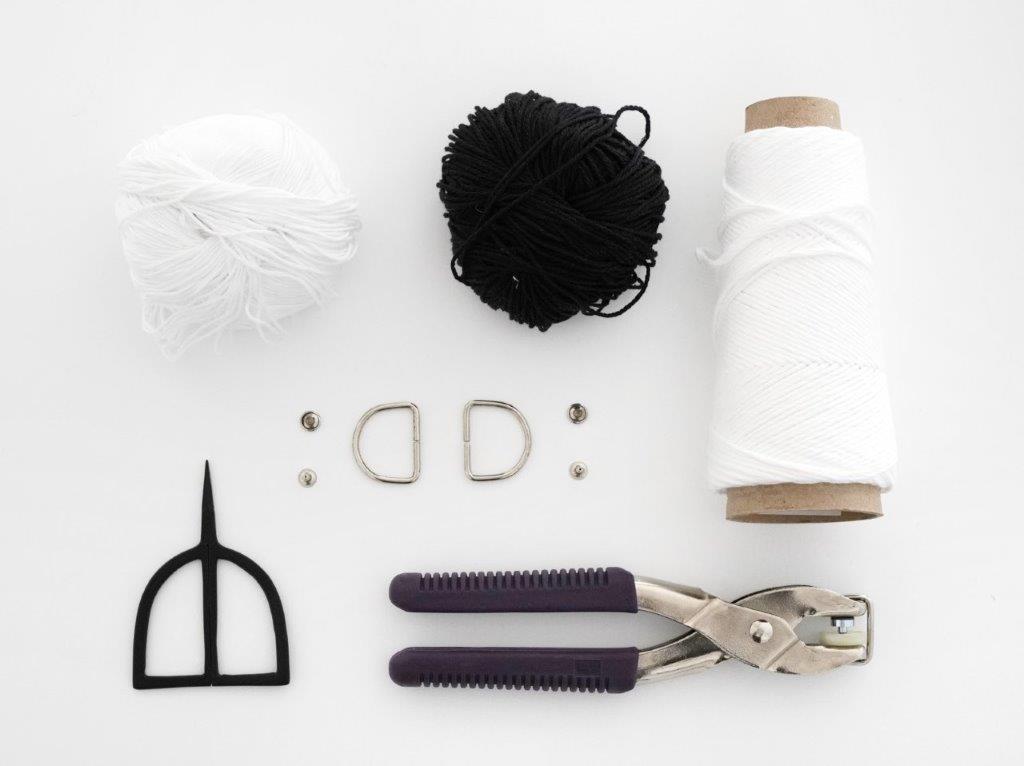
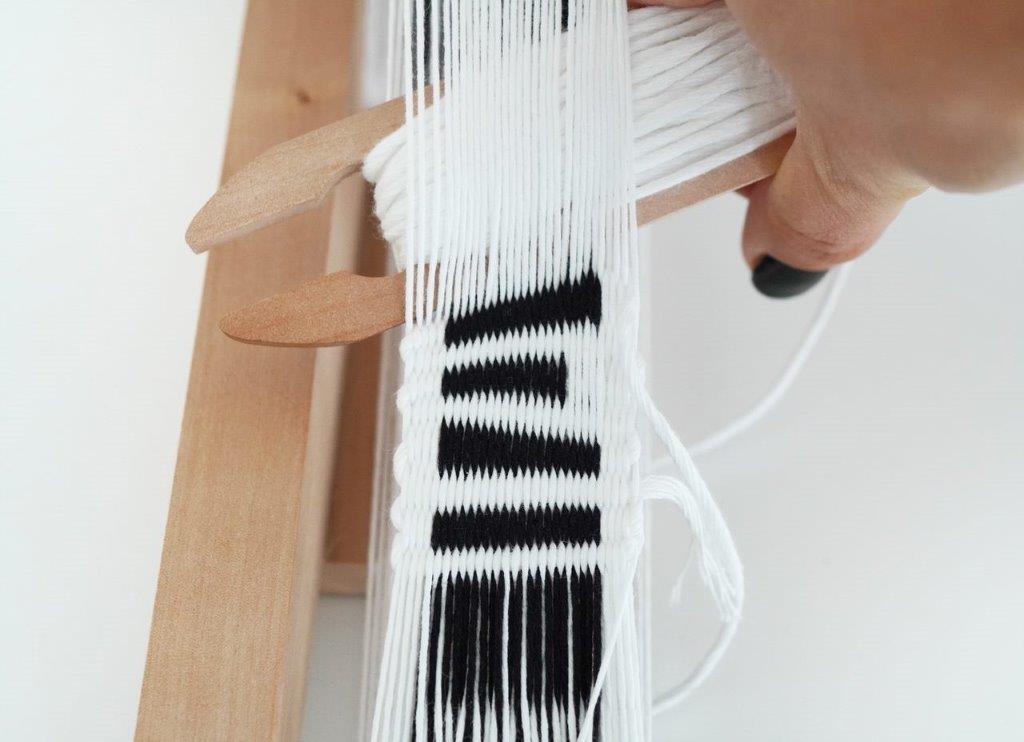
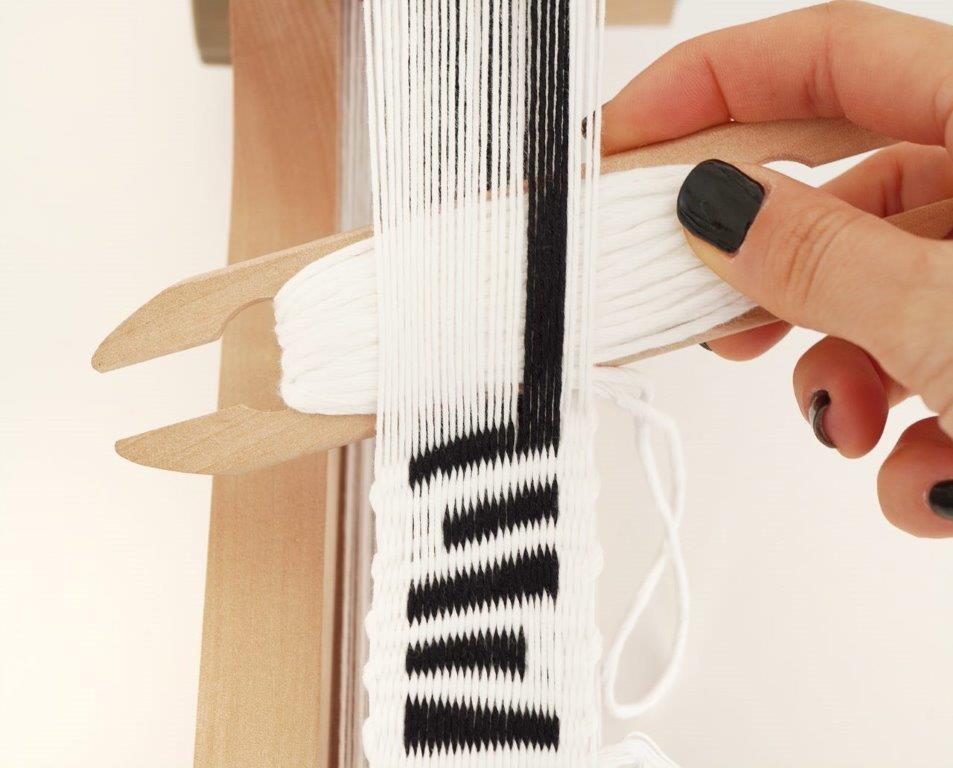
Blanca De La Sotilla, from Menorca, Islas Baleares, Spain, was kind enough to share this fabulous, fun and pratical project you can weave on your Inklette or Inkle loom. A fun zebra patterned belt using Ashford 5/2 unmercerised cotton. Inkle weaving is a type of warp-faced weaving where you use your hands to manually raise and lower the warp threads that are not held in place by the string heddles. There seems to be some discussion on the date inkle weaving originated but, there has been inkle weaving references throughout history as far back as 1541 and was even referred to in Shakespeare’s Love’s Labour’s Lost. A table-top inkle loom was patented by Mr. Gilmore of Stockton, CA in the 1930’s but inkle looms and weaving most definitely predate this by centuries. The term “Inkle” simply means “ribbon” or “tape” and refers to any warp-faced woven good made on any type of loom, from backstrap to box-looms. Inkle weaving is commonly used for narrow work such as trims, straps and belts. 

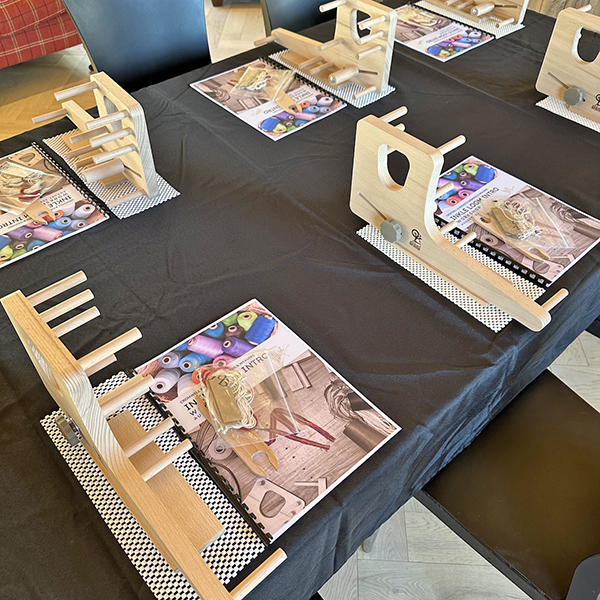
We make two size Inkle Looms – the standard Inkle Loom, which allows a warp length up to 280cm (110″) and the smaller more portable Inklette Loom, which allows a warp length up to 180cm (72″). Both looms include step-by-step full colour instructional booklets showing how to assemble the loom as well as warping and weaving your first project.

This project is a great introduction to inkle weaving. Why don’t you give it a go today! 

Happy Weaving!

Blanca De La Sotilla was born and raised in Madrid, where she studied Economics later to become a private banker. After a couple of years working in finance, she felt the urge to find her balance in life. So she packed a few belongings and left for her next adventure in South America. Settling in Peru as a home base, she went on a journey around the continent visiting and working hand-in-hand with local master artisans. She now lives in Menorca, one of the Spanish Balearic Islands, in a traditional country house in the midst of nature. Apart from weaving, she still finds time for her other passions, such as playing drums, travelling on her motorbike, diving, and all in all, enjoying all the wonders that the island has to offer.

Blanca writes:

“One of the things that I like the most about weaving is the opportunity of creating something that is yours and is unique.  You might create a piece from scratch and enjoy every step of the process,  from choosing the right yarn to wearing it with your favourite jeans. This project has it all: easy, fun and quick.  Perfect for a gift or for treating yourself. I hope you enjoy making it as much as I did.”

You will need:

LoomInklette or Inkle

Warp yarn quantity and colour: 5/2 Mercerised cotton black and white 145m (50gm).

Weft yarn quantity and colour: 5/2 Mercerised cotton white 50m (50gm).

Other: 2 metal snaps and a snap fastener, 2 D-ring belt buckles

Here’s how:

**Please read all the instructions before you start weaving**

Once you have warped the complete inklette, it’s time to get down to business. First of all, weave a few rows of plain weave.

This is a very simple pick-up pattern. I have choosen to weave the highlighted sequence (pink box) but you can alternate the pattern as you wish.

As you can see in the picture, to complete the entire pattern for the full length of the strap, you have to weave the sequence inside the pink box over and over again. The sequence is being repeated alternating the picking-up threads first on the right side, then on the left side, and so on.

Here’s how to do it:
Row #1: Plain weave (white). 

Row #2: Plain weave (black). 

Row #3: Plain weave (white).

Row #4: Pick-up 5 white threads and drop 5 black threads. 

Row #5: Plain weave (white).

Row #6: Plain weave (black).

Row #7: Plain weave (white).

Row #8: Plain weave (black).

Row #9: Pick-up 5 black threads and lose 5 white threads.

Row #10: Plain weave (black).

Weaving trick: forget about tugging the traditional way. In order to create those little curves, you can create a diagonal line with the shuttle as shown in the picture. If you like curved edges you might use the curved edge of the shuttle to create a subtle curve. You will find your own style as you weave along. 

Alternate the pick-up pattern from right to left to alternate the sequence while weaving. Continue until you have finished the warp and weave the last rows with plain weave and weave in the ends.

Take your tape measure and put it around your waist as if you were wearing an actual belt. Take into consideration a few things:

  1. You will need some extra strap to make the belt look nice and not too tight.
  2. You will need some extra fabric to secure the ends after making the cut.

 In my case, I needed 109cm for my desired belt. So I cut the fabric on 112cm just so I could unweave a few rows and weave the ends properly, as pictured below.

 Sewing in weft ends. Sew the weft back three or four sheds to lock it, this is sometimes easier to do with the warp under tension.

Cut the ends in order to have neat finishes.

Now it’s time to add the belt buckle!  Take one of the ends of the strap and insert it inside both D-rings. Then, fold the strap leaving enough space so the snaps will fit in.

Attach the snaps keeping in mind these two things:

  1. Place the snaps’ on the fabric’s wrong side.
  2. There has to be some space between the snaps.

Congratulations! You have made a fabulous belt from start to finish! I hope you wear it proudly. You will certainly be the toast of the town! Just remember to choose contrasting colors to make the pattern shine.